

If you are drawn to self-sufficiency and you live in an urban environment, you face a bit of a paradox. Cities are systematized grids— from the signal lights on the streets to the electricity in your house.

While you may not think of it after putting out your trash, your garbage is no exception to the use of systems. So what happens to your waste when the grid goes down?
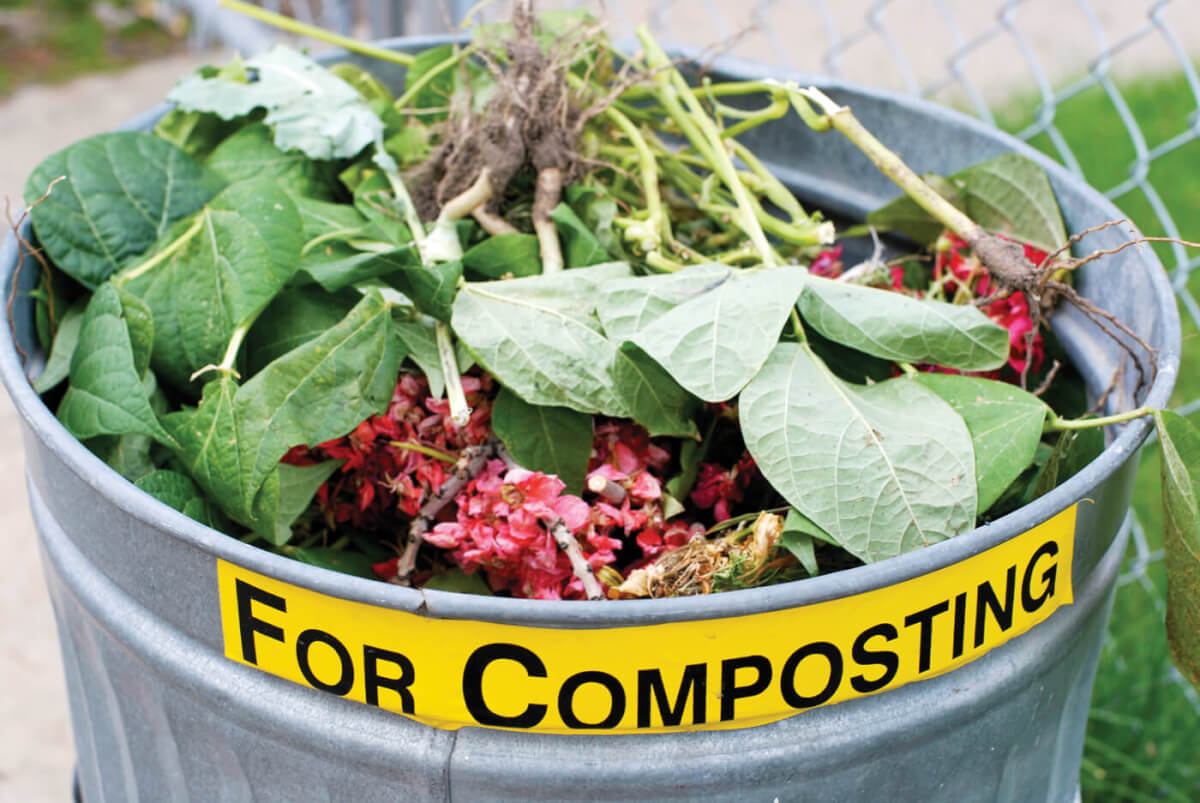
To start building habits now that will prevent a heaping pile of filth in the event of a disaster—while also helping reduce our reliance on landfills—read on about urban composting.
GETTING STARTED
Before you start stashing your food scraps in a pail, check with your landlord or community organizer to ensure you are in compliance with environmental guidelines. The United States Department of Agriculture Natural Resources Conservation Service (www.nrcs.usda.gov) reminds us to “check on any local or state regulations for composting in urban areas as some communities may require rodent-proof bins.”
There are two popular methods of indoor composting that are easy to start and do not require a lot of upkeep. One is called “compost in a bag” and the other is vermicomposting, which utilizes worms in mixing up your scraps. Both are relatively easy and portable ways to cut down on your waste handling and help the environment.
We spoke with Cindy Salter, coordinator of Ask an Expert for eOrganic and editor of eOrganic articles and short courses, about composting. She emphasized that “success with composting, whether indoor or outdoor, requires making a commitment to the process and finding a method that fits the needs of the household. While not particularly difficult, indoor composting requires thoughtful planning to be successful.”

BAG IT
Bag composting is as simple as finding and filling a plastic trash bag! Because compost needs circulating air to help break down the plant material, you will need to cut a few holes in the trash bag. Over time these holes can tear, causing the debris to fall out when you are adding to the trash bag or moving it about. To prevent this, tape the areas of the trash bag where you will be cutting the holes to reinforce them and prevent tearing. A good, industrial-strength tape about three inches wide will work well.
Start filling your compost bag by layering in brown debris such as dead leaves and straw. Next, add green material such as grass, and kitchen refuse such as banana peels, eggshells, and coffee grounds. Finish by adding a little blood meal, lime, a few shovels of dirt, and about one-half gallon of water. Securely tie the bag shut. Once a week, carefully shake the bag to mix the contents.
WORM’S THE WORD
“Worm composting is more practical for indoor composting, and definitely more common,” Salter maintains. “Vermicomposting is relatively easy and requires little to get started”
For worm composting, you’ll need to find a good container of the right size for your household, enough worms to get the process started, and a source of bedding materials, such as newspaper strips mixed with water with soil on top.” A portable bin to house your worms in is ideal, especially for the disaster-conscious composter. Having a home for your urban resource and being able to move it in an emergency can be beneficial.

Take into consideration this location advice from Salter: “Find the right spot for the container—utility room, laundry room, or garage are good choices, but not too far from the kitchen where the food scraps are generated.” Last, when you put your vermicompost together, make sure you mix up a thoughtful combination of bedding, worms, and food. Worms.ncsu.edu recommends a mixture of moistened leaves and discarded paper products with a little dirt. When it comes to feeding your worms with waste, Salter reminds new composters, “Most worm composting experts advise against dairy, meat, fish, bones, and large amounts of citrus waste in a warm bin.”
MIXING IT UP
Another popular way to compost in the city is bag composting. While vermicomposting utilizes worms to do the work of mixing the scraps up and breaking down the waste materials, bag composting relies on manpower to mix up the scraps.
A watertight bag is best to start with, recommends the Home and Environment supplement from Purdue University. After adding green materials like paper, soil, and water, the Purdue pamphlet continues, “The bag should be strong enough to hold all the ingredients without breaking. Squeeze the bag daily to mix the compost and open the bag every other day to check the moisture. If it is too wet, leave the bag open until it dries to the right level. If it is too dry, add water.”
KEEPING IT CLEAN
Rodents and pets will be attracted to the scent of your composting, so keep it safe and sanitary. Salter reminds the urban composter, “the presence of rodents and other pests in living quarters can be the result of many factors. If they are present in your building or neighborhood, it is reasonable to be wary. Pests are attracted to food sources, so the best way to prevent them from becoming a problem is good housekeeping.”
The survival expert will recognize the need to keep your compost safe from creatures to avoid contamination from disease and exposure to dangers associated with these pests. Salter explains why this is essential, “composting should be managed in a way that does not attract pests, whether it is indoors, on a porch, or in the backyard. This means selecting the right system to minimize odors and access.”
- Build or buy a home for your worms from wood or plastic. Remember to drill holes to allow for air at the top and drainage at the bottom.
- Don’t let your worms get too hot or too cold. 60- to 75-degrees Fahrenheit is the perfect temperature range for them to do their dirty work.
- Make their quarters nice and cozy with a mixture of moistened old papers, cardboard, and soil.
- Digging up worms from the nearest park won’t work. To ensure healthy composting, go with red wigglers (eisenia fetida).

- Feed them yummy scraps, but avoid meat, fish, dairy and citrus.
- In three to six months, your wiggly helpers can be moved to one side of the bin and what is left on the other is gooey, great compost!
Start the worm bed by shredding one-inch strips of newspaper, enough to fill the container.
Soak the shredded strips of newspapers with water. Squeeze out the excess water and fluff-up the wet newspaper.
Place the fluffed-up wet newspaper into the container. The container should be one-half to three-fourths full.
In a well-lit area or outside on a sunny day, empty the worms on top of the shredded newspaper (making sure the light or sun is shining down on the box). The worms will quickly go down into the bedding material because they don’t like the light. (If the area isn’t well-lit, the worms won’t go down into the bedding and they might crawl out.) Once they go into the bedding, they will start making their new home in the bedding.
Keep the bedding moist but not wet. Then, add a little soil over the bedding material. Worms need soil or sand to digest their food. Wait for about seven days before adding other food to the worm bed. The worms need to become acclimated to their new environment for the first week.
Editor’s note: A version of this article first appeared in the Winter 2013 print issue of American Survival Guide.