

5 PROJECTS YOU CAN BUILD QUICKLY WITH A KNIFE AND A STICK
I am a firm believer that in the school of the woods, simple is better. I’d rather make it than take it. Here are five projects to try out next time you want to get some dirt time and create something useful.
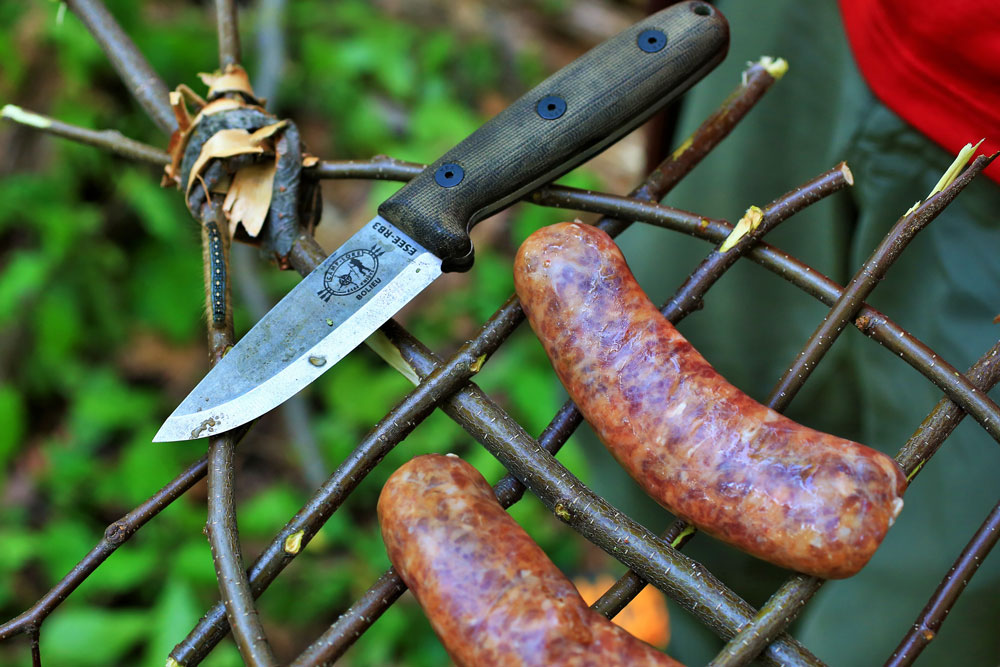
1. GRILL
A grill made from sticks is one of the most useful and easy camp kitchen implements that’s fun to make. Utilizing green wood from a freshly blown down tree, a thicket of witch hazel, willow, or alder, procure a branch with a natural Y. Thin and springy is what we’re looking for, and if it has three separate branches like a trident, it makes it easier.
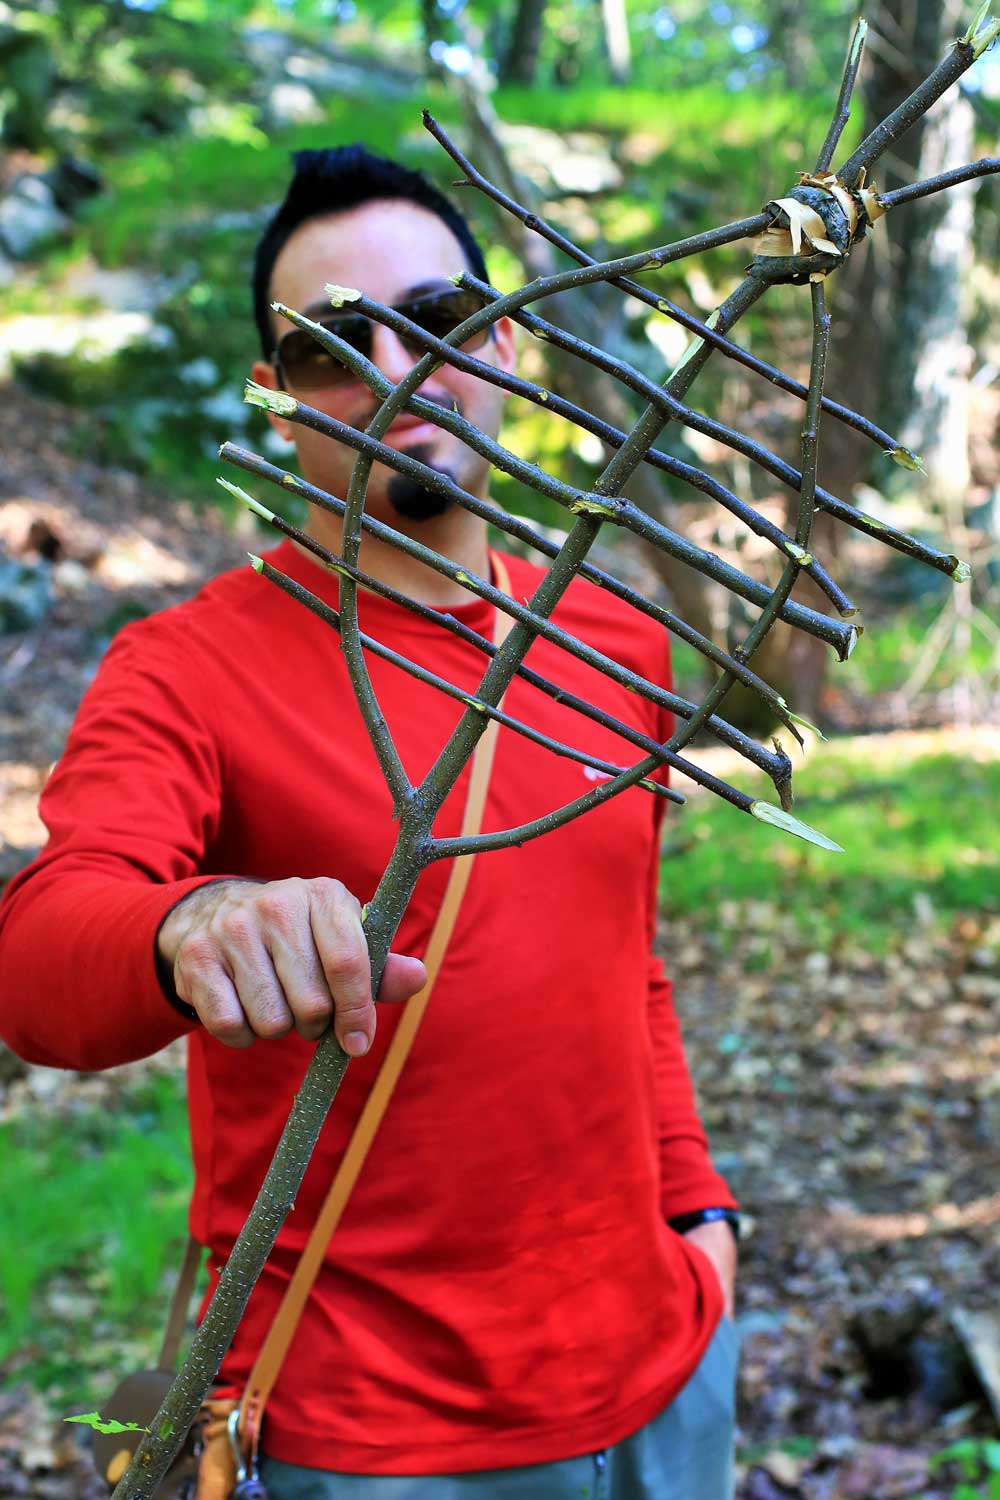
These parts should be thin enough to tension cut with a sharp knife by bending the branch/sapling and placing the blade at a 45-degree angle. Cut it by rocking the blade firmly against the fibers until it cuts through. If any, I try to trim the smaller offshoots and leaves and join the two Y pieces to form a hoop by entwining them. Friction should keep them together; however, natural cordage can be used.
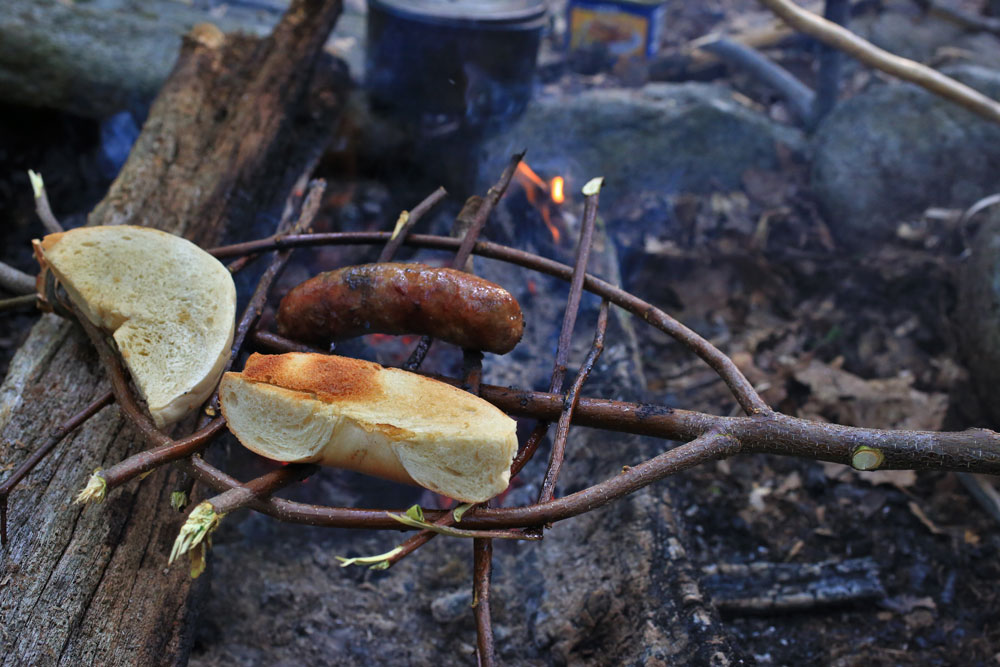
If the branch does not have a natural middle piece (like a trident), use another stick wedged in the middle. Using thin sticks or a larger piece that has been split, start inserting sticks alternating, going over and under the middle piece. All pieces need to be green for this project. NOTE: This type of grill is better for cooking over coals than an open flame. Do not use oleander.
2. WOODEN MAUL
A glorified, purposefully made baton is called a maul. It serves the same purpose as a baton/mallet, yet is known in the bushcraft community as a maul. It is a very handy multi-use camp tool. This project requires a saw to cut as evenly as possible around a thick piece of wood. This cut will act as the stop cut. The thickness can vary; however, wrist to bicep thickness seems common.
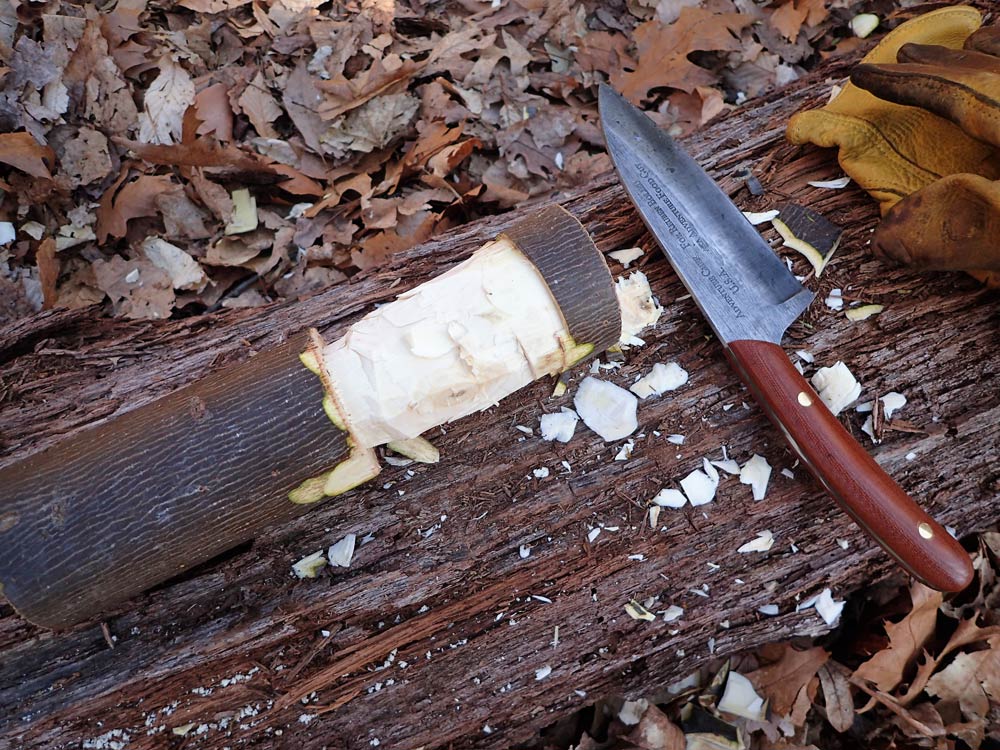
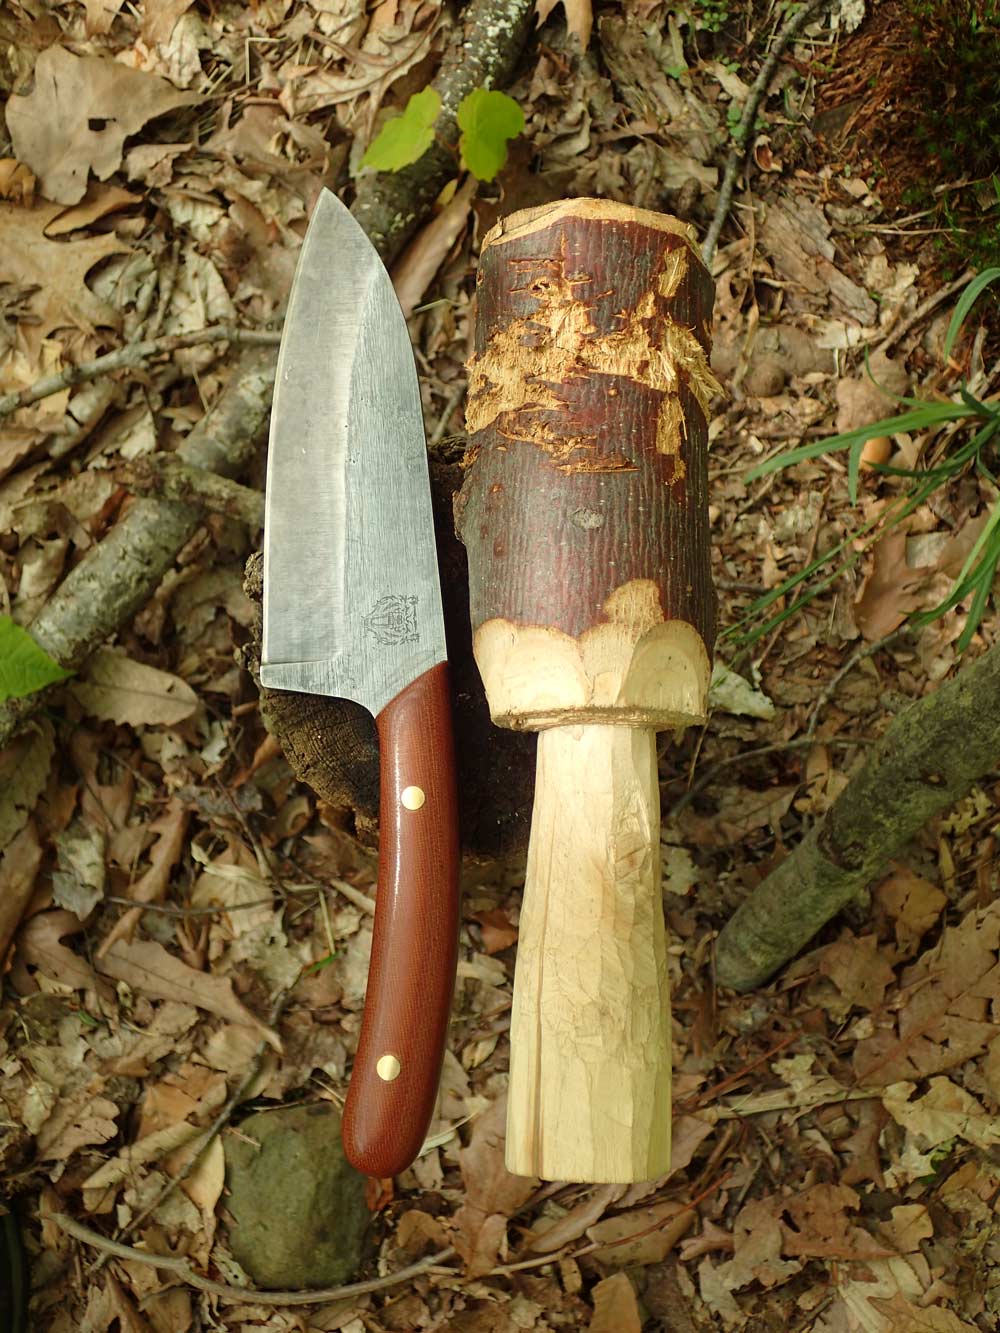
A maul can have a long handle and a small striking surface or a smaller handle and a larger striking surface. Once the saw cut has been made, the wood is turned upside down, so the striking end is on a flat, solid surface, leaving the handle part facing up. With a knife and disposable baton, start splitting out the handle in small sections at a time. Use the knife to smooth out and shape the handle. A maul is a tool that helps make other tools.
3. SPATULA
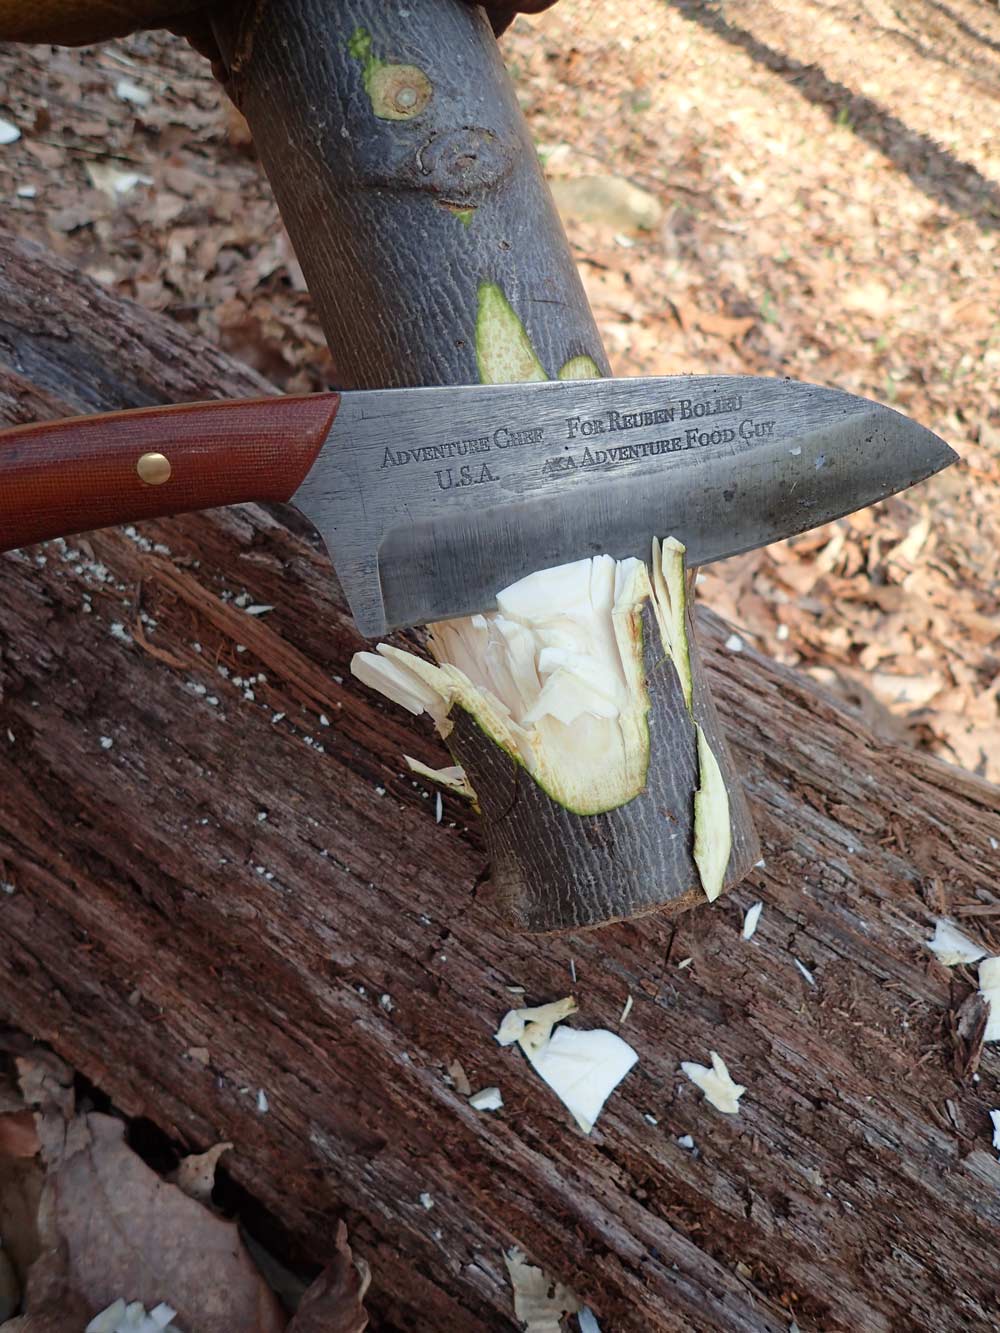
Taking a spatula on a camping trip can be convenient, but making one is more fun and less to pack or clean. With the help of a saw, cut a piece of wood as wide as you want the spatula to be. Use a knife and baton/maul to aid in splitting the wood. Try to get part of the wood that will be consistent. All the split pieces that come off should be saved. The flatter the piece of wood, the less shaping will be needed. Usually, the rough shape is done with an axe or hatchet; however, I used a larger Adventure Chef camp knife with some weight to rough shape it.
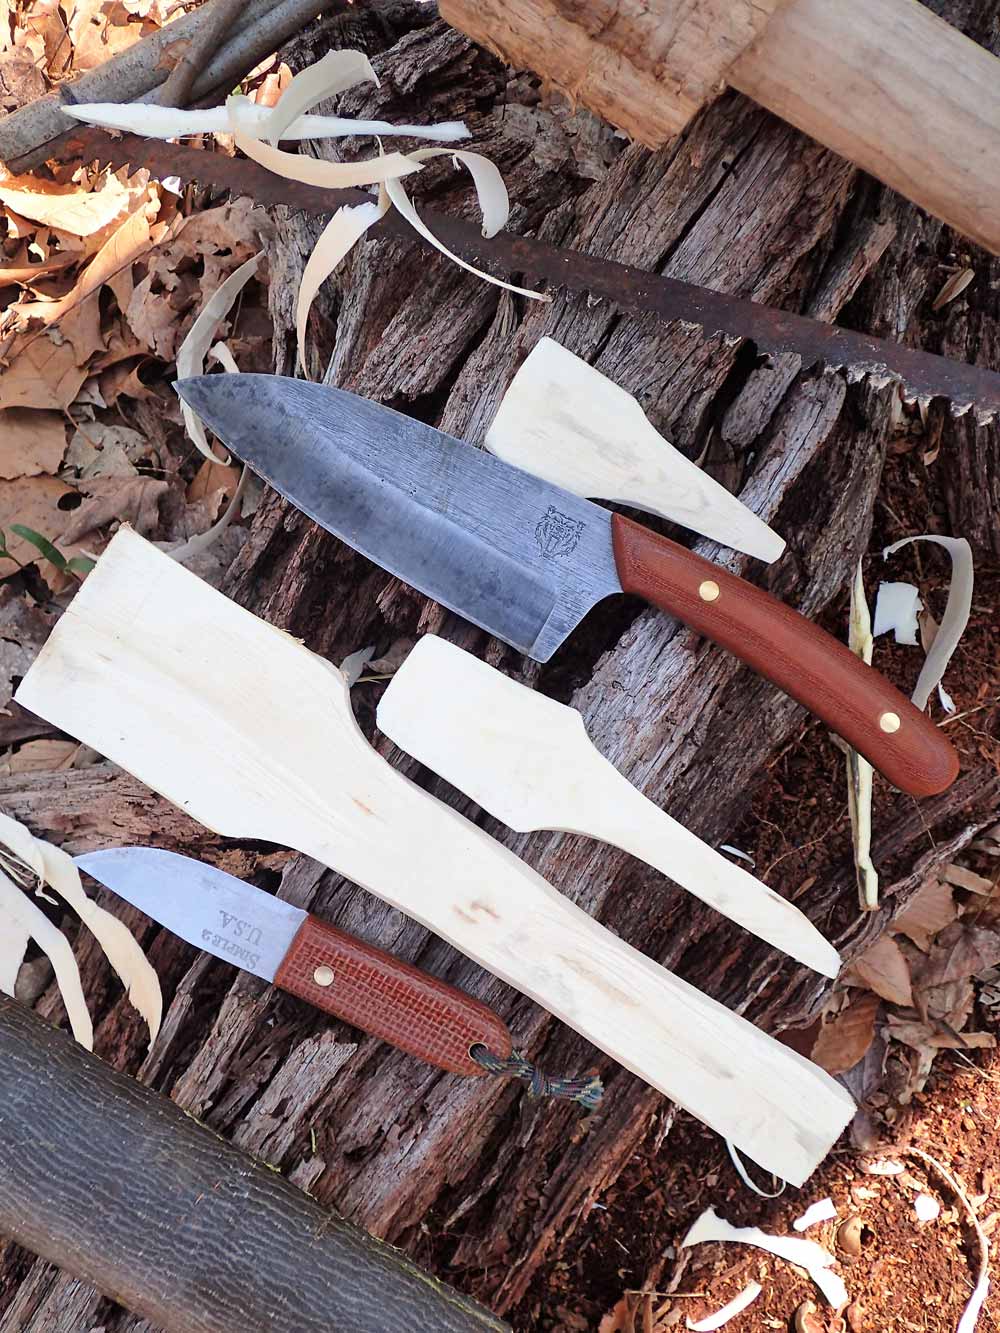
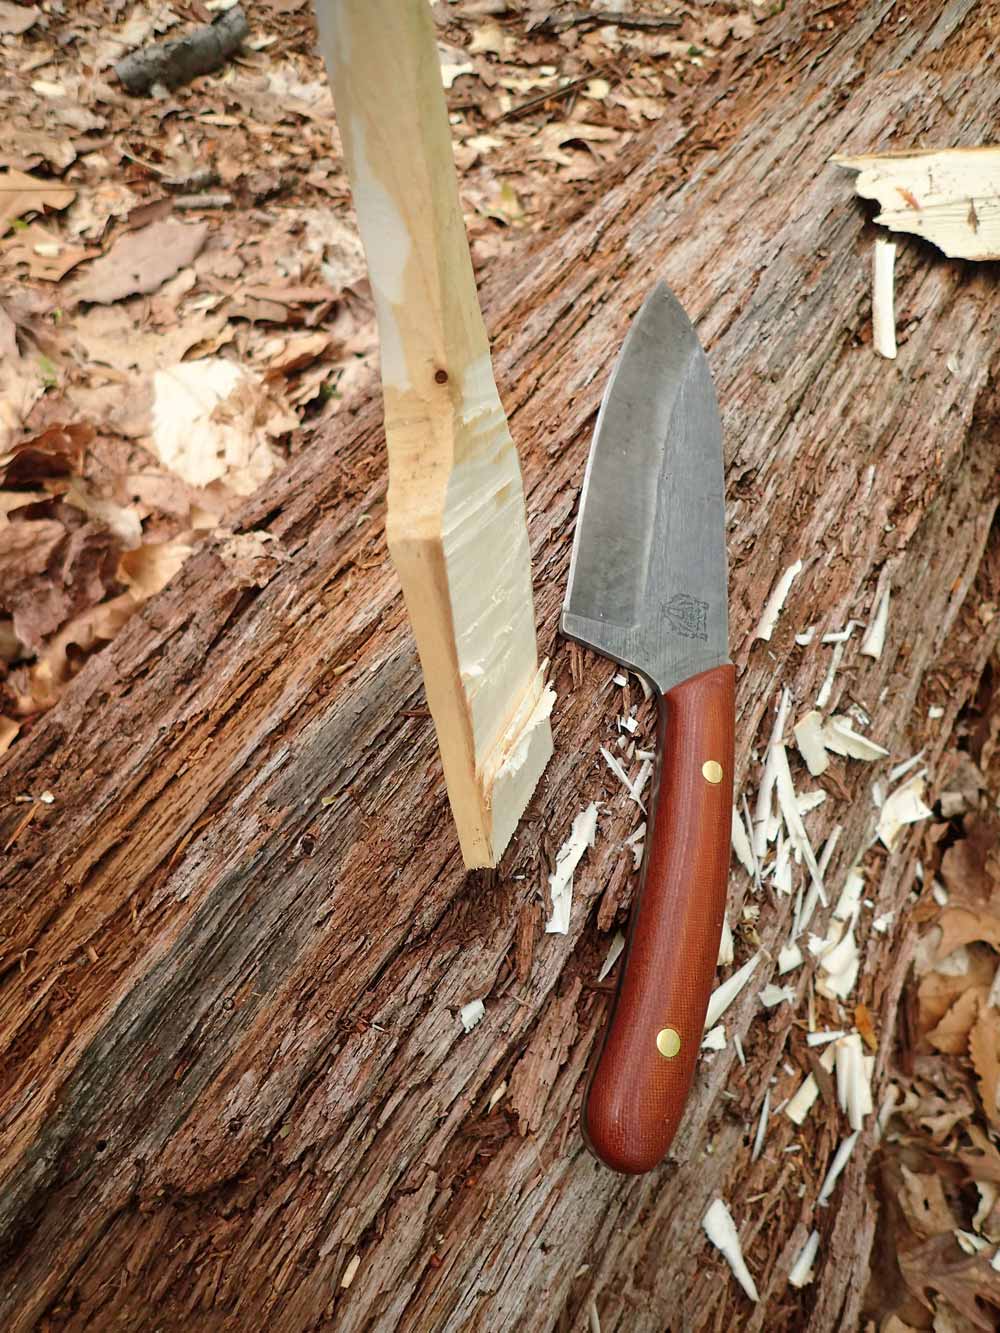
A drawing of a spatula shape can be traced, or as I did, I took a kitchen spatula with me to use as a template. I usually thin the front part that will be coming in contact with the food first. I place the wood blank on a sturdy log and start chopping to form a thin part that scoops up food. Short, controlled chops are best.
Then, I start shaping the handle with thumb-assisted, sweeping cuts in a chest-lever grip. I can keep shaving the sharp corners to round the handle or keep it flat. It is all about getting the spatula part thin enough to get under food like eggs and having a comfortable enough handle to use.
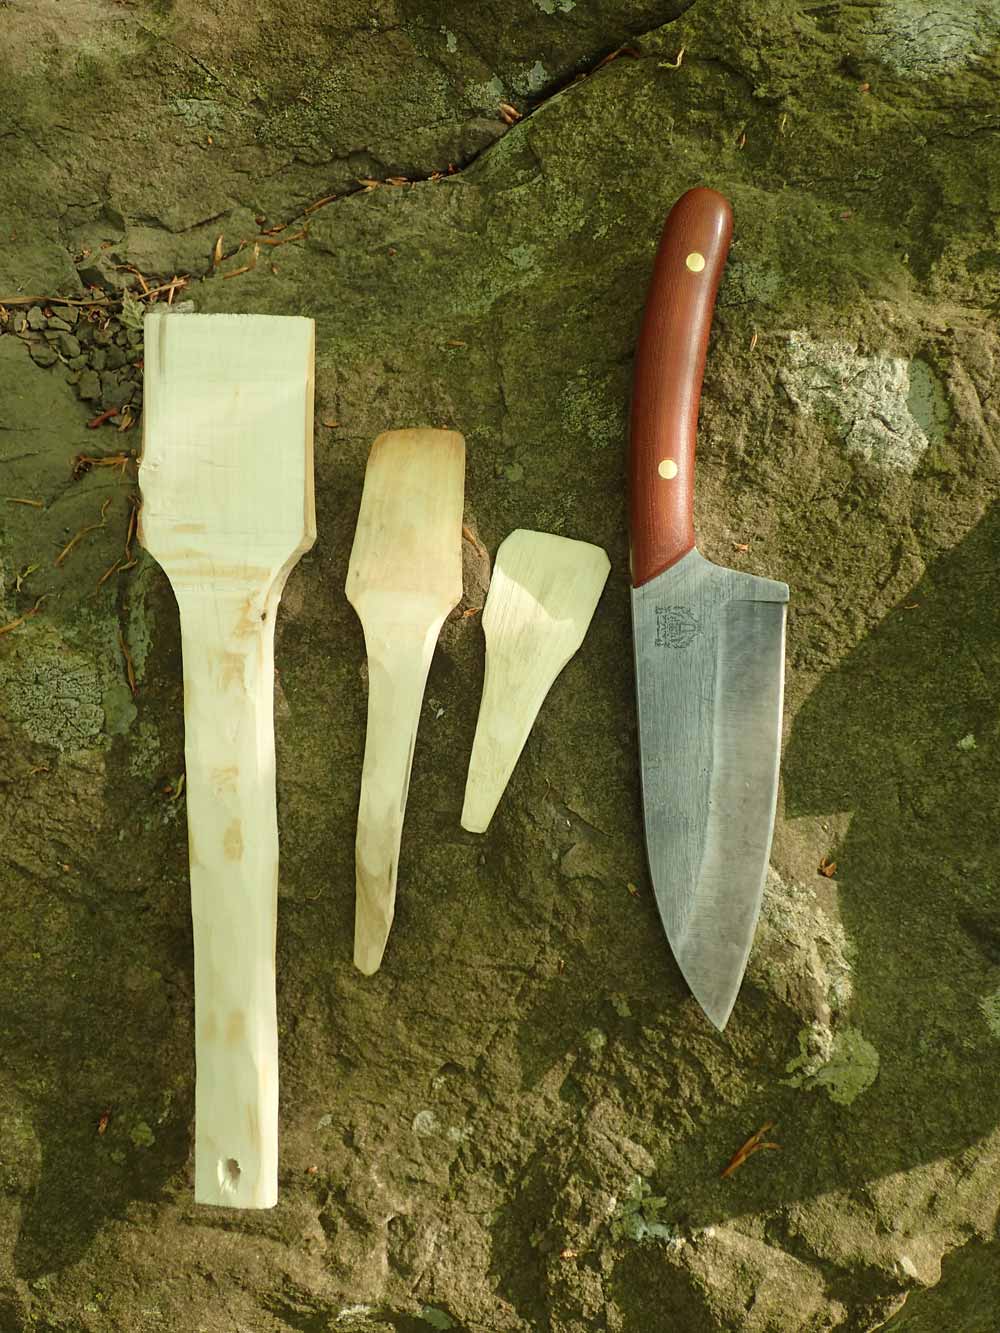
I use the smaller splits to make smaller spatulas or a pan scraper to remove any caked-on food bits. This method is a good way to make the most out of your project and not waste it. The extra chunks and slithers of wood can be used as wood chips after a little bit of drying out.
4. ONE-LASH TRIPOD
Not your ordinary lashed-to-hell, wasting several feet of lashing and frapping cordage tripod. This may be the simplest, fastest, useable tripod I’ve seen, but I first saw it done by Dan Wowak of Coalcracker Bushcraft. He has a great video showing how minimalist tripods can be used to hang a pot, boots, water filter, smoker, or to get your pack off the ground.
“THESE SIMPLE KNIFE AND STICK PROJECTS ARE ONLY SCRATCHING THE SURFACE OF WHAT COULD BE MADE TO MAKE CAMP COOKING AND COMFORT A LITTLE BETTER.”
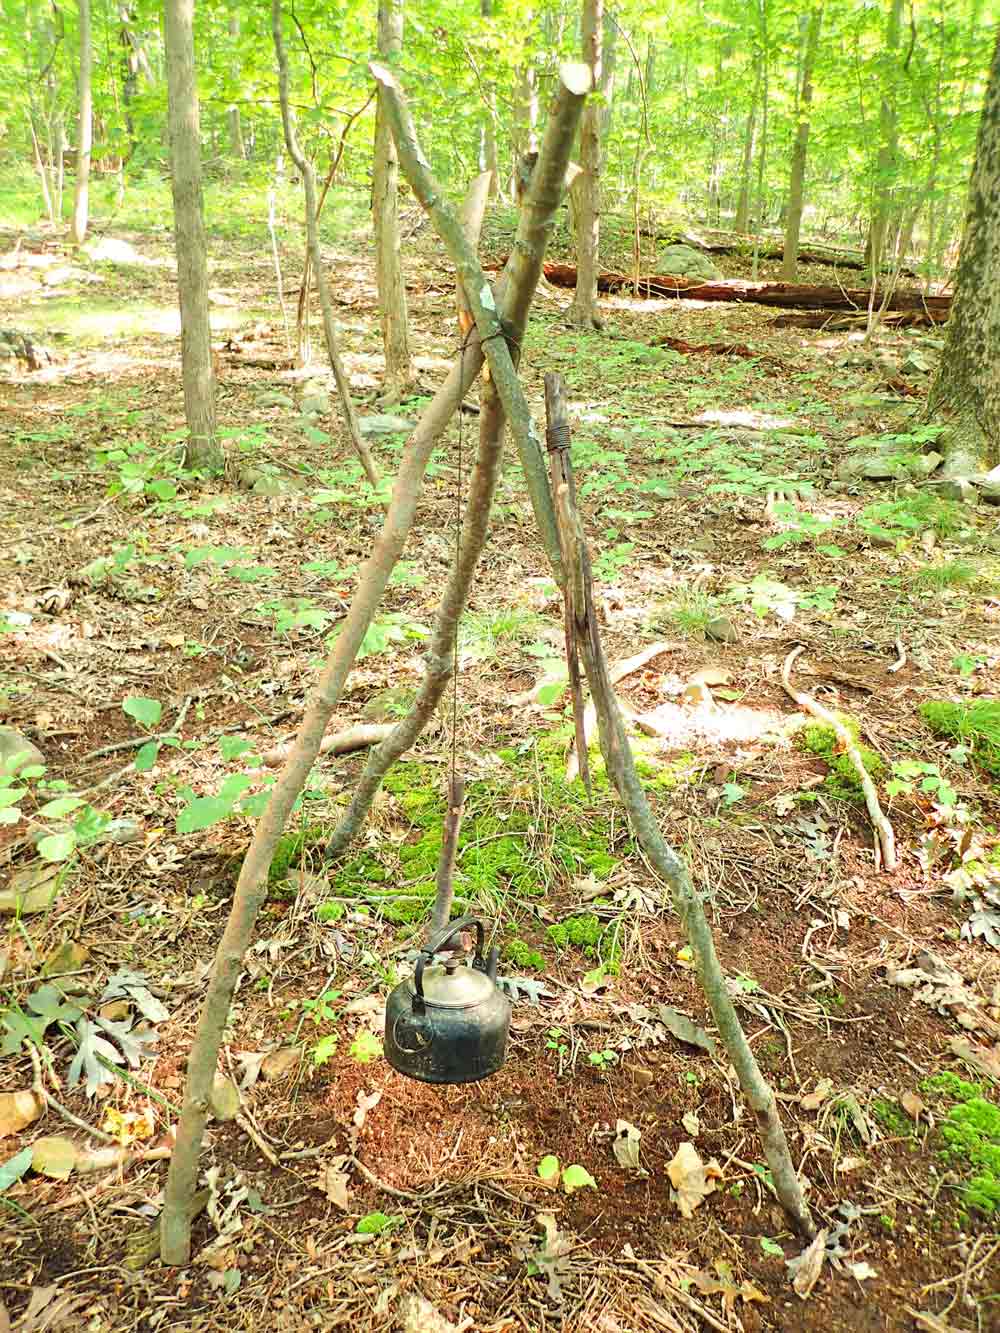
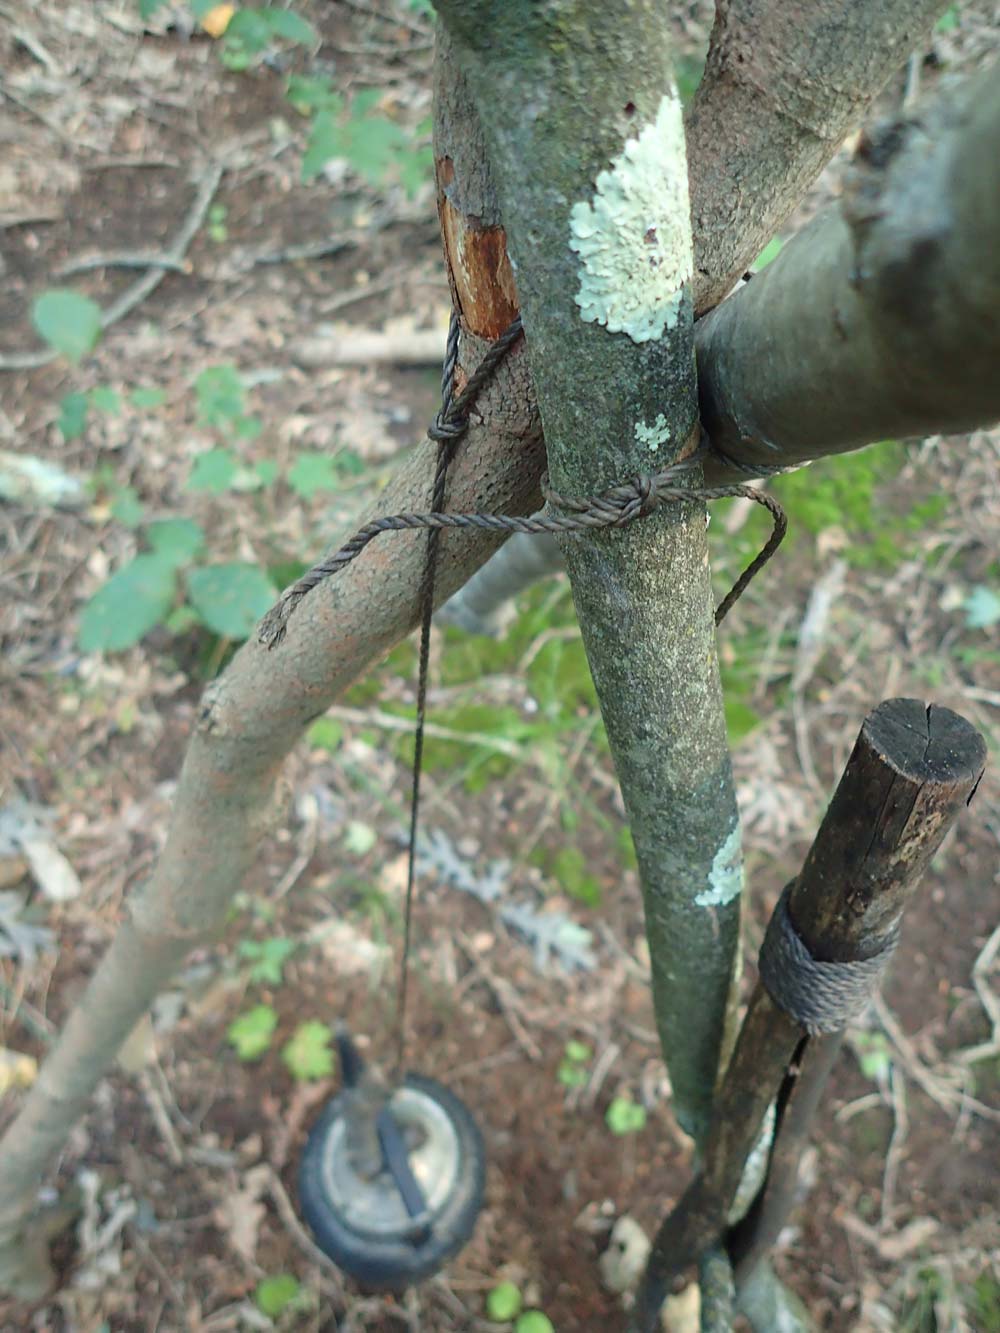
Because this tripod is not for bearing much weight, broomstick-thick poles can be used and batoned to size, if green. The three poles are bundled together, not laid flat as in traditional tripod lashing. About two-thirds up the bundle, tie a reef knot (square knot), and rotate one pole to tighten the lash. Spread the poles out, and get ready to cook. This method saves time and valuable cordage.
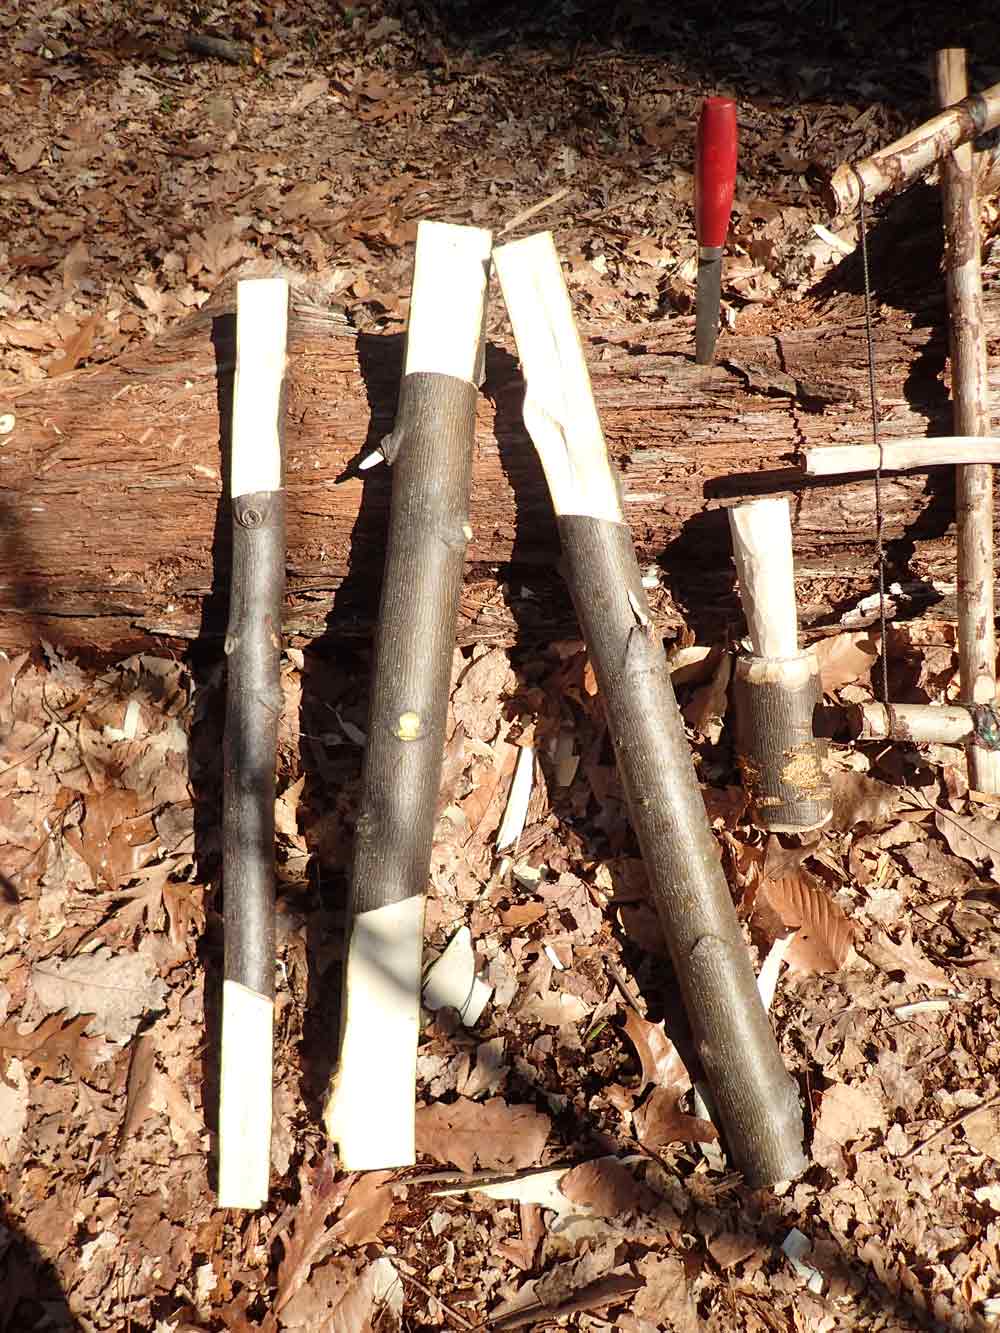
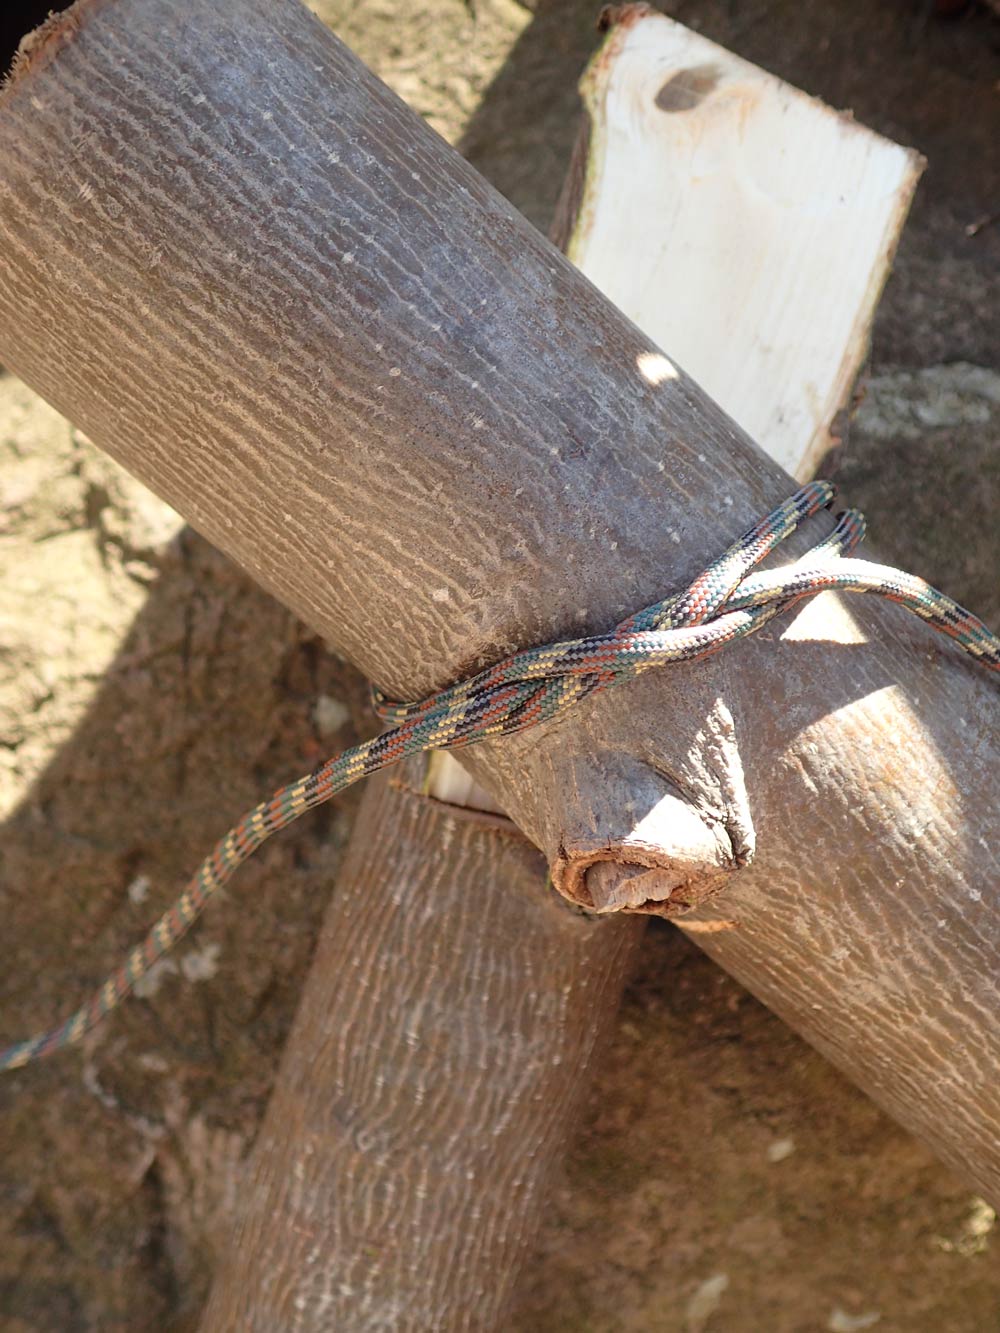
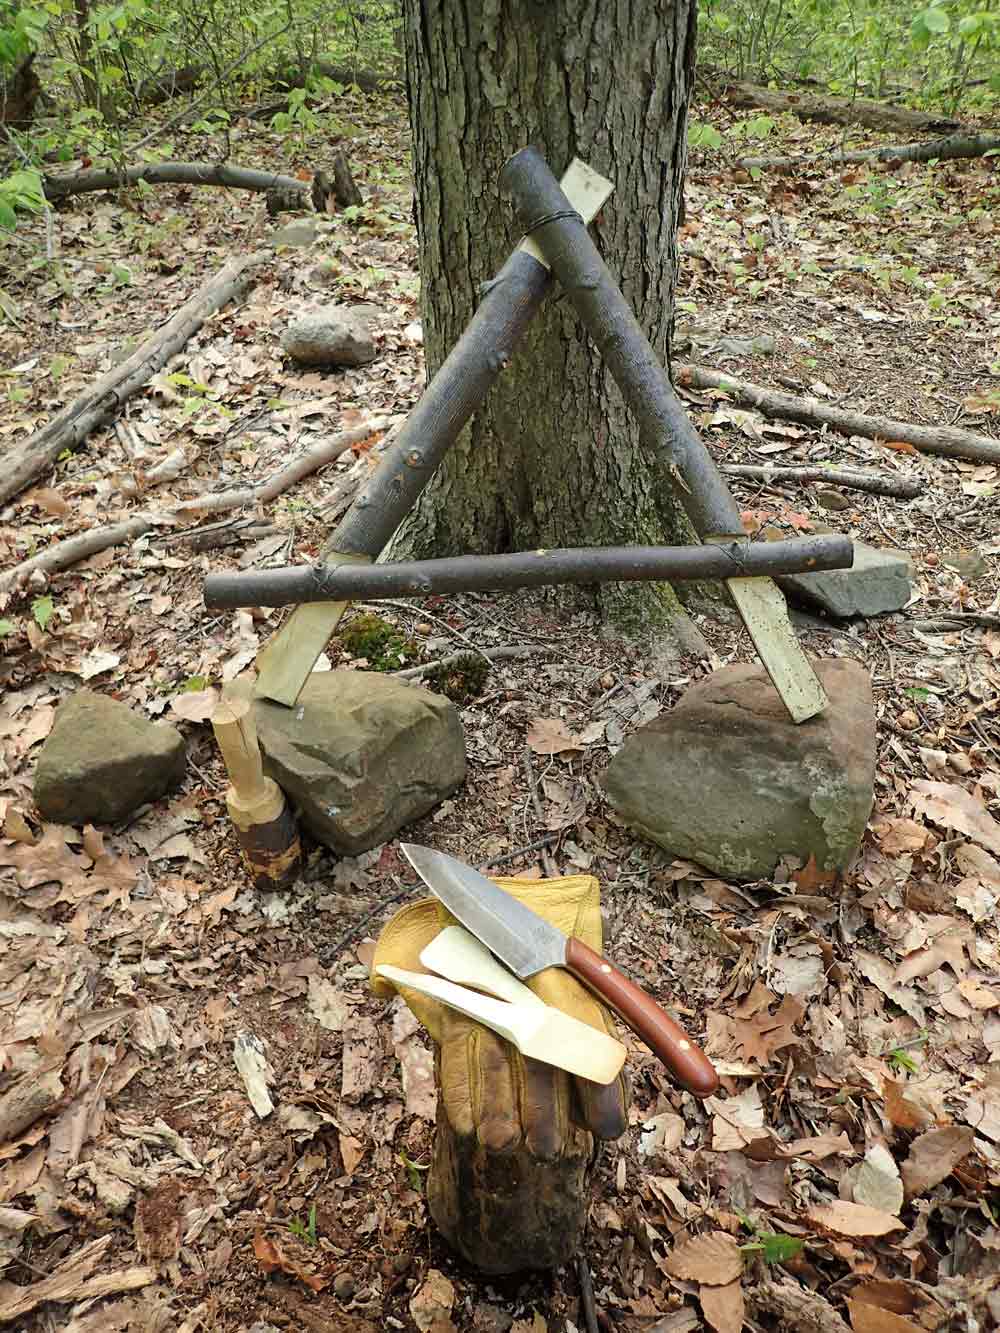
5. ROYCROFT PACK FRAME/CAMP STOOL
The Roycroft Pack Frame has a long-standing history that goes back several years. Many different bushcraft/survival schools teach a version of this with varying knots. However, I try to keep it close to what Mors Kochanski and the Karamat Wilderness Ways teach.
This style of pack frame came from Tom Roycroft, a survival instructor for the Royal Canadian Air Force (RCAF). Mors Kochanski regarded Tom as his mentor. One of many things he learned and passed on from Tom was the Roycroft Pack Frame.
This pack frame was made to carry a large amount of weight. The original was used to carry pigs, barrels, and large amounts of firewood. The Roycroft Pack Frame that most people seem to recognize has actually been modified just to be a pack frame, which means that the ends of the A-frame have been cut shorter than the original one seen by Roycroft.
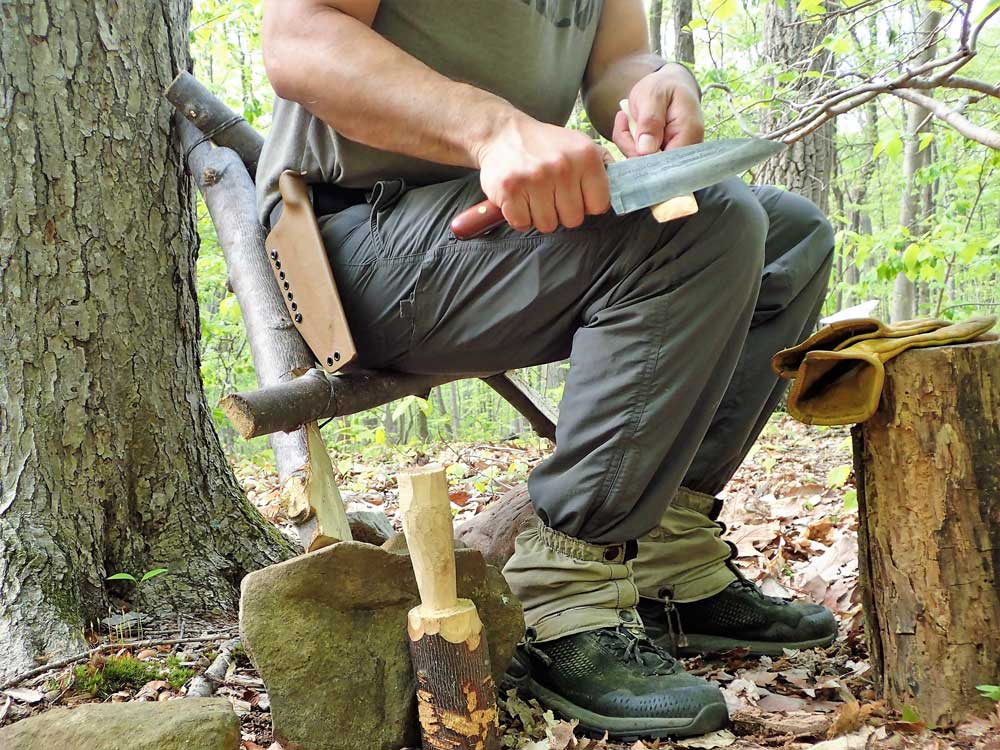
The legs were originally left longer so the person carrying the load could squat back against a tree or building and rest, like sitting on a chair. This made me think of using these general principles and building techniques of the Roycroft Pack Frame and make an intentional camp chair/stool.
Wood, paracord, a saw, and a knife are needed for this project. I started with green poplar freshly blown down from a storm. I employed the help of a bucksaw to section these thick pieces accordingly. Each diagonal piece was about inseam long and bicep-thick. The cross piece was about forearm thickness and fingertip-to-bicep long. The original pack frame used a knife to carve the flat portions that would line up and be tied together.
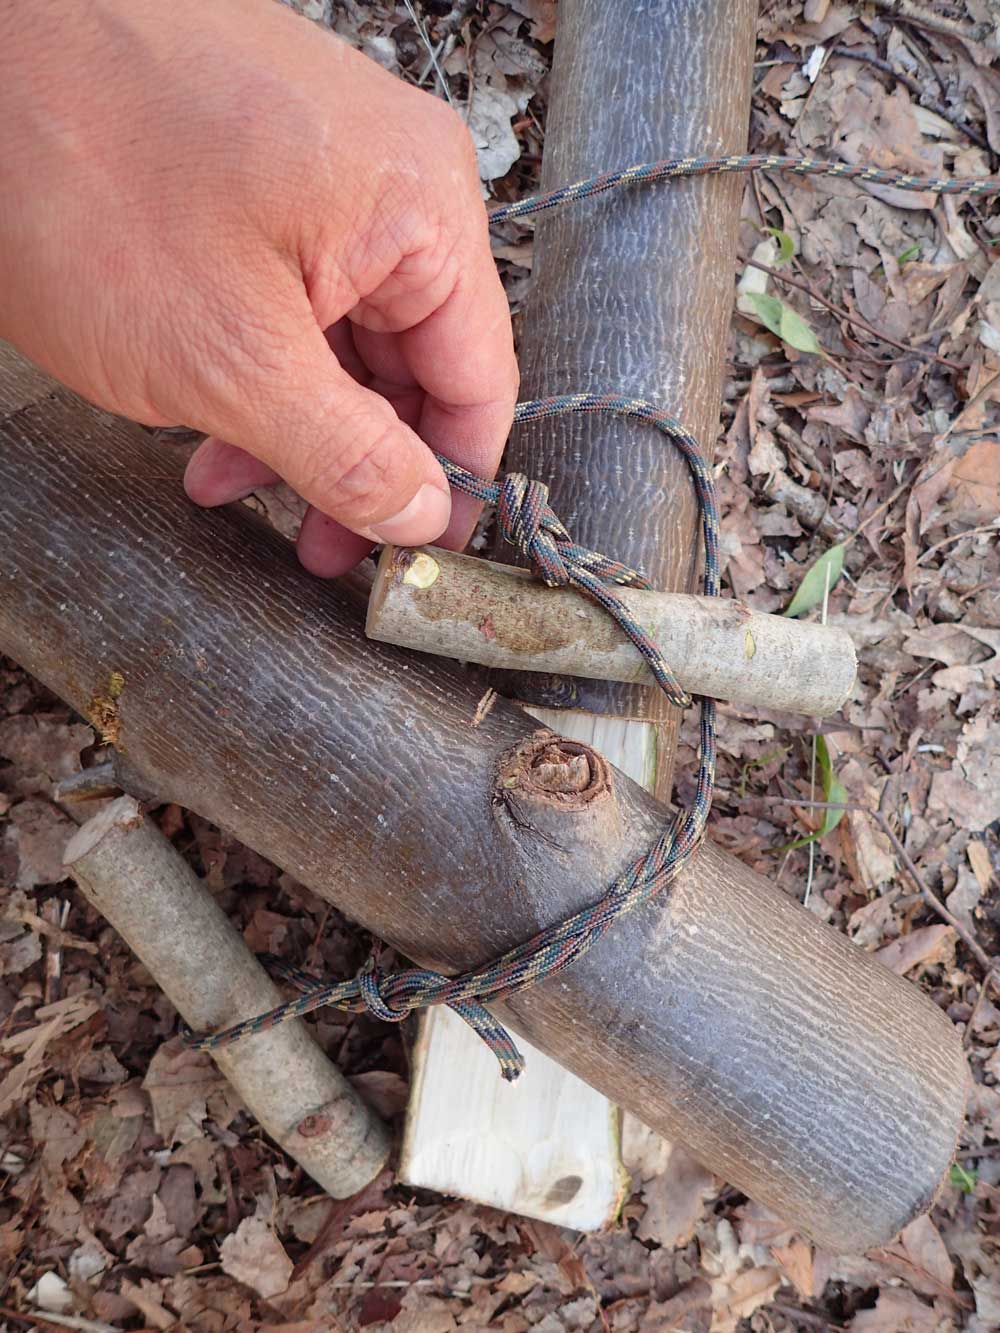
However, with these large proportions, I used a saw to make the stop cuts and a knife to baton them. This technique left me with notches and a place for the pieces to fit together. I made flats on each end of the pieces, except for one diagonal that would have the flat on the opposite side. Laying the wood down with the crosspiece on the top flats, I angled them away from where they would eventually be.
I applied a jam knot on each section, joining the flats. When the tops were bent to assume their proper position, the jam knots naturally tightened, creating tension. I held the top together, slipped a constrictor knot over, and tightened it. With the general shape in place, I returned to the jam knots at the crosspiece and added another, crossing the first knot. When the cord was trimmed on all knots, I melted the ends with a lighter as an extra measure of safety.
JUST GETTING STARTED
These simple knife and stick projects are only scratching the surface of what could be made to make camp cooking and comfort a little better. These are fun projects, easy to make, and easy to pass on. Give them a try.
THE SPECS
Bear Forest Knives Adventure Chef Knife
Overall Length: 11.25 inches
Blade Length: 6 inches
Thickness: 1/8 inch
Steel: 8670
Finish: Rock Tumbled Acid Wash
Handle Scales: Natural Canvas Micarta
Sheath: Bear Forest Knives Kydex – Coyote (.080)
Made in the USA
MSRP: $199.99
SOURCES
Bear Forest Knives
www.bearforestknives.com
contactus@bearforestknives.com
Morakniv
www.morakniv.se/en
www.industrialrev.com/morakniv
A version of this article first appeared in the July 2022 issue of American Outdoor Guide Boundless.