

AN EARTHQUAKE HAS ALL BUT LEVELED YOUR HOUSE. The upstairs guest bedroom is now downstairs in the kitchen. There’s no electricity, no gas, and no chance you’ll occupy your house anytime soon.
Since the destruction is localized to a few cities, the state government is mobilizing, which means you’ll be several days without many of the amenities we hold dear in life. Regardless of the situation, you still have to eat, and not every survival situation calls for eating bugs and bark on Day One.
For those times when you have a good food supply but not a conventional kitchen, you don’t necessarily have to resort to cooking lizards on a stick. Consider cooking them in a Dutch oven. There are many kitchen pots labeled as Dutch ovens, but the true ovens are the cast iron kettles designed for fireside cooking with three stout legs on the bottom that enable you to place these kettles directly into the coals. Their lids have a raised lip around the edge to contain the coals that you place on top, allowing you to surround your oven with heat.
While these cast iron Dutch ovens are rather large and heavy to be toting across the countryside, they are ideal for both base camps and backyards, if you find your kitchen obliterated and you have to set up a temporary homestead on the grass in the backyard. A big part of surviving extended emergency situations is being able to maintain morale. Eating tasty, nutritious meals as good as what you’d be eating under normal conditions can help keep everyone’s spirits up.
GETTING STARTED
Start with simple recipes, but don’t be afraid to experiment. The trickiest thing is learning to regulate the heat. Different types of wood can burn at different temperatures and rates. For that reason, it’s easiest to start with charcoal as your heat source. With charcoal, you can count the number of same-sized briquettes below and on top of your stove so you’re cooking at a consistent temperature.
A common mistake is to use too much heat. According to Lodge Manufacturing, one of the leading makers of Dutch ovens, eight briquettes underneath and 17 on the lid should bring your 12-inch oven to 350 degrees. That’s a good place to start, but you might still have to experiment due to differences in the charcoal you’re using and the outside air temperatures and wind conditions. If there is wind it can double necessary cooking times, so it’s best to choose a sheltered location. Dutch ovens heat very evenly, but your coals have to be distributed evenly as well. It’s a good idea to rotate the oven clockwise 90 degrees and the lid counterclockwise 90 degrees every 15 minutes or so to ensure even cooking.

You don’t need a lot of extras to get started in Dutch oven cooking. You can add to your accessories over time. Here are some handy things to have:
Gloves — Thick leather gloves are a good idea when it comes to moving hot cast iron.
Lid Lifter — Because you often place hot coals on the lid of your Dutch oven, a lid lifter is a convenient and safe way to remove the lid without burning yourself or spilling hot coals into your meal.
Lid Stand — This allows you a safe place to set your lid while you check your meal. As an alternative way to cook, you can place the stand in the coals and place the lid upside down on top of it. The inverted lid makes a nice frying pan for such things as eggs and pancakes.
Barbecue Tongs — These allow you to safely move coals around or place them on your Dutch oven’s lid without getting your fingers too close to the heat.
Pan Scraper — A plastic pan scraper can help you to remove stubborn food when you’re cleaning your Dutch oven. This is especially useful when you are first learning to regulate the heat to your oven and you end up with food stuck to the sides or bottom of the oven.
Round Cake Pan — This is especially useful for baking in your oven.
Round Cooling Tray — Use this in the bottom of your oven to steam vegetables or to support your cake pan within the oven.
Charcoal Lighter Basket — This is a fast, easy device for lighting charcoal without using lighter fluid.
Disposable Dutch Oven Liners — These aluminum liners will help to keep the inside of your oven clean and will help to protect the seasoning when cooking acidic foods.
Carry or Tote Bag — These are designed to protect your oven while transporting it.
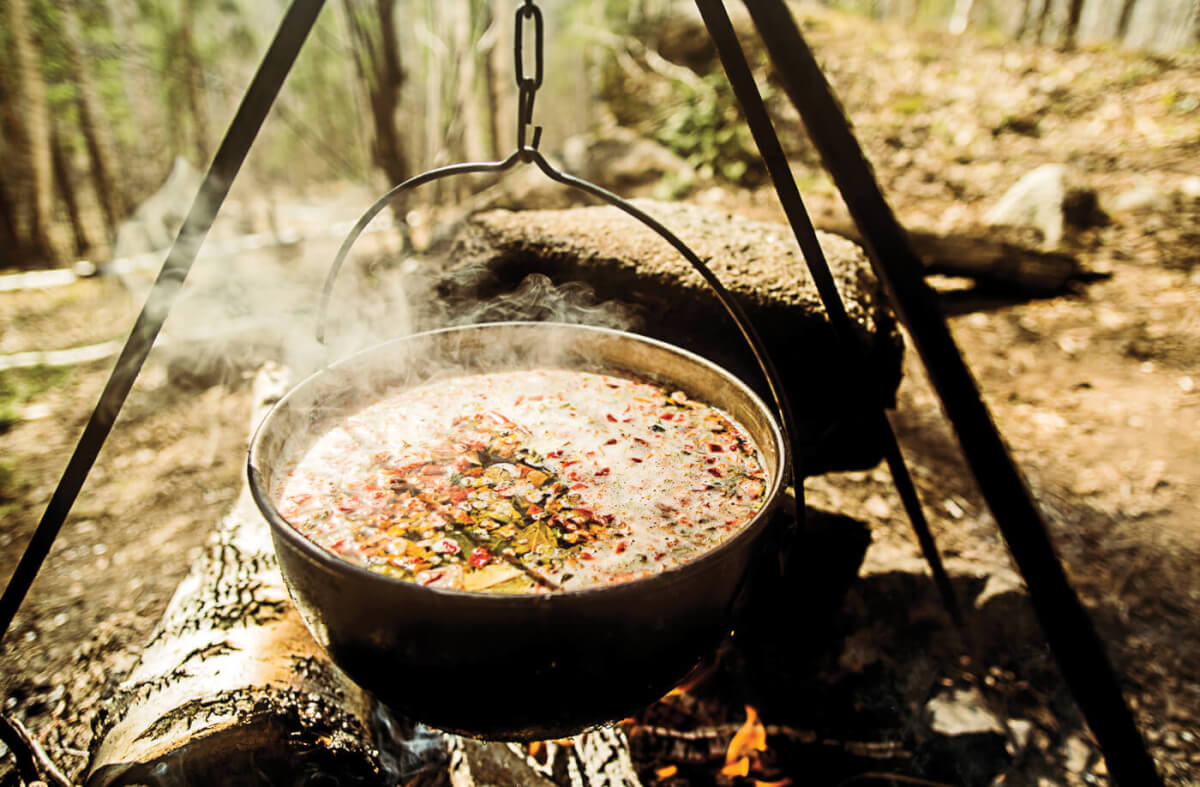
Tripod — Use this to hang your oven over the fire to use it as a conventional cook pot.
Cooking Table — This is the ultimate in civilized cooking outdoors. On such a table you can cook with your oven at waste level without ever having to bend over to tend to your coals.
“… you’ll discover the possibilities for superb meals outdoors are endless.”


6 ADVANTAGES of a Dutch Oven
1. Dutch ovens are versatile. Use them to bake cakes and casseroles, biscuits and beef, main dishes and desserts. Basically, anything that will fit into the kettle you can cook as if it was placed in your own kitchen oven at home. You can even invert the lid to use that as a frying pan. The cast iron heats evenly and retains that heat.
2. Cook anywhere. You can use Dutch ovens in your kitchen at home. During power outages, you can cook with them in your fireplace. Outside, you can cook with them over charcoal or wood coals — anywhere you can build a fire. You can suspend them over fire or place them on a grill, but most of the time you’ll be placing them directly into the coals.
3. Properly cared for, these cast iron kettles will be around for your great grandchildren to prepare their venison
stew and turkey chili recipes. They’re the same type the pioneers brought with them as they traveled west. They have been around for hundreds of years and were often handed down as family heirlooms from one generation to the next.
4. Cleanup in the field is easy. The more you cook with a Dutch oven, the more your greasy gravy sinks into the porous cast iron and “seasons” it, helping to give it a dark, protective non-stick surface. When you’re done cooking, simply wipe and rinse away any food particles. When the kettle’s dry, apply a thin coating of vegetable oil to keep it from rusting. There’s no need to worry about germs. All of the little bugs will be killed the next
time you heat your kettle.
5. There’s a size to fit every need. The 12-inch, six-quart Dutch oven is the most common. But they come in many sizes larger and smaller. It’s often nice to have different sizes on hand to suit all of your cooking needs.
6. Double-Decker Dutch. You can cook with two Dutch ovens stacked one on top of the other, allowing you to use fewer coals. Prepare your main dish in one and your dessert in the other. Because they retain heat so well, your dessert will still be warm when you’re ready for it.

fewer coals to cook your main course and dessert at once.
Once you’re familiar with the basics of Dutch oven cooking, you’re limited only by your imagination when it comes to easily-prepared meals outdoors. Here are a couple of recipes to get you started:
Chicken, Rice and Vegetables
3 cups white rice
3 cups water
3 cans cream of chicken soup
1 frozen 1-lb package of mixed vegetables Five to six chicken boneless chicken breasts
1½ lbs of shredded cheese Seasonings (Old Bay or other) to taste
Procedure: Place water, rice, soup, vegetables in bottom of 12-inch Dutch oven. Arrange chicken on top. Sprinkle seasonings on chicken. Bake at 350 degrees for 45 minutes. Sprinkle cheese on top and cook for an additional 15 minutes or until cheese is melted.
Strawberry Rhubarb Cobbler
4 cups sliced fresh strawberries
3 cups sliced fresh rhubarb
½ cup quick tapioca
2 cups sugar
1 yellow cake mix
Procedure: Mix strawberries, rhubarb, tapioca and sugar in a bowl. Let stand in refrigerator for several hours. Pour into 12-inch Dutch oven. Sprinkle dry cake mix evenly over top. Bake at 350 degrees for 45 minutes to 1 hour until cake mix appears to be cooked.

started without lighter fluid. Just light some crumpled
newspaper or other tinder in the bottom.
“Never pour cold water into a hot oven.”
CAKE PANS AND COOLING RACKS
Although you can cook any foods directly in your oven, sometimes it’s good to use a separate pan placed inside the oven. You can place a round cooling tray normally used for pies in the bottom of your oven. For a 12-inch oven, use a nine-inch round cake pan placed on top of that tray.

Cooking your food inside a cake pan within your oven is a good idea when baking cakes and biscuits or when you don’t want to worry about cleaning the oven afterward. When your food is done, simply use a pan lifter to lift the cake pan out. The inside of your oven should still be clean.

CAST IRON MAINTENANCE
To protect your Dutch oven’s seasoning, which provides its non-stick surface and some protection against rust, never scrub your oven with a metal scouring pad or steel wool the way you would a stainless steel pot. Heat water in your oven to loosen any food that’s sticking and use a thin plastic scraper if necessary.
Never pour cold water into a hot oven. Acidic foods, such as tomato sauce and baked beans, tend to deteriorate the oven’s seasoning, so after using your oven to prepare such foods, you might have to re-season it. Thankfully, this is an easy process. To re-season your oven, coat it inside and out with a thin coat of vegetable shortening, such as Crisco. Don’t use too much because you don’t want it to catch fire. Bake your oven on a rack for about an hour and your seasoning will be restored.
The easiest way to get started in Dutch oven cooking is to purchase cast iron ovens that have already been seasoned. Here are some good choices:
Lodge lodgemfg.com
Stansport stansport.com
Camp Chef campchef.com
Texsport texsport.com
Old Mountain oldmountainllc.com
Coleman coleman.com
Bayou Classic thebayou.com
Editor’s note: A version of this article first appeared in the October 2015 print issue of American Survival Guide.