

Nothing is more frightening than being stuck on a vast ocean in a damaged or sinking boat. Mankind is a terrestrial animal; we’re meant for the land, and we’re not well adapted for swimming great distances or surviving well in the open water. Not only do we lack the fat to stay warm, but we also lack the appendages to propel ourselves efficiently through the water.
“A STRETCH OF ROUGH WATER FLIPS YOUR CANOE IN THE BACKCOUNTRY, OR STORM CLOUDS ROLL IN AND THAT RELAXING SAIL IN THE CHANNEL IS ABRUPTLY INTERRUPTED WHEN YOUR SAILBOAT CAPSIZES DUE TO THE HEAVY WINDS.”
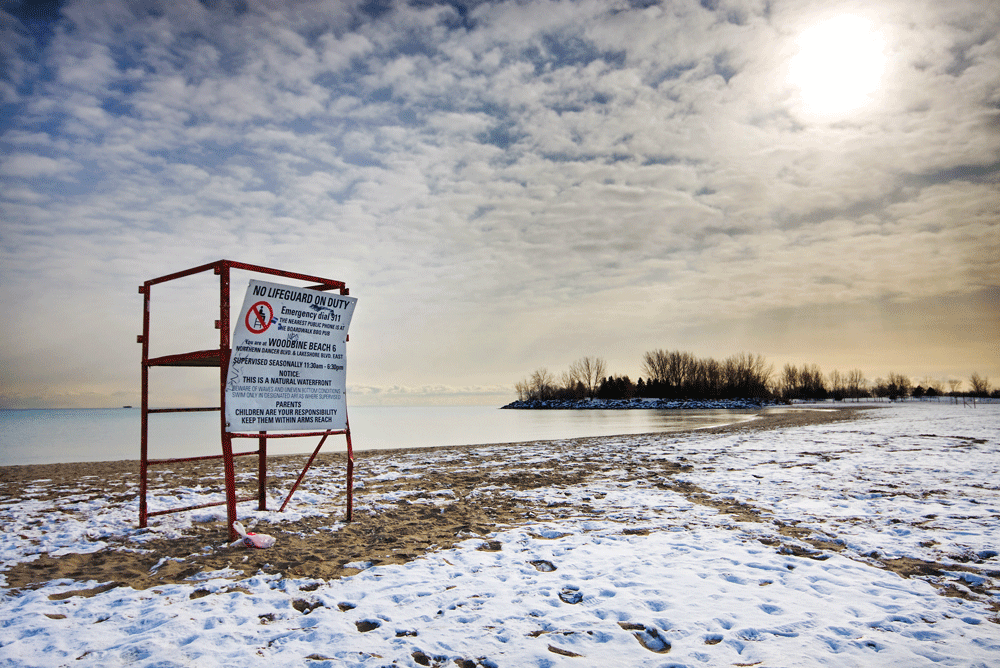
Recreational swimming is enjoyable, as are dozens of other sports found on water, which means people spend a lot of time on lakes, rivers, and oceans. But, sometimes things don’t go as planned or expected, and what was fun in the sun can quickly turn into a life-or-death situation. A stretch of rough water flips your canoe in the backcountry, or storm clouds roll in, and that relaxing sail in the channel is abruptly interrupted when your sailboat capsizes due to the heavy winds. Watching flood waters swell a nearby stream changes from a spectator sport to a contact sport in the blink of an eye. These are real world events that can toss you into the torrent with little else to do but fend for yourself. Each of us needs to be our own lifeguard.
LEARN THE BASIC SKILLS
If you are going to play or be around water the first thing you need to do is to learn how to float. Then you need to learn how to swim.
Many people can float without any difficulty, flat on their back with their toes sticking up. Most of us have some level of positive buoyancy, but not everyone can float; some of us actually have negative buoyancy and need to learn the techniques for keeping themselves from sinking below the water’s surface.

In addition to learning to float, swimming strokes you should learn are the backstroke, the sidestroke, the breaststroke, and the overhand or crawl. The first three take the least energy in case you need to conserve your energy or swim a long distance, while the last gives you the most power if you need swim against a current or headwind.
CAN YOU BECOME DROWNPROOF?
Fred Lanoue was a swimming coach at Georgia Tech in the early 1930s. He believed that everyone, regardless of strength, age, or skill, should be able to keep themselves from drowning if they needed to. He did research, developed techniques, and in 1940, he began teaching people how to “drownproof” themselves. It was a simple technique and was one that anyone could do, even if they couldn’t float. The technique has five steps that you repeat as needed to stay afloat.
Step 1: Start by resting in the water with your body in a vertical position, or at a slight forward angle, whatever is comfortable. Your arms should be held out in front of you and your body should be relaxed. Your face should be down in the water, and the top of your head should just be breaking the surface of the water. It is alright if your head rides higher than that, but it is not necessary.
Step 2: When you are ready to take another breath, push down with your arms and gently kick your legs to raise your head high enough above the water that your nose and mouth clear the surface. As you are doing this you can also start to exhale to prepare your lungs to take in a new breath.
Step 3: When your head clears the water, finish exhaling and then take a deep breath, filling your lungs to capacity. It is important to fill your lungs because when you drop back down in the water they will act like balloons and help to keep you afloat. The more air you take in the more buoyant you will be.
Step 4: After you take your full breath let yourself drop back down into the water and let your face fall beneath the surface again. Your arms should be outstretched like in Step 1.
Step 5: Float like this, with your body relaxed until you feel the need for another breath, normally five to ten seconds. Do what works well for you. Then repeat steps 2 through 4 again and repeat for as long as you need to.
CONSIDER A PERSONAL FLOTATION DEVICE
The next critical part of being your own lifeguard is to always wear a Personal Flotation Device (PFD) whenever you are on the water, even if it is just for a few minutes or for a short distance. But, why should I wear a bulky or heavy life vest when I’m only going a short ways on calm water or if the water isn’t even five feet deep? Well, because life is full of unexpected events and accidents happens.

Every year submerged rocks or logs flip over rafts and canoes in the backcountry. Every year people are knocked unconscious while pleasure boating when their boat is bounced or capsizes due to the wake from a larger watercraft crossing their bow. There are also more options today than there was in our parent’s day or when we last spent time in a boat at summer camp. Today’s models are lighter and more buoyant than before, and some new U.S. Coast Guard approved models are even inflatable which makes them much slimmer and smaller when worn but not in use. The five types of PDFs, as defined by the USCG are:

>TYPE I PFDS / OFF-SHORE LIFE JACKETS: Best for all waters, open ocean, rough seas, or remote water, where rescue may be slow coming. Abandon-ship lifejacket for commercial vessels and all vessels carrying passengers for hire. These PFDs will always turn the wearer face up to keep their face out of the water.
TYPE II PFDS / NEAR-SHORE BUOYANT VESTS: For general boating activities. Good for calm, inland waters, or where there is a good chance for fast rescue. These might turn the wearer face up but it is not guaranteed.
>TYPE III PFDS / FLOTATION AIDS: For general boating or the specialized activity that is marked on the device such as water skiing, hunting, fishing, canoeing, kayaking and others. Good for calm, inland waters or where there is a good chance for fast rescue. Designed so that wearing it will complement your boating activities.
>TYPE IV PFDS / THROWABLE DEVICES: This type includes devices such as boat cushions or life rings which the person in the water can hold onto and use as an aid to flotation. Its weakness is that the person must have the strength to hold it and is conscious.
TYPE V PFDS / SPECIAL USE DEVICES: These are only for special uses or conditions. These include the automatically inflating life vests which inflate from a CO2 cartridge when it comes in contact with water. This type is PFD is ideal for situations where the wearer is unconscious or injured, or when a bulkier style is not desired or will not work.

The most important thing to remember about wearing a “life vest” is the USCG slogan, “It can’t help you if you aren’t wearing it!”
DIY LIFESAVING TECHNIQUES
The next part of being able to effectively keep yourself safe and alive when on the water is to learn how to use what is available. You can use objects like your overturned boat or canoe, logs, or foam that is floating in the water as a Type IV flotation device. You can also flip a bucket or similar container over so that it holds air inside of it and act like a beach ball to keep you afloat. Empty containers like plastic bottles or plastic bag can be filled with air and sealed off and used as a flotation device as well.
“BEING YOUR OWN LIFEGUARD ISN’T AS HARD AS YOU MIGHT THINK. IT DOES TAKE SOME PRACTICE BEFOREHAND THOUGH … THIS IS DEFINITELY SOMETHING YOU DON’T WANT TO DO FOR THE FIRST TIME WHEN YOUR LIFE IS ON THE LINE.”
If there isn’t anything floating near you to serve as a flotation device, you still have your clothes to help you out. Believe it or not, once they are fully wet you can turn your shirt and pants into flotation devices.

For your shirt you need to tuck it into your pants, make your cuffs as tight as possible, and button the shirt up as close to your neck as possible. To inflate it you hold the collar in your hands and blow air down into the shirt, inflating it. Hold the collar closed once the shirt is inflated and lean back so that the air moves to the front to help you float face up.

For your pants, tie the ends of each pants leg to the other and then fill the pants with air by holding them behind you and then flipping them over your head and into the water. If that does not fully fill them with air, you can keep the waist of the pants below the water and then put you head below the water and blow air up into the pants. Once inflated enough, put your head in between the legs with the knot behind your head and hold the waist tight to your chest. You can now use the pants like a Type I life vest that will keep your chest up and your head out of the water. Keep the pants wet so that the air does not leak out and you can float for hours until someone comes to rescue you. If using your shirt, as described above, does not work you can use the pants technique, just tie off the arms and the collar.
These are not difficult techniques to use, but they are also not techniques you want to try for the first time when your life is on the line, so try this out at a local pool or lake where you can still stand up while learning how to inflate and seal your clothing.
WATER CONFIDENCE

Being your own lifeguard isn’t as hard as you might think. It does take some practice beforehand though to make sure you know the techniques and understand the little details so that you know what works and what does not work. This is definitely something you don’t want to do for the first time when your life is on the line.
Cold Water Survival
The U.S. Coast Guard provides these live saving facts on its website: Be aware that cold water (less than 70 degrees F (21 Degrees C)) can lower your body temperature. This is called hypothermia. If your body temperature goes too low, you may pass out and then drown. Even if you’re wearing a PFD, your body can cool down 25 times faster in cold water than in air.
Water temperature, body size, amount of body fat, and movement in the water all play a part in cold water survival. Small people cool faster than large people. Children cool faster than adults.
But PFDs can still help you stay alive longer in cold water. They let you float without using energy and they protect part of your body from cold water. A snug-fitting PFD is better than one that’s loose-fitting. When you boat in cold water, use a flotation coat or deck-suit style PFD. In cold water, they’re better than vests because they cover more of your body.
When you’re in cold water, don’t swim unless you can reach a nearby boat, fellow survivor, or floating object. Even good swimmers drown while swimming in cold water. Swimming lowers your body temperature.
If a nearby floating object is large, pull yourself up on it. The more your body is out of water, the warmer you’ll be. Don’t use drown proofing methods that call for putting your face in the water. Keep your head out of the water to lessen heat loss and increase survival time.
The HELP (Heat Escape Lessening Position) position is performed by pulling your knees up and crossing your ankles while crossing your arms across your chest. Use of the HELP position will lessen heat loss by minimizing the amount of exposed body area that is in contact with the cold water. However, if you’re wearing a Type III PFD, or if the HELP position turns you face down, bring your legs together tight and your arms tight to your sides and your head back. You should look like you are standing at attention.
If there are others in the water, HUDDLE together for warmth. Keep a positive outlook. It will improve your chances of survival. Always wear your PFD. Even if you become helpless from hypothermia, your PFD will keep you afloat.
Editor’s Note: A version of this article first appeared in the August 2015 print issue of American Survival Guide.