

Tree resin is a natural, sticky secretion that oozes out of trees to seal any “wounds” it may incur and also decreases water loss during droughts. Because it also happens to be a highly flammable substance, tree resin makes for an ideal natural fuel for torches and starting fires.
There are several advantages to knowing how to make a torch using tree resin and a few sticks. The materials can be easily found in a forest; it’s relatively simple to make, and it’s a convenient source of light and warmth should your flashlight or lantern die or you wish to conserve batteries.
Tree resin torches can be used for cooking and signaling, exploring dark places such as caves, and even for warding off wild animals from your camp.
Now that you have an idea of its uses, here are the steps in making a tree resin torch:
Step 1: Gather the Tree resin
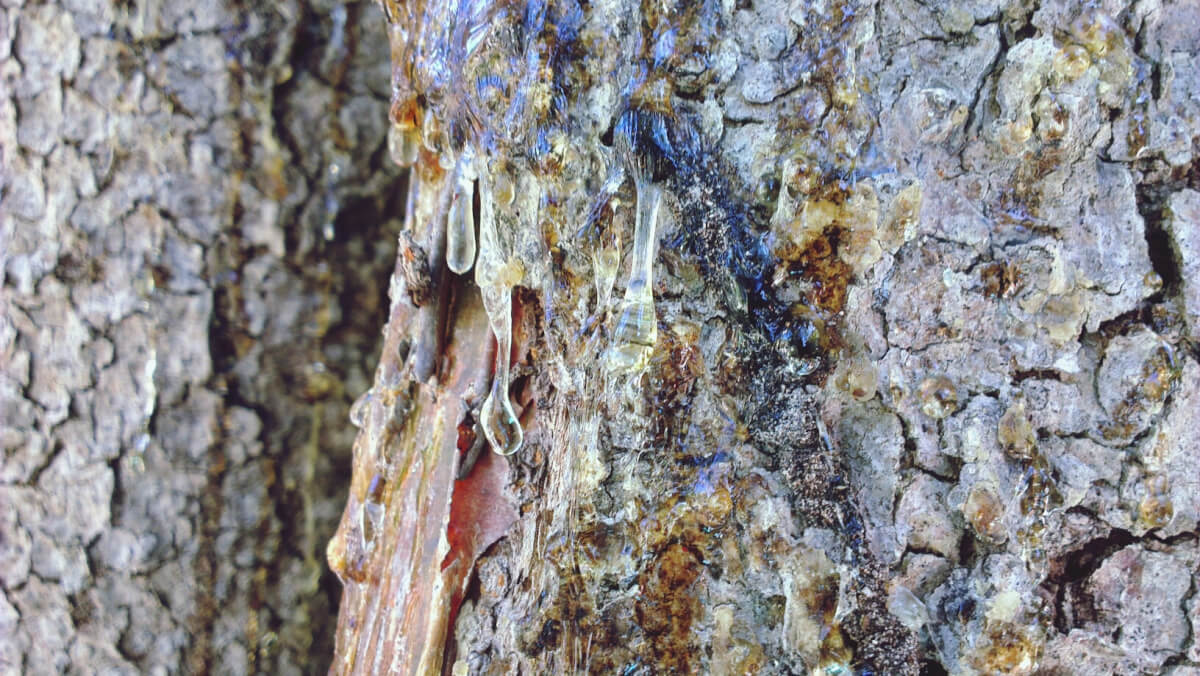
The quickest way to gather the required tree resin is from evergreen trees like pine or spruce. Examine the tree and look for “wounds”; these are the spots where resin will ooze from the tree to protect itself from invasive mold or bugs.
The appearance and consistency of the resin depends on its age. The tree resin in new wounds can be clear and syrupy and solid, beeswax-like yellow clumps are found on older wounds.
Look for the clumped-up tree resin because it’s easier to collect and use. Take a few clumps off the tree, making sure not to break the “seal” of the wound. Store them in a container.

Older wounds will be coated in resin that looks like wax (getttyimages.com).
Step 2: Get the right wood
The wood you’ll need for the torch is green and living wood as opposed to dead and dry wood. Green wood is preferred due to its moisture content; this way, the entire torch won’t catch fire. If you find freshly-broken tree saplings or right-sized branches, use those.
If you can’t find any, hack off a sapling or branch approximately twice as long as, and as thick as your forearm. Take along a couple of twigs that are about ¼ inch in diameter as well.
Step 3: Make the torch
Crafting the torch is similar to making a hunting gig, except you don’t have to sharpen the prongs (https://asgmag.com/gear/guides/straight-point-make-survival-spear/).
With your cutting tool, make two bisecting cuts onto the end of the stick, splitting the tip into four prongs. Make both cuts the same depth, just shy of ⅓ of the length of the stick.
Then take the twigs, cut them to about 1 inch in length and criss-cross them, and tie them together into a “plus” sign.
If you don’t have cordage, use spruce roots or nettles as cord alternatives. Carefully push the twigs all the way down to the bottom of the prongs to widen them slightly and keep them open.


Step 4: Insert your “wick”
You can forage for materials for the torch’s “wick”. A pine or spruce cone is recommended, but the head of a cattail is likewise suitable. Another option is to use a balled-up pair of cotton socks if you can spare them.
Don’t use synthetic socks as they will probably have a small flame, and may melt and burn the torch-bearer. Smear the wick with the resin clumps you collected earlier. If you chose a pine cone, get as much resin in between the scales as you can; this will reduce the amount of resin from dripping off the torch as it liquefies from the heat.
Insert the wick between the prongs. Remove the crossed twigs, allowing the prongs to close and pinch the wick. The wick should be held securely, as close to the end of the stick as possible. If needed, you can secure the wick further with cordage. Tie just below the wick so the cordage doesn’t catch fire.


Step 5: Light it up
Hold the torch tilted away from your body. Position it over a campfire or use a lighter, lighting the wick from the sides and bottom. Be mindful not to hold the torch completely vertical, since hot, liquefied resin will drip from the wick.
Don’t not hold the torch close to anything flammable. Depending on the sort of wick you use, the torch should last 10, 15, or 25 minutes for the pine cone, cattail and ball of socks respectively.
Remember that your tree resin torch doesn’t just provide life-giving heat; it can also be deadly. So treat it the same way as a camp fire and use it responsibly.
