

It’s simply a hobby … unless you’re confronted with a disaster.
Then it becomes crucial for survival. Home canning is a hobby that many people consider a passion. But, if disaster strikes, that’s when the stockpile of healthy provisions becomes invaluable.
But before you rush out to buy your supplies and start adding to your pantry, follow these guidelines to ensure your emergency food is safe and sanitary.
 BEST FOODS

Your first step as a budding food preservation expert is to determine the foods you will be storing.
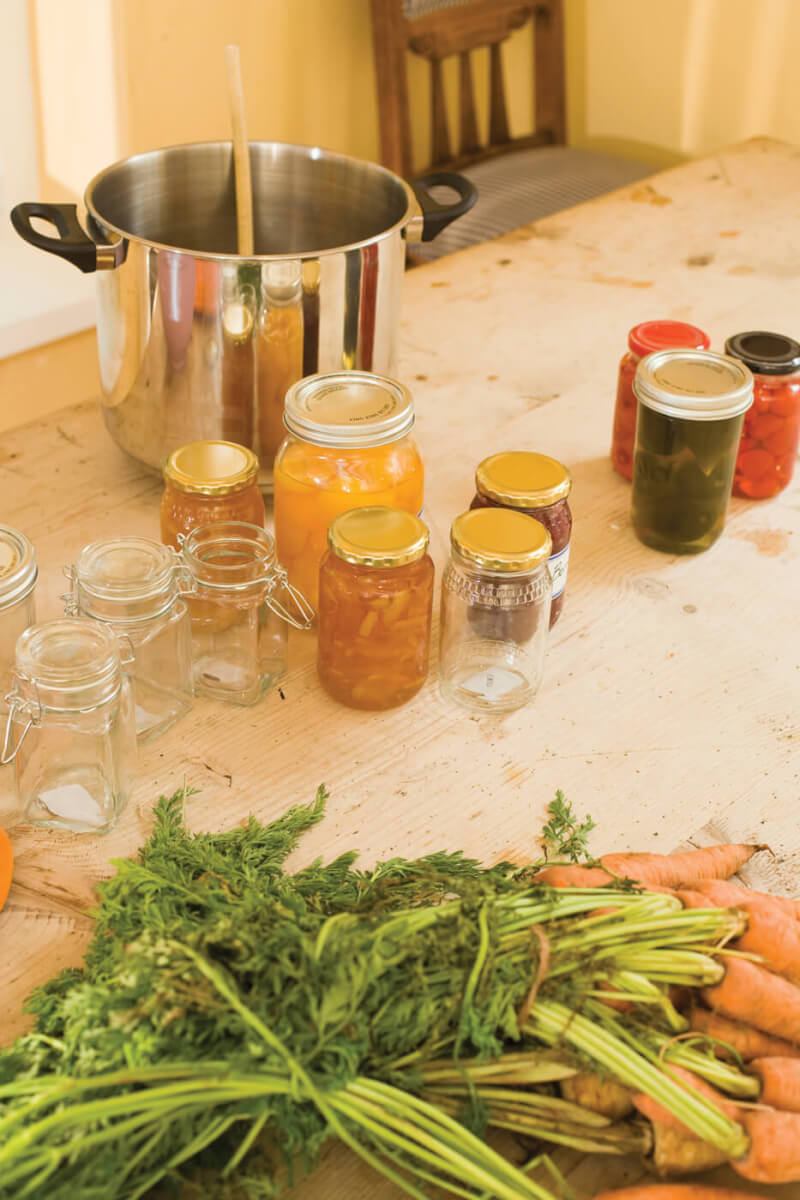
Highly acidic foods like peaches, pears, tomatoes and apples taste the best and last the longest because the natural acids in the fruits help in the long-term preservation process. You can also jar or pickle low-acid vegetables like carrots, beans, cucumbers and peas, but the pickling spices and salt may discolor or break down the composition of the produce.
You’ll want to avoid any foods from the cruciferous family (broccoli, cauliflower, Brussels sprouts and cabbage) because these foods will disintegrate during the boiling process, resulting in a jar of mush, advises registered dietitian and canning expert Kathryn Hollering.
Meat, poultry and game can be jarred, but they require a pressure cooker and extremely sanitary processes to avoid bacteria.
“Rushing the process or cutting corners will only result in a deadly product, wasted time and ruined food.”
—Kathryn Hollering, registered dietitian
THE PROPER STEPS
The most important key to good canning is purchasing firm, high quality produce from a local farmer, particularly a farm that is native to your state, Hollering advises.
Produce that travels a long distance to get to you will lose part of its flavor and quality along the way—and the same is true for meat and poultry. If you are using fresh game, it must be properly cleaned and kept cool until canned.
Even though mobility might be important to you in an emergency, sturdy glass jars are the best and safest storage for your stockpile. Ball mason jars, lids and rings are the easiest to find in the United States, and they can be purchased online or at a variety of local hardware, grocery and department stores.
Keep in mind: you absolutely must use new lids that fit precisely for each particular size jar. Reusing old lids can lead to contamination of the food.
Although many people use the term “canning” even if they are utilizing glass jars for food preservation, some prefer to actually use a metal can instead of a jar.

If you opt for cans, you’ll have to invest in some additional equipment. You should buy a pressure canner, as well as several metal cans and a can sealer. The canning supplies are often more durable than glass jars, so many people prefer to use them, but the preparation costs are slightly higher due to the additional equipment required.
Your last purchase should be the apparatus used to prepare your product.
There are three types of preparation: pressure boiling, water bath and open kettle, says Hollering.
“They all use a form of boiling the product, but they are different and must be applied to the appropriate foods, or botulism can occur,” she says.
A pressure cooker is a large kettle with a strong lid, sometimes with a clamp and a built-in gauge for watching the boiler temperature. For water bath canning, often used when canning fresh fruit, you will need a four-gallon kettle and lid which holds seven jars during the process. Although you can employ the same four-gallon kettle for the open-kettle method, this style of canning is not recommended because the food may not be fully sterilized due to leaving the lid off. Other helpful tools are strainers for separating seeds and pulp from fruits and vegetables, canning tongs for taking cans out of the kettles, and spices and preservatives to add to your result for flavor, color and consistency.
- To avoid contamination, use new lids that fit precisely for each particular size jar.
2. Purchase firm, high quality produce from a local farmer.
WASH, BOIL, COOL
Once you’ve got your equipment in place, you’re ready to start preserving.
First, thoroughly wash and clean your produce. Then, peel it and place it in sterilized jars. Fruit is usually placed fresh in the jar, “but vegetables can be either cold packed or hot packed,” Hollering says.
Blanching or quickly scalding vegetables is recommended before packing them in the jar to enhance flavor, but be careful not to overcook them or your vegetables will have a sludge-like consistency. Many different seasonings can be added to the jars for flavor, ranging from hot, homemade sugar syrup for fruit, to pectin for thickening jams, to lemon juice to prevent browning. Meat and game need special care and cleaning, and they must be free of fat and gristle. Steaming and pre-boiling are greatly encouraged to avoid spoilage.
Important: Don’t forget to leave a little room at the top of the jar, known as “headspace,” for expansion.

Once your food is in the jar, put on the sterilized lid and rings, and securely tighten. Place your sealed goodies on the kettle rack and submerge them with hot water two inches above the lids. The size of the kettle, for both water bath and pressure boiler canning, will determine how many jars you can prepare at once.
For water bath preparation, cover the kettle and bring it to a full boil for one hour, then “process the pints” for another half hour at a partial boil, Hollering says. For pressure-boiler canning, add two to three inches of water to the bottom of the pan, insert the rack and place your sealed jars in the pot, securely fastening the lid with the clamp.
A vent or petcock should be opened to allow steam to escape for about 10 minutes, then closed, and the pot will pressurize in three to five minutes. The heat needs to be regulated to adjust for altitude, and the gauge should shake a little during the process. When the food has been fully pressurized to 240 degrees to kill all bacteria, bring the pressure gauge slowly back down to zero, open the vent to let out steam and carefully take off the lid.
“Rushing the process or cutting corners will only result in a deadly product, wasted time and ruined food,” Hollering says.
Allow your jarred food to cool for 24 hours and then store in a cool, dry place away from heat, sun or humidity. Lastly, check all of your jars for cracks, dislodged lids or mold, discarding any that look suspect. Your stockpile is ready and safe to eat for up to a year.
Beans
Cucumbers
Peas
Editor’s note: A version of this article first appeared in a 2012 print issue of American Survival Guide.