

“Two roads diverged in a yellow wood…
Perhaps the well-known words of Robert Frost did not literally mean a divergence in a hiking trail, but as outdoorsman you have inevitably been faced with this very real situation. Maybe you are familiar with the trail system and can easily determine which direction to go to reach your final destination. Perhaps you are in a more desperate situation where your choice may make the difference between getting home to your family or spending an unwanted night in the woods.
With so much potentially at stake, do you trust yourself to choose the right path? Are you prepared with the proper tools to help assist you in making such an important decision, and do you know how to use those tools?
Land navigation can be a very daunting task and not possessing this skill has stopped many from wandering into unknown territories because of the fear of no return. Where would you go if you knew the basics of navigation? Maybe there’s a remote lake that has great fishing or someone has told you about a monster 10-point buck walking around his tree stand in the middle of a remote forest.
Knowing the basics and building upon these foundations stones will get you started in the right direction.
TOOLS OF THE TRADE
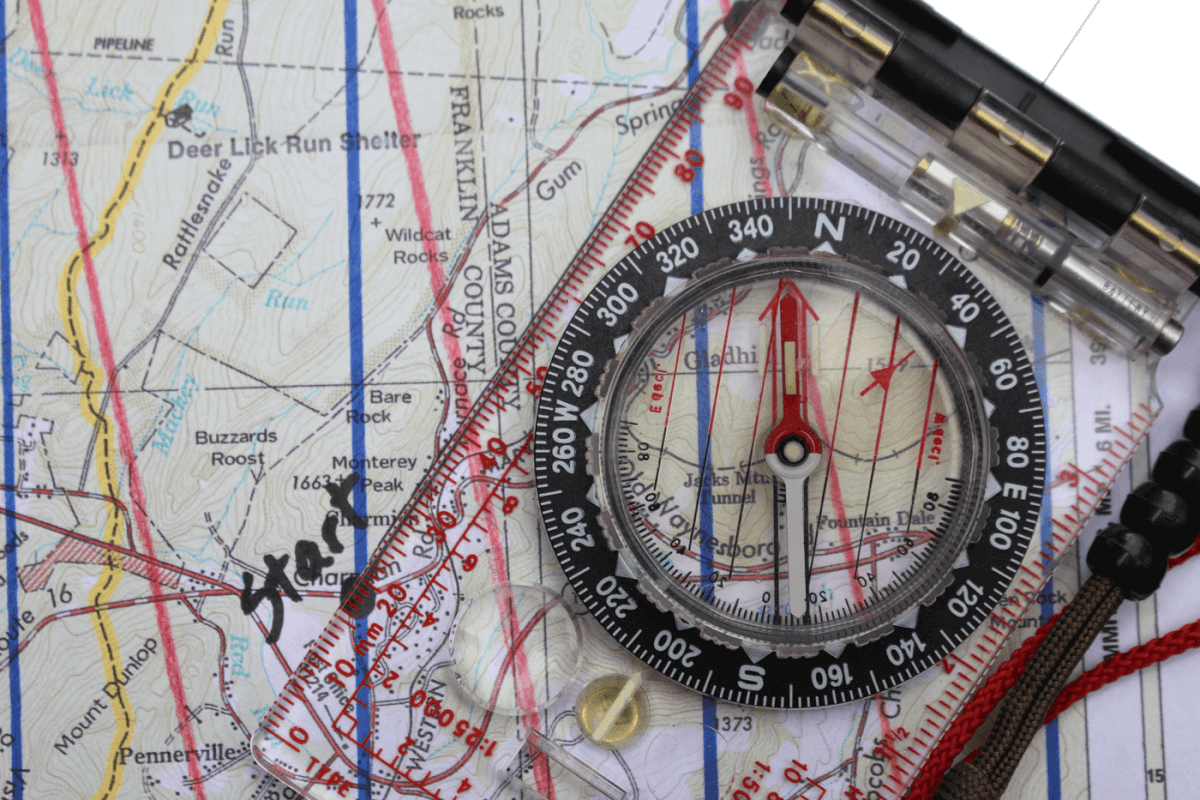
Technology has impacted the ability for the average person to navigate more easily than ever before. The magnetic compass dates back to the early Chinese Han Dynasty, around 206 BC, and has been constantly improved upon since. Unlike GPS units, compasses do not rely on batteries and work in all weather conditions. Still used as a primary navigational tool for many, a good quality compass should ALWAYS be in your pack, even if it is used as a back up to your GPS. Better quality compasses are liquid filled, have rotating azimuth bezels, sighting arrows and will allow for magnetic declination adjustments.

Topographical maps are the absolute must-have item when heading out. Make sure to have an up-to-date map of the area, as landscape features change and the magnetic declination of the current area you’re in may be different than the last area you used your compass in. A map can be used with either your GPS or compass and even as a standalone tool. Reading the map’s contour lines and understanding the map symbols will help you plot your trip. Your map should also include magnetic, true and grid north arrows, distance scale, contour interval indicator and magnetic declination diagram. The sun and stars predate map and compass. The sun is constant in the sky, and learning to determine a north-south line can be easily determined with a shadow stick or even a wristwatch. Identifying Polaris, or the North Star, will aid in night-time navigation. This form of navigation is challenging and should be learned for use in emergencies, but is a skill that takes time to learn. Even with the best devices available, without knowing how to read them or understanding their features, you can quickly become disoriented and lost. Only once you become comfortable with reading your GPS, compass and topographic map should you venture out with it.
BEFORE HEADING OUT
Knowing your current location and final destination is the basis of navigation. There will certainly be numerous twists and turns, ups and downs along your travels as routes are not always traveled in a straight line. Even if you are planning on walking a straight line across a desert, you will inevitably wander off course without occasionally stopping to check your bearings and direction of travel. Regardless of which tool you are using, plotting a course is your first action.
Using a GPS is one of the easier navigational tools to use once you learn the functions of your handheld device. It knows where you are and, if you marked your final desired location, it automatically adjusts your heading as you move to direct you to your ending point.

For this reason, I will focus more on the use of map and compass. Once you have established your current location, basic map navigation can be done in four easy steps.
Step 1 – Preparing your map and compass
Mark your map with your current location and your final destination. Draw a straight line to connect the two points. Next locate the north indicator on your map. All good maps should have an indicator of magnetic north and true north and the degrees of magnetic declination for an area shown on the map. At this time, if your compass has a magnetic declination dial you can adjust it accordingly. If your compass does not, mark your map with corresponding lines to run parallel with magnetic north. Without taking the time to complete this step, and only following magnetic north, you will fail to follow your intended path by as much as the declination in that area (i.e. if there is 20 degrees of declination, your direction of travel will be off by 20 degrees). If travelling 2 miles, this miscalculation will result in missing your target by almost ¾ of a mile!
Step 2 – Orient your map and compass
Rotate the bezel of your compass until the “N” indicator is directly in line with the direction arrow of your compass. With your map lying as flat as possible, lay your compass on the map and align your compass with the meridian lines of the map. If you have adjusted your compass for magnetic declination, align your compass so the edge of the base plate runs parallel with the true north lines on the map. If you are using the reference lines drawn in step 1, align edge of the base plate with the magnetic north lines drawn. Now carefully rotate the map, making sure not to move the compass, until the compass’ north arrow is directly under the travel arrow. Your map is now properly oriented to your location.
Step 3 – Taking a bearing
This is the final preparation before you start walking. Without moving the map from its current location in step 2, lay your compasses edge along the line of travel you previously marked. Turn the compass’ azimuth bezel until the magnetic north needle is directly over the travel arrow (sometimes referred to as “red in the shed”). You will now have the bearing, or heading, you need to travel to reach your final destination.
Helpful Hint: A small, waterproof notepad to write down your bearings is a good backup. There’s nothing worse than bumping your azimuth bezel and forgetting what your bearing was.

Step 4 – Ready to get moving
Keeping the magnetic north arrow on your compass “red in the shed,” look down the intended path as far as you can and identify a landmark directly in line with your heading. Make sure this landmark is easily identifiable and will be visible the entire time during this leg of your trek. Once you reach that landmark you will take your compass back out and identify the next landmark and walk towards it in the same manner. Repeat this process until your final destination has been reached. Helpful Hint: Using the map’s scale, estimate the distance to each point and use pacing beads to help track the distance traveled. If you estimate ¼ mile and you’ve walked 3/8 mile you know you missed your waypoint. Stop and reset before going any further.
REFERENCE THE LANDSCAPE AROUND YOU
As you were marking your map earlier you may have noticed some features on the map you can use as navigational tools, as well. For example, if there’s a stream that follows your general path, you can use it to navigate alongside to a location until you need to break away from it. This is known as a “handrail.” Backstops are also helpful as you move. Backstops are identifiable features, like a stream, road or trail, that is beyond your intended target. If you come upon this feature, you’ve gone too far, but by using this backstop you have a point of reference for when to stop and reset.
GETTING BACK
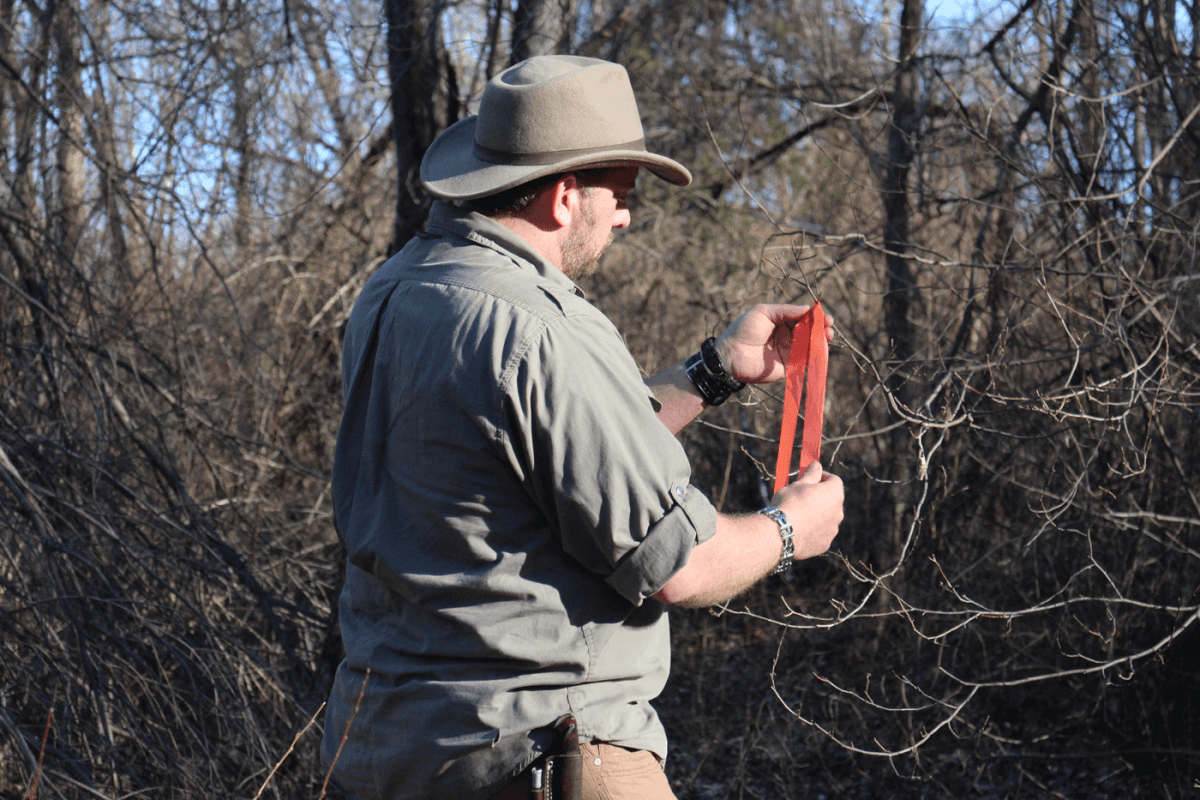
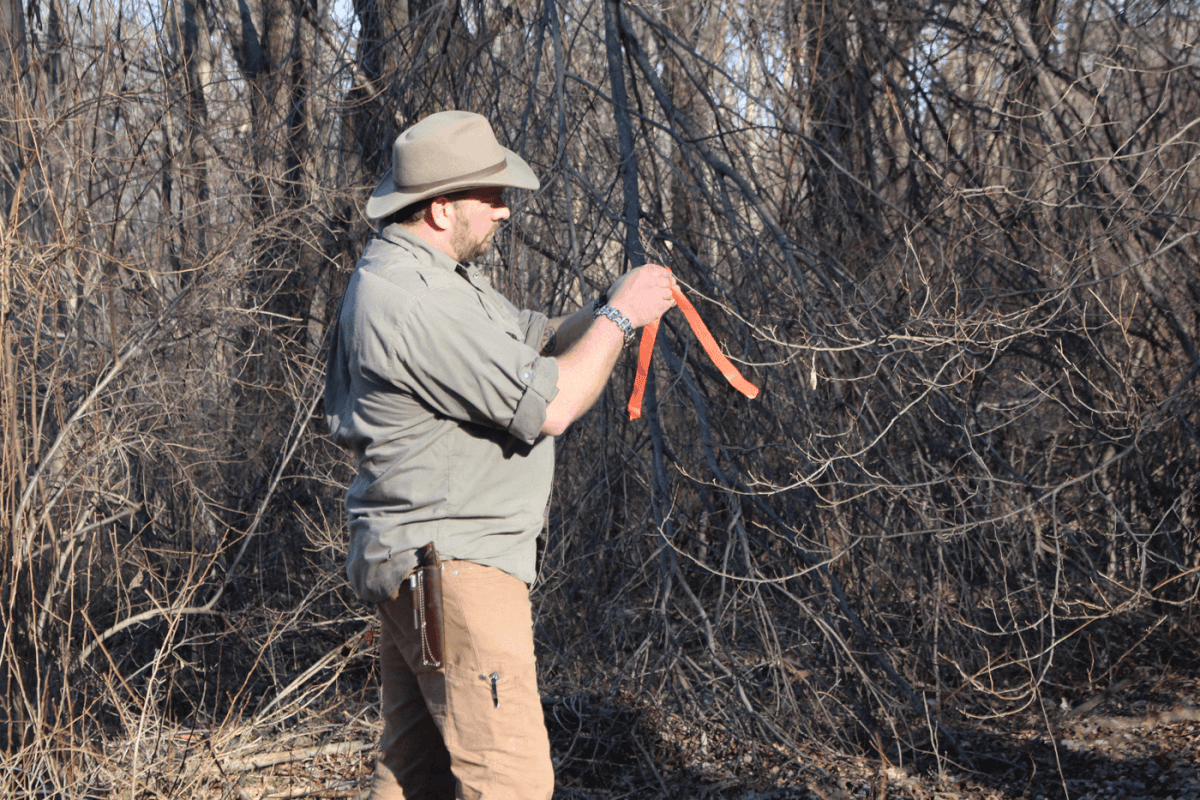
Unless you are travelling a looped trail, you will probably retrace your steps to get back to your initial starting point. An easy method of getting back is marking the trail by a method known as “blazing,” especially where the trail may diverge into multiple trails.
Blazing is marking your trail with visible tape at eye level along the way. Leave the tape long enough so it’s visible from a distance and will blow in the wind. Remove all marking tape from the trails on your return.
START IN YOUR BACKYARD
As you start to learn the skills of navigation, it is best to start in familiar territory. Mark spots in your backyard and learn to take bearings to those landmarks. From there, you may want to go to a local state park. Most state parks have maps of the hiking trails and these are easy to learn navigational skills in as the likelihood of truly becoming lost is remote. Learn your stride and pace lengths and make a set of pacing beads to help with measuring your distance traveled.
Learning the basics of land navigation is one of the most rewarding skills to have. Once learned you have the confidence to go places you may never have gone to before. Take the time and become proficient with the tool of choice and then move on to learning the other methods. Always let somebody know where you’re heading and when to expect you home. Keep in mind the terrain you will be travelling and your physical limitations. Be safe and have fun!
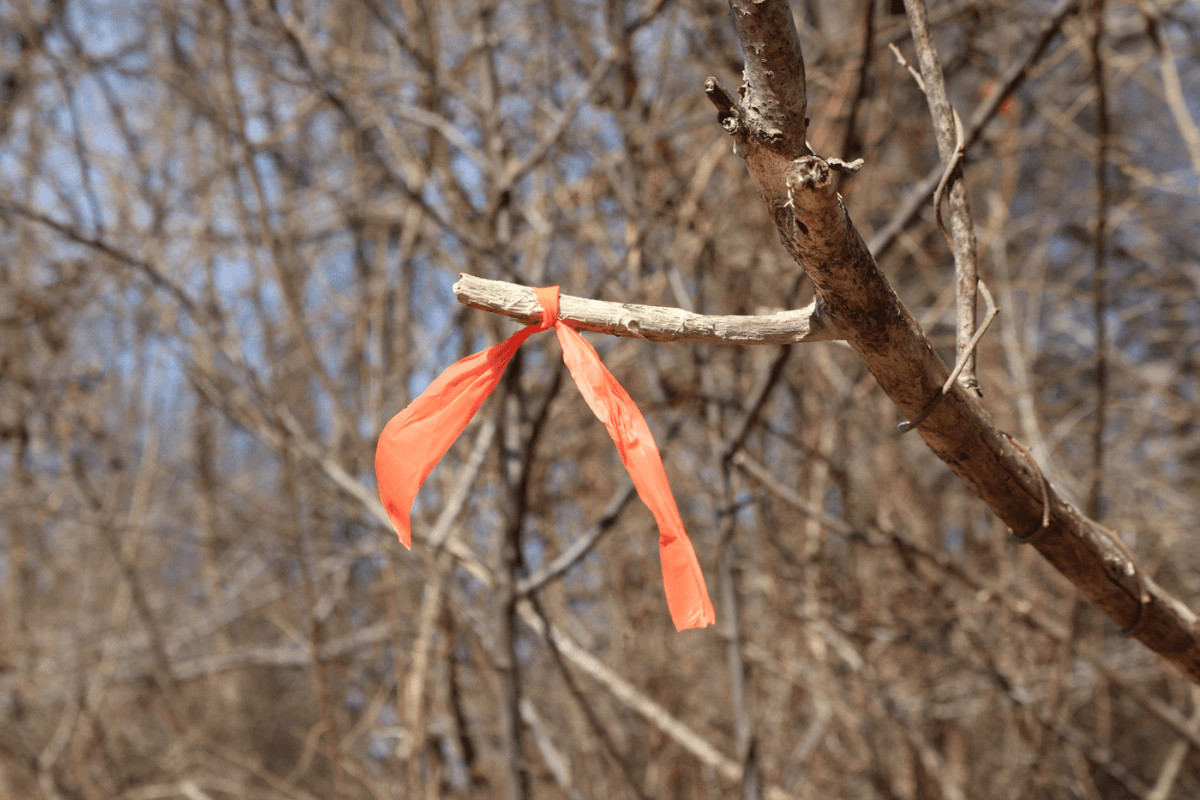
 Using a shadow stick can help you find a north-south line using the sun. Simply place a stick in the ground and mark the end of the shadow with a rock or another stick. This initial marking will be west. Wait at least 15 minutes (the longer the better) and mark the end of the shadow again. This mark is East for your compass. Next, connect the west and east markings to determine the east-west line. A line perpendicular to this will now give you a north-south direction. The blaze orange ribbon in the photo denotes north.
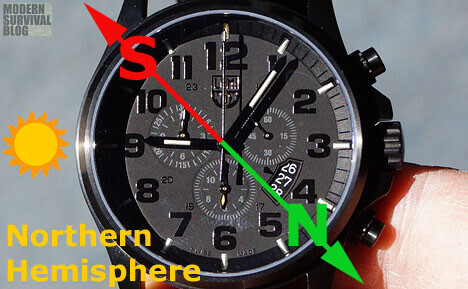
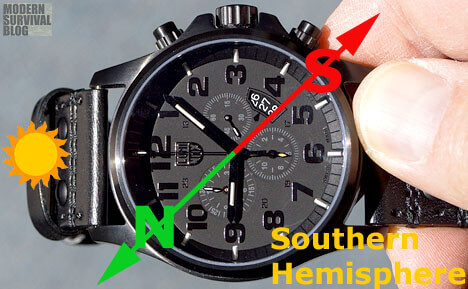
Another way of finding the north-south line is with your wristwatch and the sun. In the Northern Hemisphere, point the hour hand towards the sun. Bisect the line between the hour hand and 12:00 to give you the north-south line. If you’re in the Southern Hemisphere, you will line up 12:00 towards the sun and bisect the line to the hour hand of the watch to give you the north-south line.
Editor’s note: A version of this article first appeared in the How To special issue of American Survival Guide.