


An ice storm is headed your way, the power company employees are on deck, and the general public is in a frenzy over who will get the last loaf of bread at the store. Meanwhile, you’re cozied up at home, knowing that even if you can’t get to the store for a week, you’ll be all set. Right?
Perhaps there’s been no disaster—other than that your kids went a little crazy overplanting shell beans in the garden last spring or maybe there was an amazing discount on white rice at the grocery store that you just couldn’t pass up.
These scenarios have happened at my house, and I absolutely abhor throwing out food or dealing with the hordes of folks at the store. These situations are fairly short-term problems, but what if something larger scale happened? Whether it w ere on a personal level (you lost your job and have no money for groceries), a natural disaster that wiped your town off the grid (a large hurricane, tornado or blizzard) or a SHTF scenario, would you be able to feed your family?
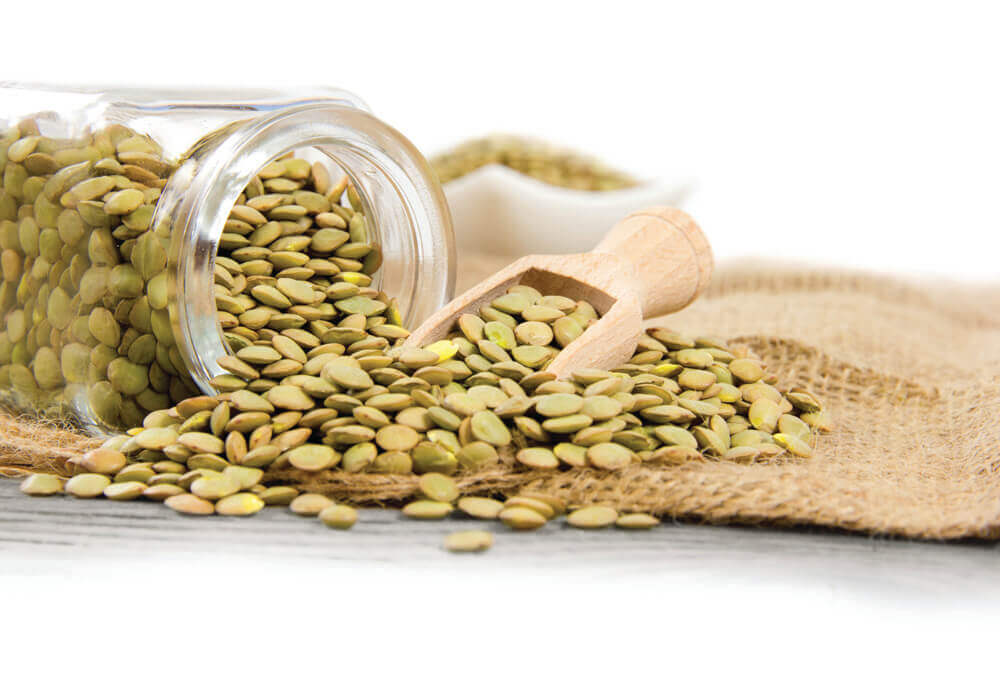
There are many reasons that dry, or oven, canning, is a wonderful way to preserve dry goods for long-term storage. “Dry-canning,” as its name implies, is only for food items with a moisture content of under 10 percent. This method works well with pasta, white rice, dried beans, rolled oats, dehydrated apples, potatoes, carrots, soup peas, flour, lentils, cereals (without nuts or raisins), cornmeal, cake, biscuit and bread mixes, quinoa, banana chips, white or powdered sugar, and dehydrated dairy products.
The heat kills any insects or eggs that might be present and seals the jars the same way water bath or pressure canning does. Any food product with greater than 10 percent moisture content should not be preserved by this method, because bacteria can flourish.
In addition, oily foods do not keep well with this method, and that includes brown rice and whole wheat flour. Vacuum sealing or using oxygen absorbers are better options for those items. (However, I don’t have the spare cash for a vacuum sealer and food-grade plastic buckets and haven’t quite gotten myself into the new-agey Mylar bags and oxygen absorbers.)
THE OLD-FASHIONED WAY
On our farm, we like to do as many things as we can manage in the same fashion as our great-grandparents. Kept in ideal conditions, certain dry-canned items can remain viable for 30 years or more!
All canned goods should be kept in a dark, dry, cool part of your house. My pantry is in my basement, which is unheated. Always keep goods of any sort off the floor. A pallet or even a board propped up on cordwood or cinder blocks will work just fine. This will encourage air circulation and discourage mice from helping themselves to your stash.

Using glass jars will also eliminate the mouse problem, because they can chew through vacuum bags, Mylar bags and even plastic buckets. Anything dry-canned that has a dairy product in it should be used within a year or two, but most other goods will last between 10 and 20 years.
DRY-CANNING 101
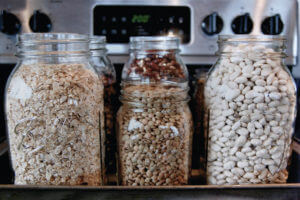
To begin, wash and dry all your glass mason jars. You can use pint, quart or half-gallon sizes. I find loads of them at yard sales, the free table at the dump and in the classifieds. Purchasing new lids and rings is a sound practice when reusing jars, because even the tiniest dent in an old lid can spoil your food (and your efforts).

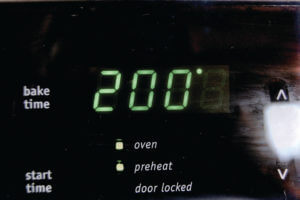
Preheat your oven to 200 degrees (F), and set your jars on a cookie sheet or baking pan. Fill each of your jars with dry goods, leaving ½ inch of headspace. Once the oven reaches 200 degrees, place your pan of jars inside and set a timer for an hour. Sterilize your lids and rings while you wait by boiling them in a pan of water on the stovetop for 10 minutes. Dry them and set them aside on a clean towel.
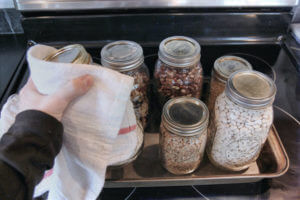
After an hour, carefully remove the tray from the oven with potholders or oven mitts. Using a damp (not drenched) clean cloth, wipe the rim of each jar and then place a lid and ring on the jar as tightly as you can. Be sure to use mitts or other heatproof gloves while doing this, because those jars are hot.
Place the lidded jars back on the tray and return them to the oven for another 30 minutes. When you remove them after the half-hour is up, take the jars out of the tray and allow them to cool on a nonheat- reactive countertop, cutting board or clean dishtowel. Soon, you will hear the celebratory pings of your lids sealing. Victory!

Some folks who prep for disaster shun this method in favor of vacuum sealing. I think it’s very important to learn methods of preservation that don’t require electricity, because this method can be achieved with a wood stove that has an oven feature. Electricity is not something we can rely on in every situation, and knowledge of old-fashioned practices is wonderful to have, even if you choose a different method.
PRACTICAL TIPS

Vacuum-sealed items are definitely more efficient to pack in a bugout bag, but when I think of my main food prepping plan, it is for a stable, at-home survival situation. My most pressing concern is that if I’m stuck at home with a kiddo with a fever, I want to be darned sure I have plenty of mac and cheese on hand to keep the beast at bay!
Not all of us live close to a store for quick, “whoops, we’re out of oatmeal!” moments. My town in northern Vermont doesn’t have a store of any sort, and the general store in the next town over closes early, has a very limited selection—and sky-high prices.
Having a supplied larder at home helps me endlessly in my daily life. But it’s even more helpful to know that I wouldn’t be one of the frenzied masses shopping during an emergency scenario.
Editors Note: A version of this article first appeared in the March 2016 print issue of American Survival Guide.