

CHARTING YOUR WAY WITH JUST A COMPASS
It’s dark, overcast. Clouds have settled low against the mountains and you’re traveling into thick woods, where visibility is limited to virtually nothing. Camp was to the east, but which way is that? East, west, north, south? They all look the same now thanks to the twists and turns of the forest. Your map is tucked safely away in your pack back at the camp, but you are lucky enough to have a compass in your pocket. You know you’re not traveling in a straight line. The solution to your situation is to always chart a course; know exactly how long you’ve been walking and in what direction.
With a compass, notebook, and a few twigs, there’s an easy way that you can take records of your travel, and then chart a direct path back to your camp.
COMPASS WORK
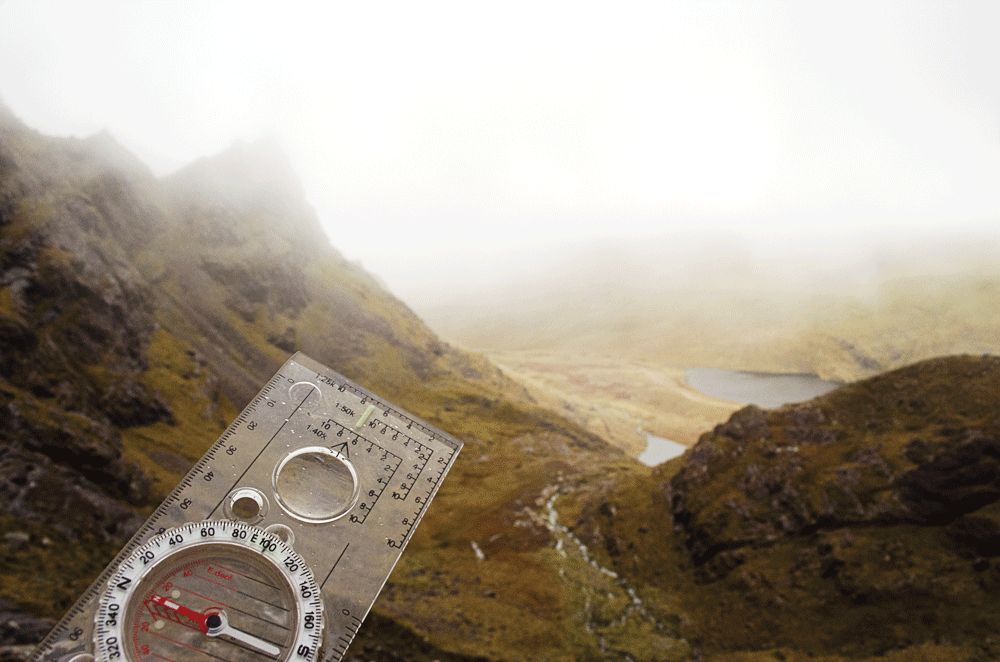
It is important, before you start out, that you are able to determine what direction (in degrees) you are walking. With your orienteering compass, point the “direction of travel” arrow – which is the printed arrow on the housing of the compass – in the direction you are traveling. Then turn the round dial until the orienting arrow is directly over the north end of the needle. Sometimes we refer to that step as putting the dog in the house. The orienting arrow looks sort of like a dog house, and the magnetic needle (the “dog”) must be kept aligned with the dog house. As long as you keep the dog in the house and follow your “direction of travel” arrow, you’re accurately traveling in the direction you intend.
EXAMPLE OF THE PLAN
From camp, you set out at 27 degrees and walk for 20 minutes. In your notebook make two columns, one for degrees and one for time. Record 27 in the degrees column and 20 in the time column.
Then, you decide to change directions, and you head out at 150 degrees. You write that down in the degrees column. You walk for 30 minutes before you pause, so you record 30 in the minutes column.
“AS LONG AS YOU KEEP THE DOG IN THE HOUSE AND FOLLOW YOUR ‘DIRECTION OF TRAVEL’ ARROW, YOU’RE ACCURATELY TRAVELING IN THE DIRECTION YOU INTEND.”
You continue this way for the rest of the day, always recording the degree in which you walked and the amount of time you walked in that direction. Obviously, for this system to work well, you need to walk in fairly straight lines. In fairly rugged terrain, this system might not be practical or possible. Constantly checking your bearing is necessary to remain in a straight line.


BACK TRACK
You’re done exploring for the day. The sun is starting to get low on the horizon and it is time to head back. Your notebook contains six entries for degrees traveled, and six entries for amount of time traveled.
With that information, you are now going to create a simple map to determine a straight path back to your starting point.

Here is an example of what your notes might look like.
Using sticks on the ground, convert the units of time into linear lengths. For example, each 10 minutes of time traveled will be one inch. It doesn’t really matter whether you make each 10-minute segment represent one inch or five inches or the length of your finger or the length of your Swiss army knife – just be consistent with whatever unit of conversion you use.

For your first 20-minute leg of your journey, you cut a straight stick two inches long (10 minutes = one inch). Lay the stick on the ground and align it at 27 degrees, your first direction of travel.

The next leg of your journey was 30 minutes at 150 degrees. Cut a stick that is three inches long. From the leading end of the first stick, set down your three-inch-long stick and align it at 150 degrees. You are creating a road map of your journey.
Next, you cut a two inch stick and align it at the end of the last stick at 240 degrees.
Next, cut another two inch stick and align it at 180 degrees from the end of the last stick.
Finally, you cut a stick three inches (30 minutes = three inches) and set it at the end of the last stick at 285 degrees.
You have just created a visual map on the ground of your journey using sticks and your notes.
FINDING HOME
When you have completed your stick-map, place your compass at the end of the last stick (which represents where you stopped), and point it to your starting point. That is your direct line back to your camp. Put the “dog in the house” on your compass and simply follow the direction of the travel arrow back to camp.

And because you have chosen each 10 minutes of travel time to represent one inch, you can just measure a straight line from the end of the last stick to the start of the first to get a good idea of how long it will take you to get back to camp.
In this example, you can walk straight at 30 degrees for about 35 minutes and you’ll be back in your camp.
TERRAIN VARIABLES
There are a wide variety of variables that come with hiking on uneven terrain. That is, if you had a lot of uphill travel, you probably couldn’t cover as much terrain in 10 minutes as you could if the ground were flat. You should record these terrain changes in your notebook.

If you walked for 20 minutes, that would normally represent a two-inch stick. But if the terrain was uphill, you wouldn’t have been able to cover the same distance in the same time. You would estimate that it would take you twice as long and probably use just a one inch stick for that leg of your journey. You should also record any changes in the speed of your hiking, though this works best if your speed is more or less the same.

Still Lost?
After following the notes in your notebook and the stick map you created in the dirt, you walked in a specific direction for a specific amount of time and you didn’t end up in your camp. Now what?
Number one, don’t panic. Hopefully, there is some feature that might make your camp recognizable. If nothing around you is recognizable as the direction of your camp, here’s what you do. First, mark where you ended up somehow. Make a pile of stones, or tie a cord around a tree, or something so you know where you ended. Hopefully, you won’t come back to this point.
Now, begin to make a clockwise circle around this point. Be very observant. Keep circling around and around, making a slightly bigger circle each time. Eventually, you should find your camp. If you don’t like the looseness of continually making a larger circle, try making squares. Walk 10 paces north from your ending point, then ten paces east, then 20 paces south, 20 paces west, 30 paces north, 30 paces east, 40 paces south, etc., always continually expanding your area.
Unless you made some very serious errors in the recording of the legs of your journey, you will soon find your camp.
Editor’s Note: A version of this article first appeared in the July 2015 print issue of American Survival Guide.