

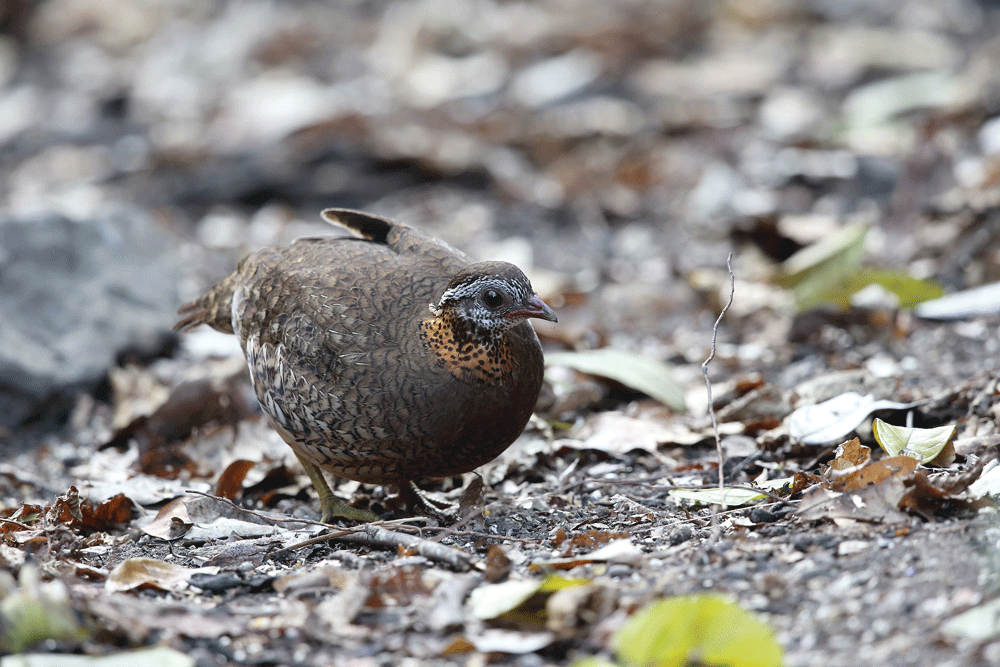
IN MOST REGIONS ON EARTH, from the arctic to the sands of a deserted island, birds can be found, sometimes in great numbers. If faced with a situation where food is scarce, a winged feast is an option, provided you can catch them. Since birds are lithe and spritely, conventional methods of capture, via snares and deadfalls, will be ineffective. Instead of wasting effort and resources building a contraption that will kill the bird, try to simply capture them instead. This has a double benefit: 1) A live bird will store for a lot longer than a dead one, meaning you can capture many and save them; and 2) the scent of dead animals might attract other animals that you might not have the ability to defend yourself from.
“A LIVE BIRD WILL STORE FOR A LOT LONGER THAN A DEAD ONE…”
My first introduction to this method of box trap came from anthropologist Paul Campbell, who authored “Survival Skills of Native California.” On some of our field outings, Campbell would demonstrate the simplicity of this trap: Once all the straight sticks were cut and ready to go, Campbell could have a finished box trap in about five minutes. The trigger might take a few more minutes to construct, and the set-up took about a minute, but all in all, this is an easy trap to construct and making more than one isn’t too difficult.

WHERE TO DEPLOY THE TRAP
Campbell would always emphasize the necessity of scoping out an area to see if there are birds there. He would do this just by sitting quietly and somewhat motionless for awhile, observing what animals begin to make their presence known.
“A WELL-CONSTRUCTED BOX WILL STAY TIGHT WHEN YOU PROP IT UP AND WILL NOT CONTORT OR ROTATE FROM LACK OF BALANCE…”
“You’d be surprised how much wildlife is in an area,” Campbell once told me, “but people are too noisy to ever notice it.”
TRAP CONSTRUCTION
You need to have a source of straight sticks, such as mulefat, willow, elderberry, or other suitable straight sticks. They should be approximately pencil thickness, no thicker than your little finger. I use mulefat because it is readily available to me.


Begin with two straight pieces about 18 inches long. Tie the two sticks to one another at their ends. See the illustration.
When you hold the sticks apart, each cord should be the same length, and the sticks and cord should roughly form a rectangle. Make sure your knots are tight. I sometimes cut into the wood a little so that the cords stay in place. Then you twist the sticks so that the cord forms an “X” and the overall shape is square.
Now you begin to build your box. Insert two sticks between the cord and the original sticks, perpendicular to the first sticks. You now have a square of four sticks. Add two more sticks under the cord, perpendicular to the previous sticks. Add two more sticks, again perpendicular to the previous sticks.
As you build the box trap, it will begin to form a somewhat pyramidal- shape, and the sticks you need can be shorter and shorter. Because of this, I typically harvest a load of sticks, all more or less the same thickness, and trim it to length as I build the trap.
The key to making a good trap is keep the shape square as you proceed, and keep the square tight. If you don’t keep it square, it will not have good balance. And if you don’t keep it tight, it will all come apart too easily.
When you are done adding as many sticks to the top, until there are no large opening in the top, your box trap is done.
To test the durability of your box trap, you can prop up the front end with a little trig, a few inches long. A well-constructed box will stay tight when you prop it up, and will not contort or rotate from lack of balance and lack of rigidity.
THE TRIGGER
Though you could actually use many trigger mechanisms, I was taught to use the scarf trigger with this quail trap. To make the trigger, take a straight twig about 3 to 4 inches long, and make two cuts into the wood, to just about the middle point. Then, with great care, you flake apart the twig into two pieces. If you did it just so, the two pieces will fit back together. Now, see if you can put those two pieces back together and support the box trap. You have to get the balance just so. Once you’ve figured out that step, now is the time to add one more cord.
You tie two small loops on each end of a cord; each loop goes over the back corner ends of the trap, and the middle of the cord is wrapped around the scarf trigger. It takes a bit of experimenting to get just the right length of cord for this to work. When the cord is attached, you want it to be taut and not loose. If you’ve gotten that far, you’re ready to capture some quail.
SETTING THE TRAP
Set out the trap in an area where bird might feed on the ground. You should scatter some seed inside the box trap and a few seeds on the outside to induce quail to come inside. When birds go inside, they will invariably eat the seed and will eventually touch the cord, which will pull the trigger and drop the trap.
Paul Campbell reported to me that sometimes the Mohave Indians would catch so many quail at one time that the trap would nearly lift off the ground. In my experience, we catch one or two birds that are in the area, like mockingbirds, scrub jays, or woodpeckers.
The beauty of this system is that you simply pull out all the sticks when done, and you can wrap up all the sticks in a compact bundle for transportation.
Campbell sometimes made another variation of the above, where he tied a knot at every intersection of sticks. Obviously, this would be a far more time-consuming way to create the box trap, and it is much less compact and portable. However, such a trap would be solid.
Note of Caution!
This is a bird trap, and it does not kill birds. It captures them alive. As with all traps, you should never set it up with the intention of trapping an animal “for fun.” Never capture an animal unless you plan to eat them.
Eating Birds
Campbell enjoyed experimenting with various trapping systems and with the methods of eating the birds he’d catch. At one of our campouts, Campbell demonstrated a method which he said was utilized by many of the Southwestern tribe. Paul took a mockingbird that he’d captured and he killed it. He then put then entire bird into the coals of the fire, feathers and all. He did this long enough to singe off all hairs. Next, he placed the bird on a flat rock, and began to gently pound the entire bird with a small handstone that he’d found nearby.
Campbell explained that the bones of birds were very porous and could be eaten, and that all the internal organs would add nutrients to the small snack that a bird provided. Once pounded into a roughly hamburger shape, he cooked it again in the coals. He retrieved it from the coals, did some more kneading and pounding, and placed the bird-burger on a hot flat rock for some final cooking. Campbell raved about the flavor of the bird-burger. Some found it a bit too crunchy for their tastes, but it really was far more palatable than anyone expected.
Editor’s Note: A version of this article first appeared in the August 2015 print issue of American Survival Guide.