

DIY home lighting with candles and oil lamps
Illumination or lighting has always been important to the human species. That’s one of the reasons fire’s been considered an essential part of every home, camp or cave.
“Illumination has always been important to the human species. That’s one of the reasons fire’s been considered an essential part of every home, camp or cave.”
The desire to light up the night is why we’ve invented electric lights and endless models of lanterns, flashlights and other lighting devices. As we all proceed into more and more modern technologies, let’s refresh our simple knowledge of lighting with some of the very basics we can make that go back to the beginning: oil lamps and candles.
OIL LAMPS
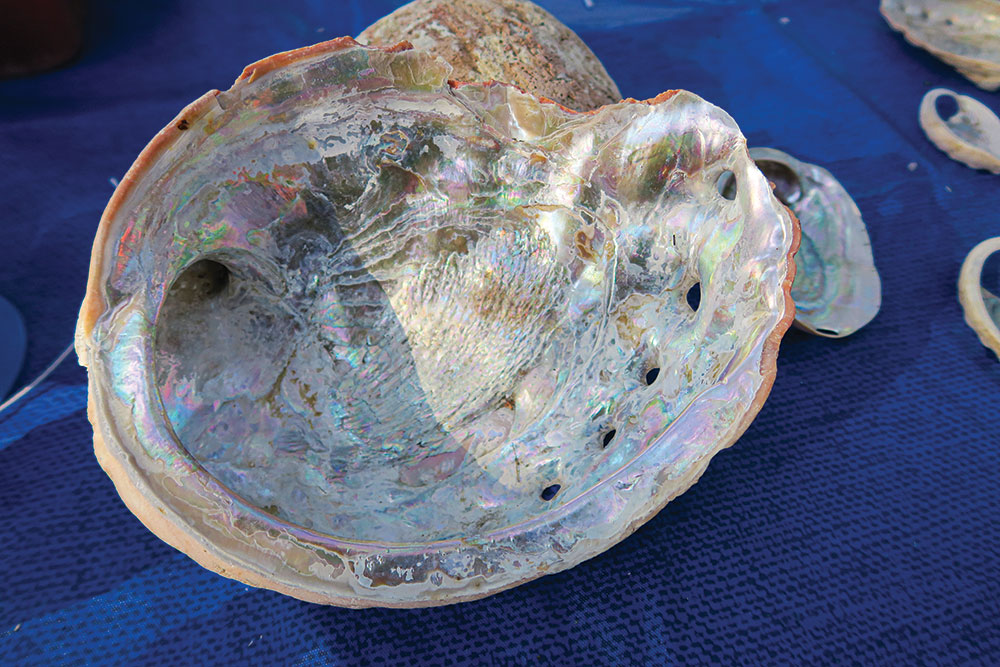
Oil lamps have been around for at least a few thousand years. They can take many forms, but they’re simply a vessel that can hold oil and a simple wick. The vessel can be ornate, with a special spot for the wick and a handle; or, it can be as simple as vegetable oil poured into a coconut shell, along with a rolled mullein leaf for the wick.
“Oil lamps have been around for at least a few thousand years. They can take many forms, but they’re simply a vessel that can hold oil and a simple wick.”
We always called these simple oil lamps “slush lamps.” A slush lamp and an oil lamp are the same thing. They’re not complicated and will provide lighting. However, you must be very careful with these so you don’t accidentally knock them over, spill the oil and cause a fire.
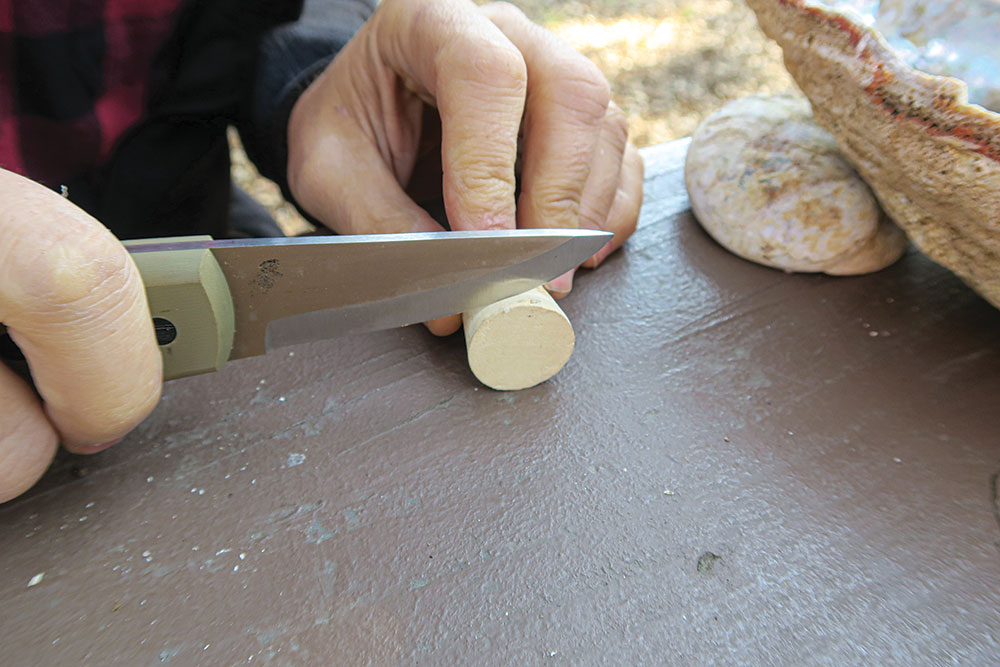
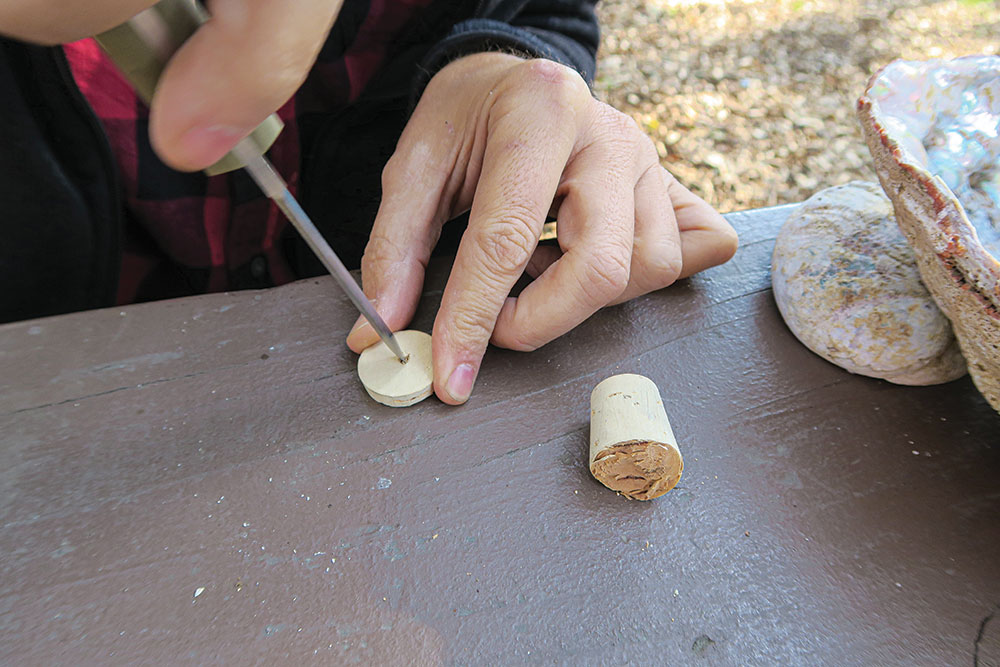
When we demonstrate the simplicity of slush lamps to our students, we start with a small, glass jar. A baby food jar works (or one slightly larger). We slice off a piece of cork from a wine bottle cork and punch a little hole in the middle through which we thread the wick. If you want a brighter light, use a larger-diameter wick. A bigger wick means a bigger flame, and the oil will burn faster.
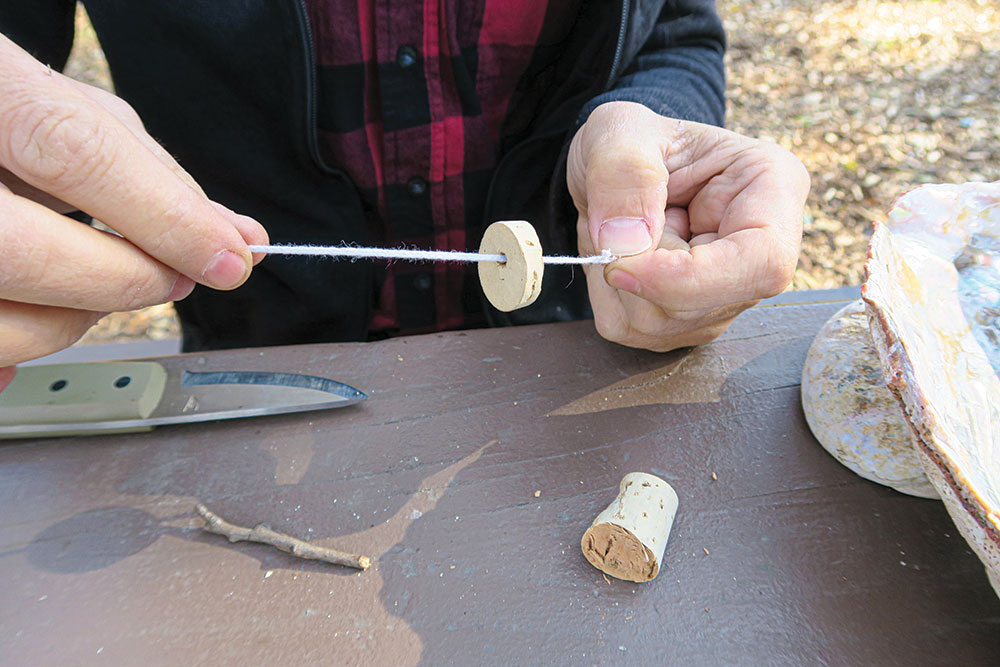
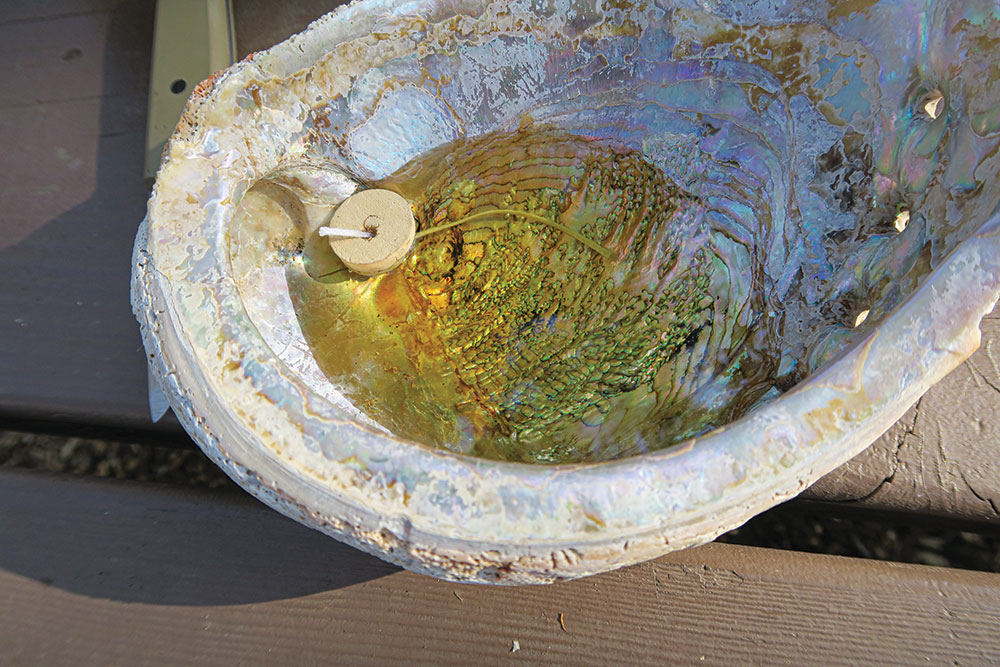
The wick can be any woven cotton, although craft stores sell candle wicks in many grades. We sometimes use a piece of rolled mullein leaf, which has a long history of being used as a wick in slush lamps because it has cotton-like qualities when dried. The key is to insert the wick into the cork so the cork floats on the oil and the wick extends underneath, into the oil. You only need about a ¼ inch or so of wick above the cork.
Once you place the wick into the oil, wait a few minutes for the oil to soak into the wick. If you don’t want to wait, be sure to soak the wick in oil before you insert it into the cork.
“As we all proceed into more and more modern technologies, let’s refresh our simple knowledge of lighting with some of the very basics we can make that go back to the beginning: oil lamps and candles.”

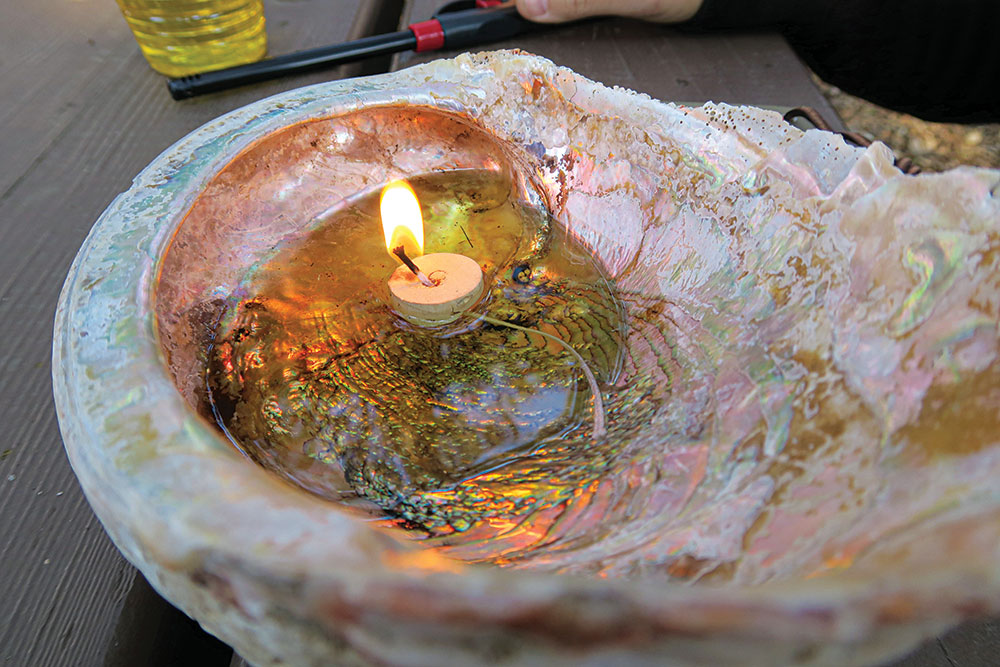
Now, light your wick—and be amazed at how long a small slush lamp will burn! As long as the wick is wicking up the oil, the cork won’t burn; rather, it’ll descend into the container as the oil is consumed. You’ll also be surprised how much light such a simple lamp will produce in complete darkness.
That’s really all there is to it!
CANDLES
We know that candles have been used for illumination for several thousand years. Until the advent of electricity, candles were the primary source of lighting in homes, especially in the homes of poor people who couldn’t afford lanterns.
The elements of a candle are wax, a wick and a container or mold. The three methods of making candles comprise dipping the wick into liquid wax; pouring liquid wax into various sizes and shapes of molds; or rolling sheets of wax around the wick.
Let’s look at each of the elements first.
WAX
The original candles were made from cow and sheep tallow, which was boiled down from the fat. We know from the records of the ancient Egyptians and Romans that these candles burned poorly (and apparently smelled bad too). The Romans melted the animal tallow until it was a liquid and then poured it over various fibers that served as the wick.
The Chinese used a type of wax from insects mixed with seeds. There’s a variety of plants, such as Oregon bayberry (also known as candlewood), whose leaves can be cooked in water, with the wax coming to the top when it cools.
In the 1800s, chemist Michel Eugene Chevreul identified for the first time that tallow (or animal fat) consisted of various fatty acids, and he identified stearin (stearic acid). In 1825, he and chemist Joseph Louis Gay-Lussac patented a process for candle-making from crude stearic, which was a big step forward in the quality of candles.
Still, the best candles are made from beeswax, which is a by-product of beekeeping. Bees create the wax, propolis (a brownish, resinous material of waxy consistency collected by bees from the buds of trees and used as a cement in repairing and maintaining the hive)—basically, everything—from the nectar they collect from flowers. When the cells in the hive are sealed, the bees continue to make more cells and fill them with honey or the larvae of new bees. The beekeeper has to cut off the outer layer of honey from the comb (“decapping”) in order to spin the honey out of the cells. Most beekeepers return the empty cells on each frame back to the hive, so there’s less work for the bees. Still, all that decapping produces lots of wax over time.
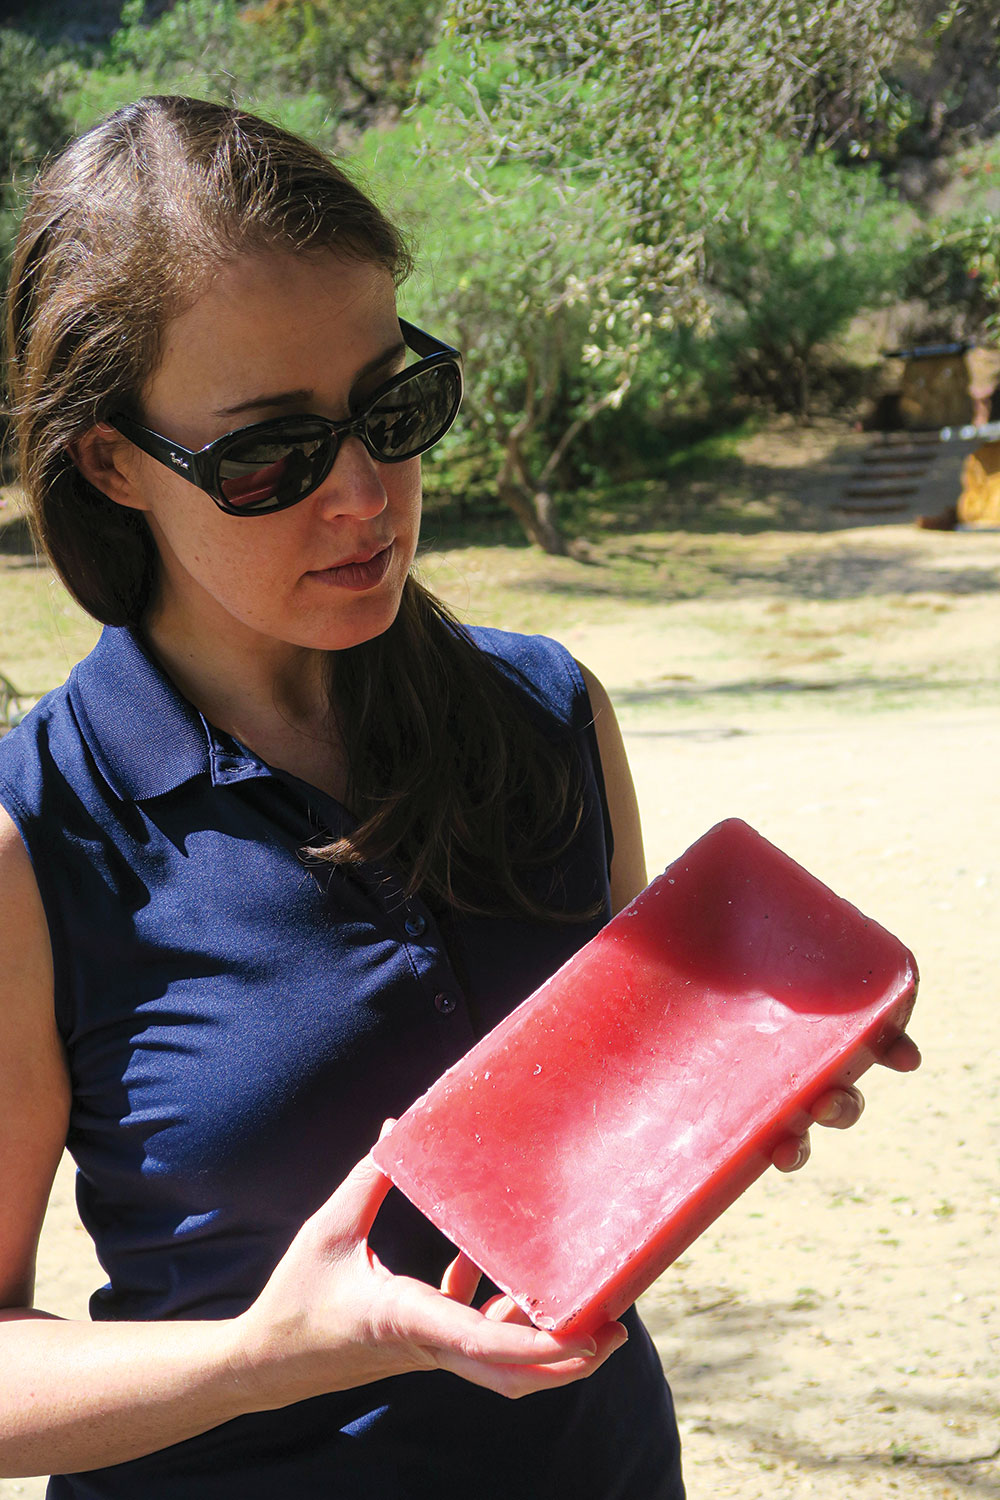
If you buy blocks of wax at a craft store, you’re likely buying paraffin wax, which is a petroleum product. It’s relatively cheap, and you can buy it plain or in any color of the rainbow.
The first paraffin wax candles were made in the mid-1800s in Battersea, England, which led to the commercial production of paraffin. To this day, paraffin is a popular form of wax, because it burns clean, bright and odorless. These days, commercial paraffin is often blended with stearic acid, which hardens the wax and creates a superior candle.
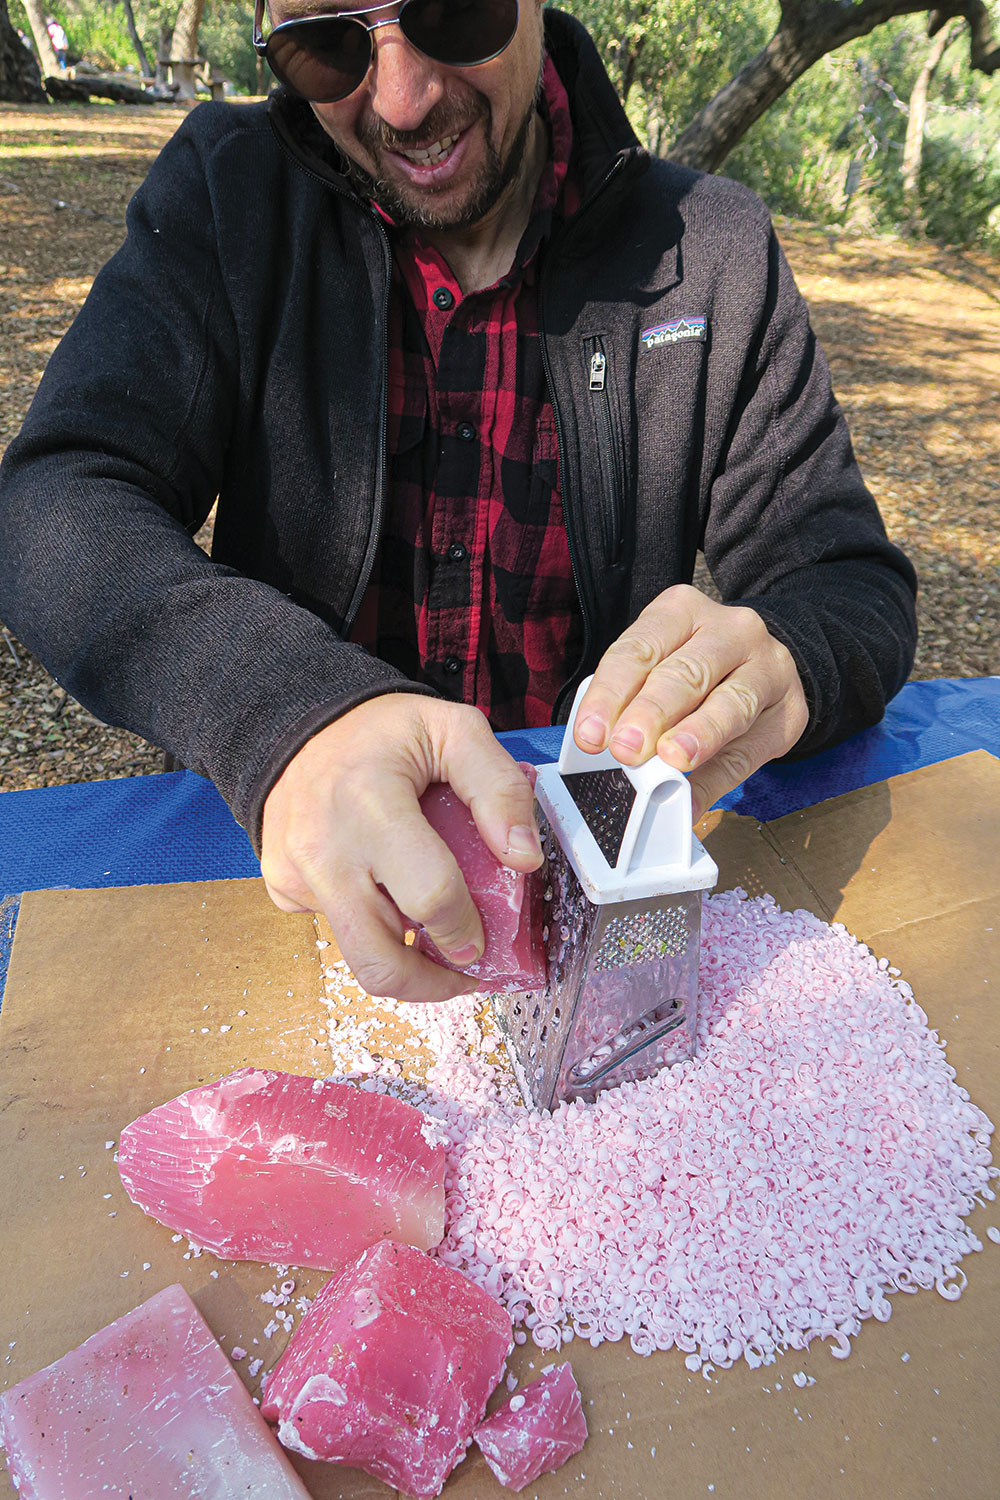
If you buy blocks of wax, I suggest using an old cheese or vegetable grater to grate the blocks before you try to melt them. When you’re ready to make your candles, either by dipping or using molds, the wax melts much quicker if you put shredded wax into the melting can rather than one big block.
At this stage, you can add colors and perfumes, if that’s your “thing.” However, I generally don’t include fragrance or color; I prefer all-natural candles.
WICKS
The braided wick was invented in the mid-1800s, when everyone was going “high-tech” with candles. Before that time, wicks were very simple affairs—just twisted strands of cotton—that might not have burned well and often needed maintenance. The braided wick was tightly plaited and was definitely an improvement.
“The desire to light up the night is why we’ve invented electric lights and endless models of lanterns, flashlights and other lighting devices.”
Wicks are the medium for sucking up the oil or the wax and allowing the fuel to burn. They don’t have to be elaborate. A cotton string will work, although braided cotton will be stiffer and thus, will work better.
I won’t lie! I go to Michael’s and buy a roll of 75 yards of simple candle wick for about $15. Nevertheless, I’ve made plenty of candles with string and have used mullein leaves many times. I’ve even used a strip from a cotton kerchief, and it worked well as a wick. Keep these options in mind if you find yourself making candles during tough times.
I don’t recommend buying wicks that contain lead. The lead allows the wick to be stiffer so that it’s easier to make the candle when dipping or using a mold. But … lead is toxic, right? You don’t want to breathe that in when you burn a candle.
HOMEMADE CANDLE MOLDS
When you make molded candles, you need a mold. Yes, you can buy them, but I never have.
In the beginning, just get a symmetrical glass jar roughly the size and shape of the candle you want. After you’ve poured the melted wax into it and it’s hardened, carefully break off the glass and clean the candle; you now have a candle that’s ready for use.
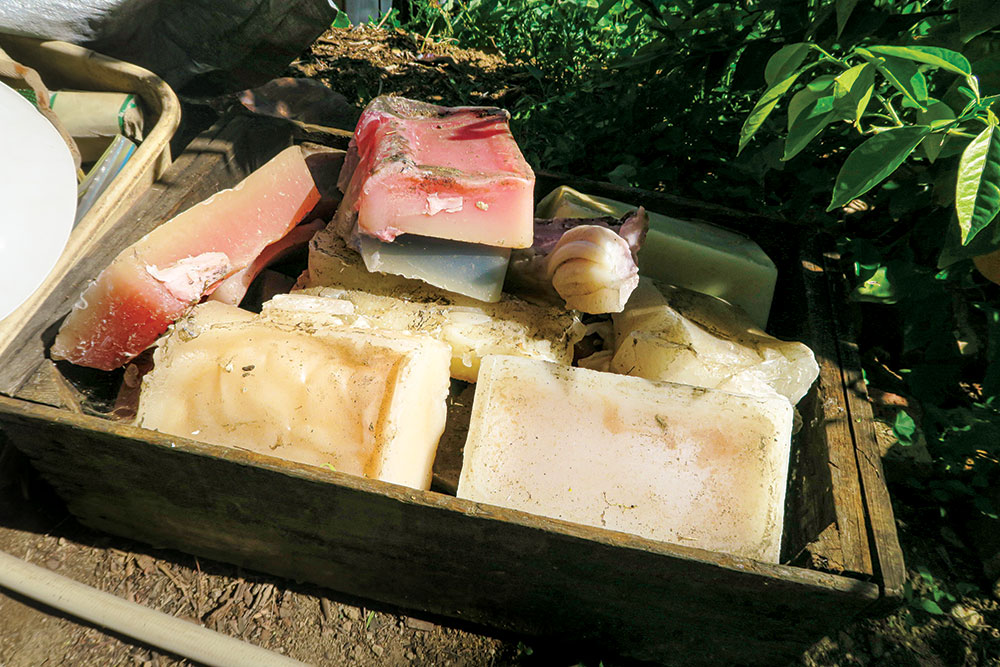
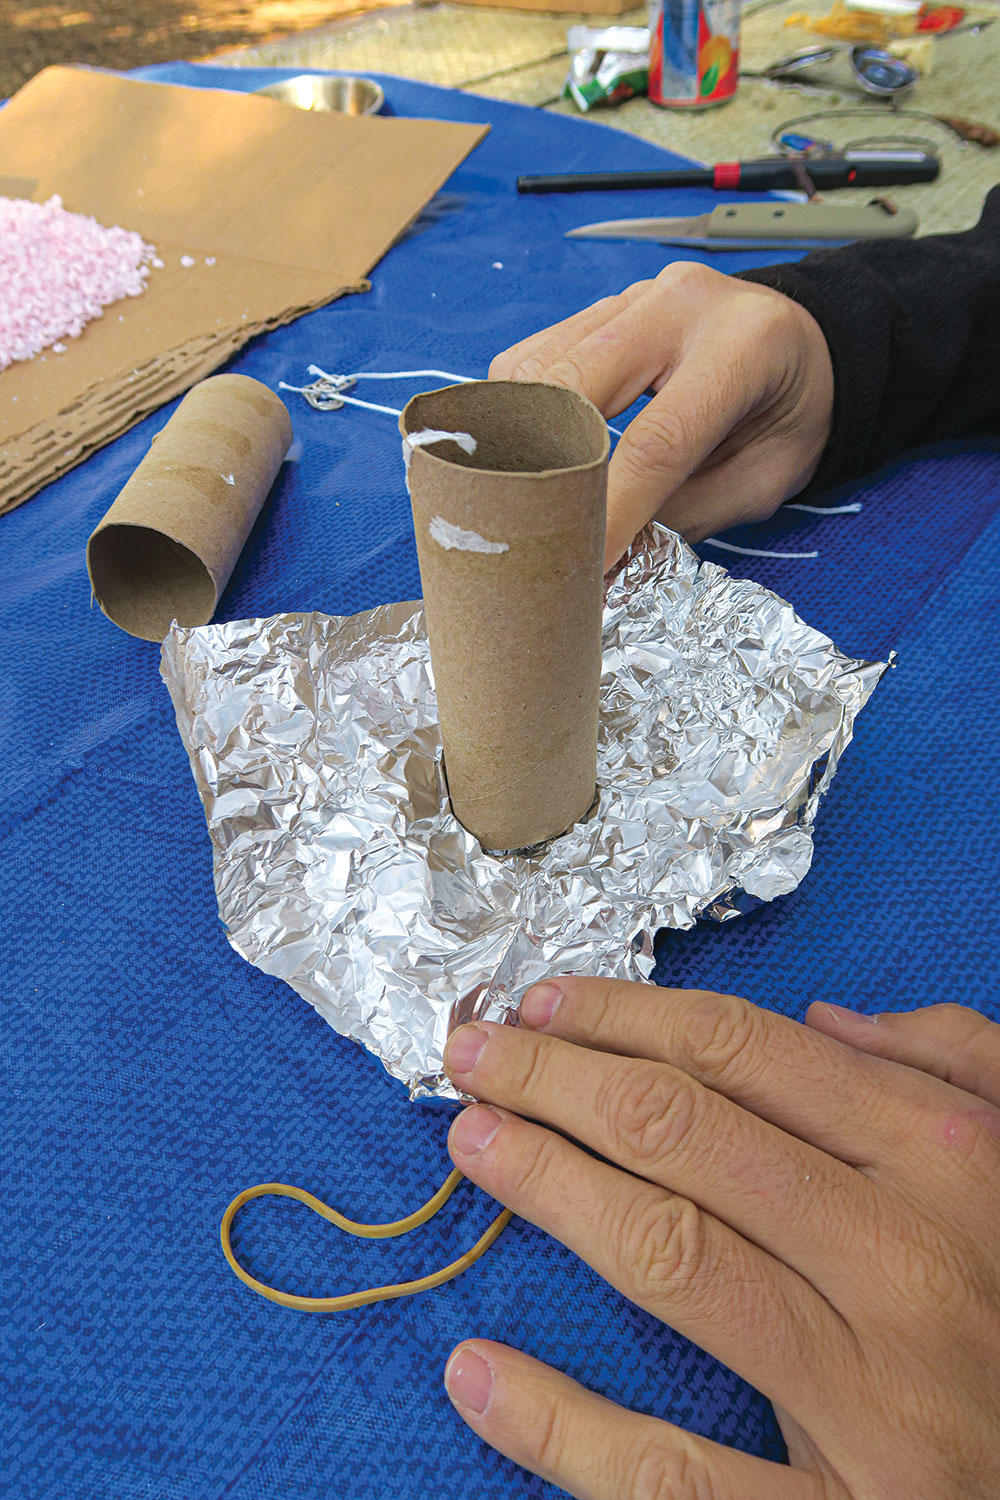
Other good molds include cylindrical frozen fruit juice containers, salad dressing jars and baby food jars. I’ve also used paper cups. My favorite, however, is … toilet paper rolls. Before using a toilet paper roll, you have to secure aluminum foil (or something else) to the bottom so the wax stays inside the “mold.” Even if there’s a small leak using this method, you just pour in a little wax beforehand and let it harden up. When the wax hardens, the leak is sealed and you can begin.
DIPPING METHOD
Now that you have all your supplies, let’s make some candles.
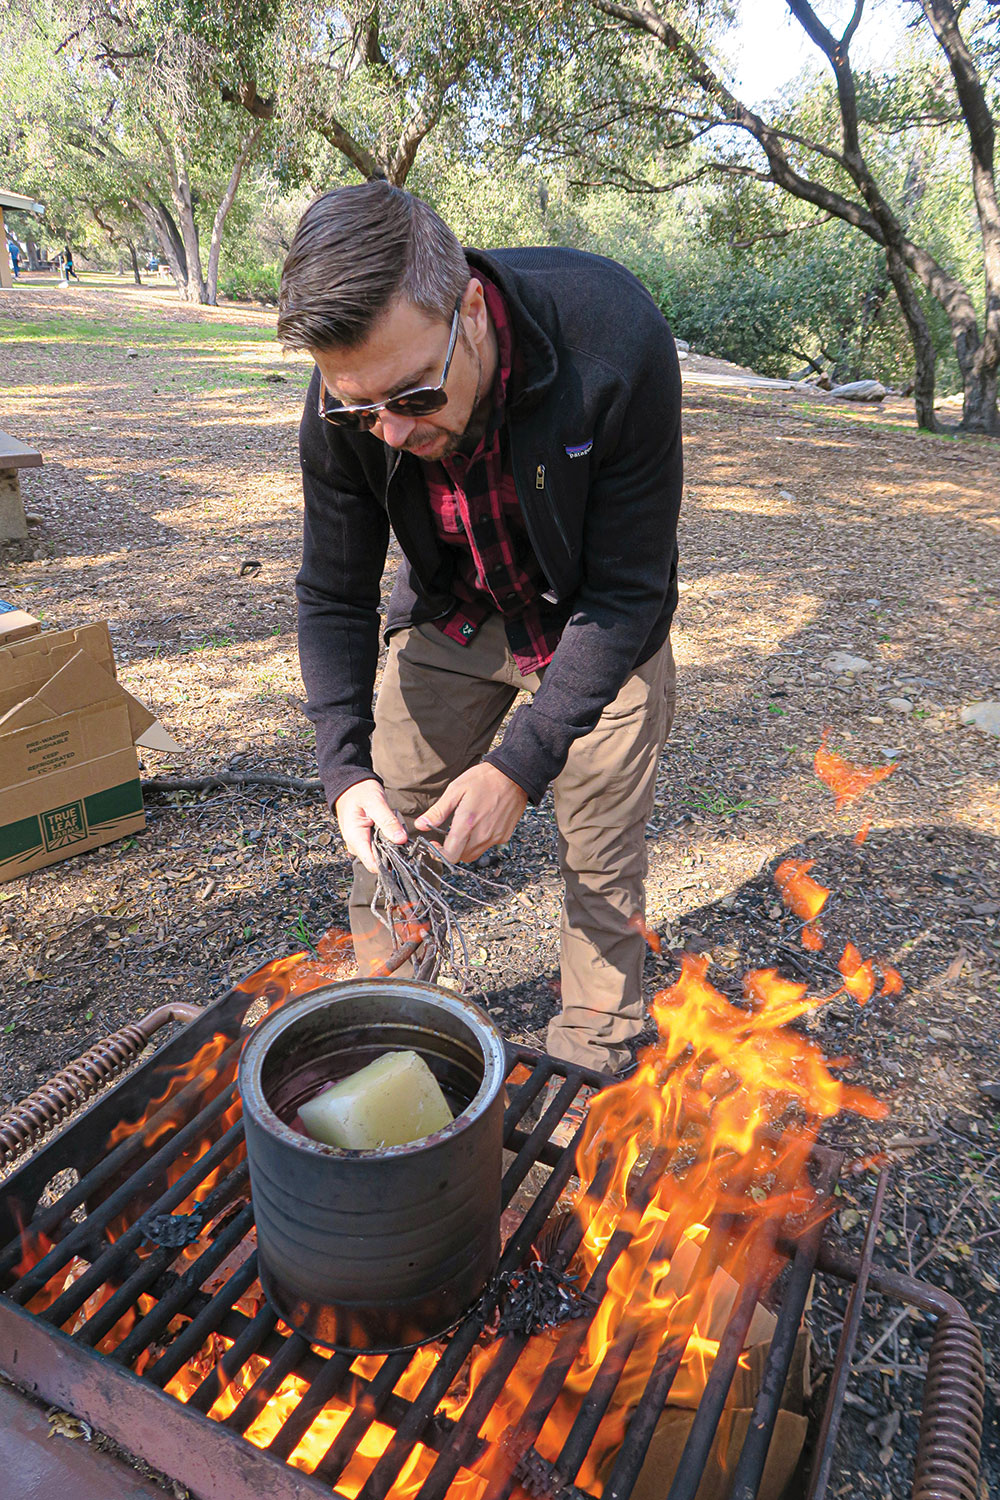
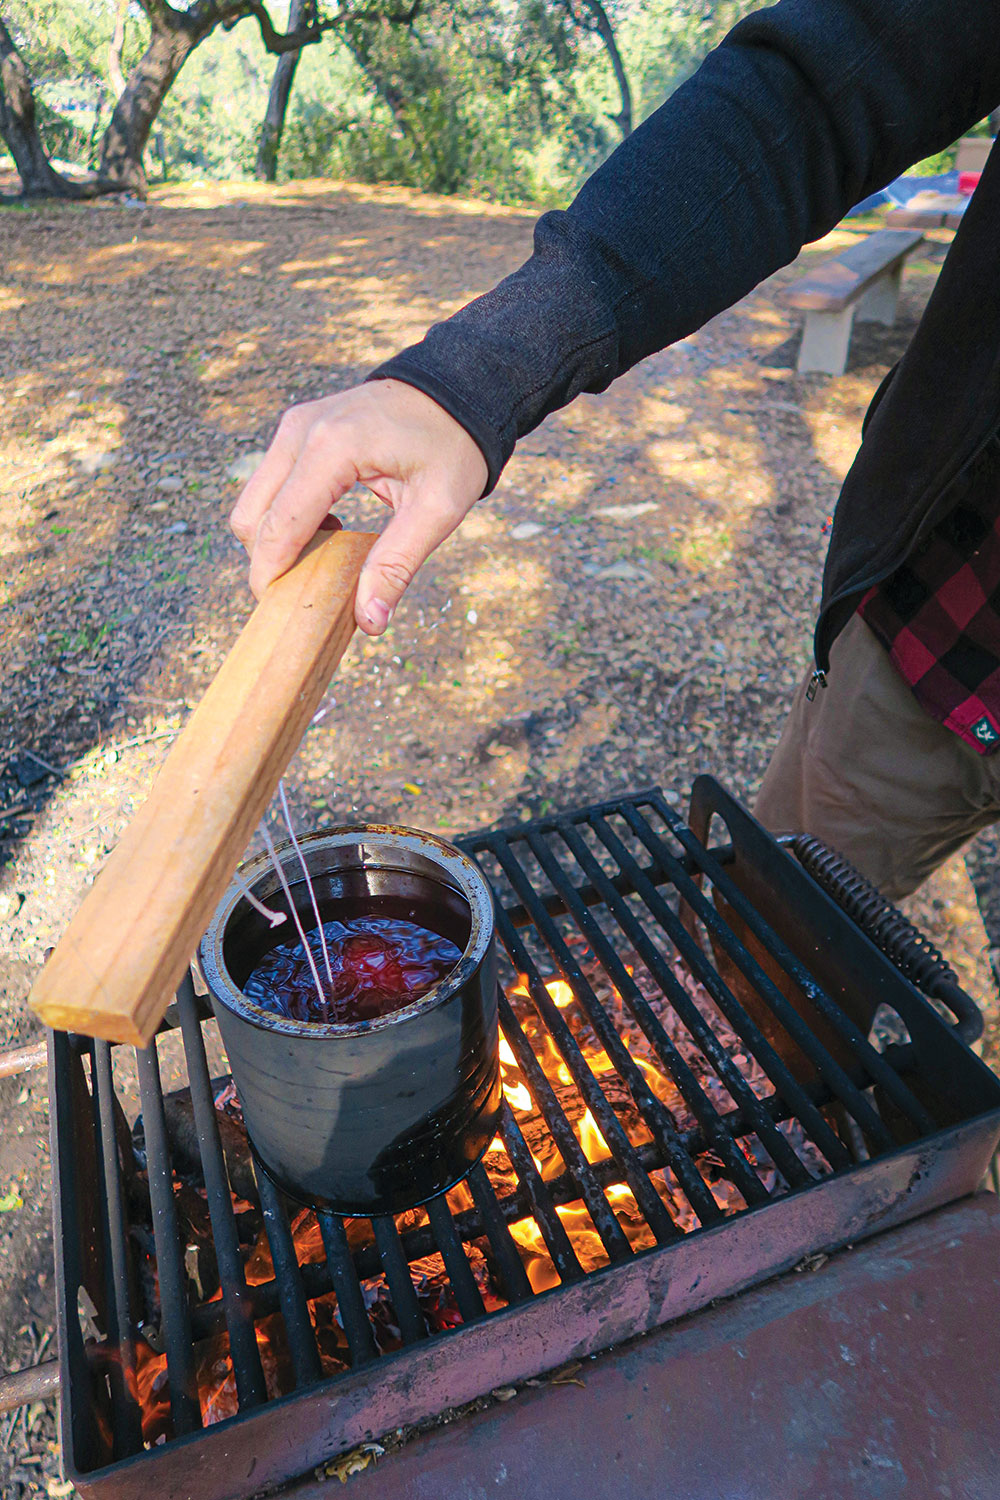
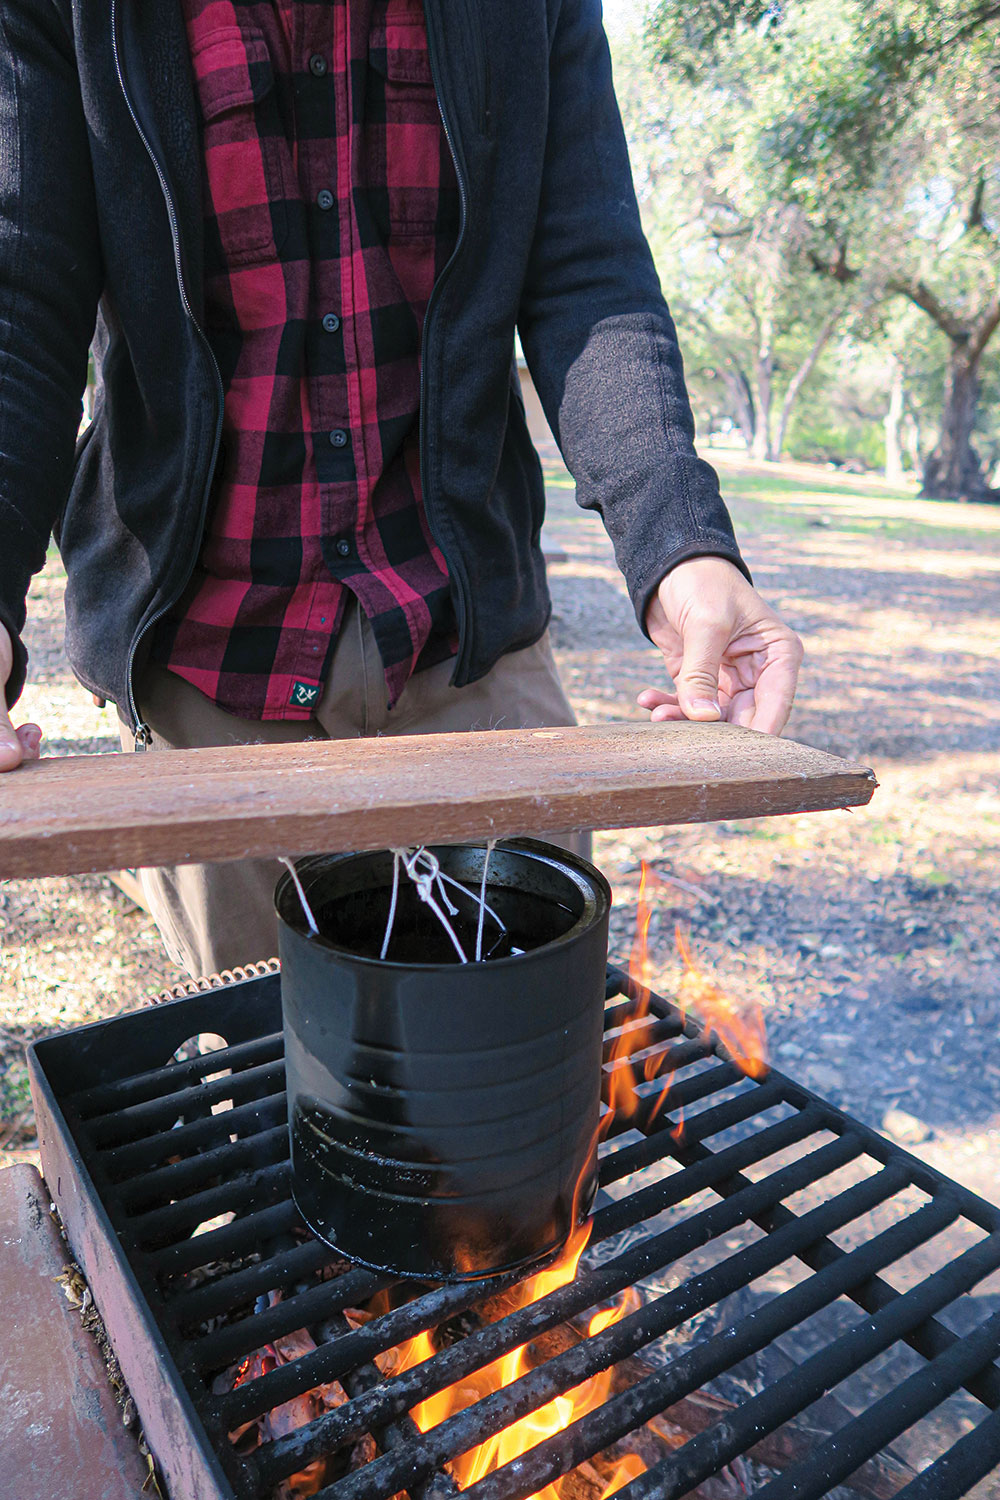
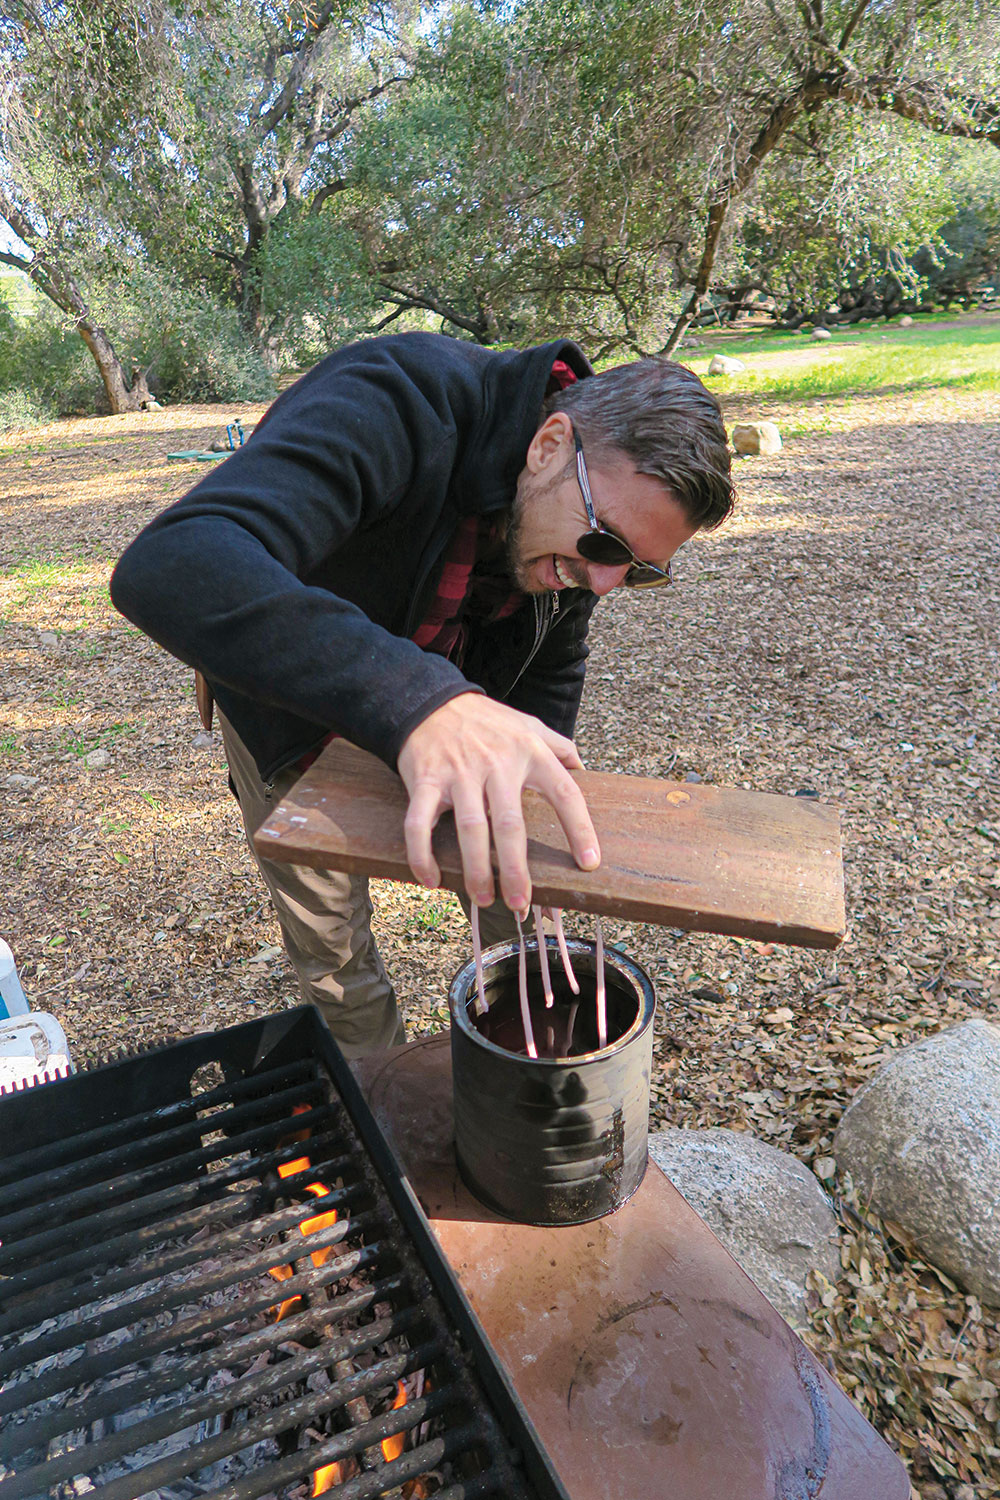
Making candles by using the dipping method is perhaps the oldest candle-making method. You’ll need a pot of hot wax, and the candles will only be as tall as your pot is deep.

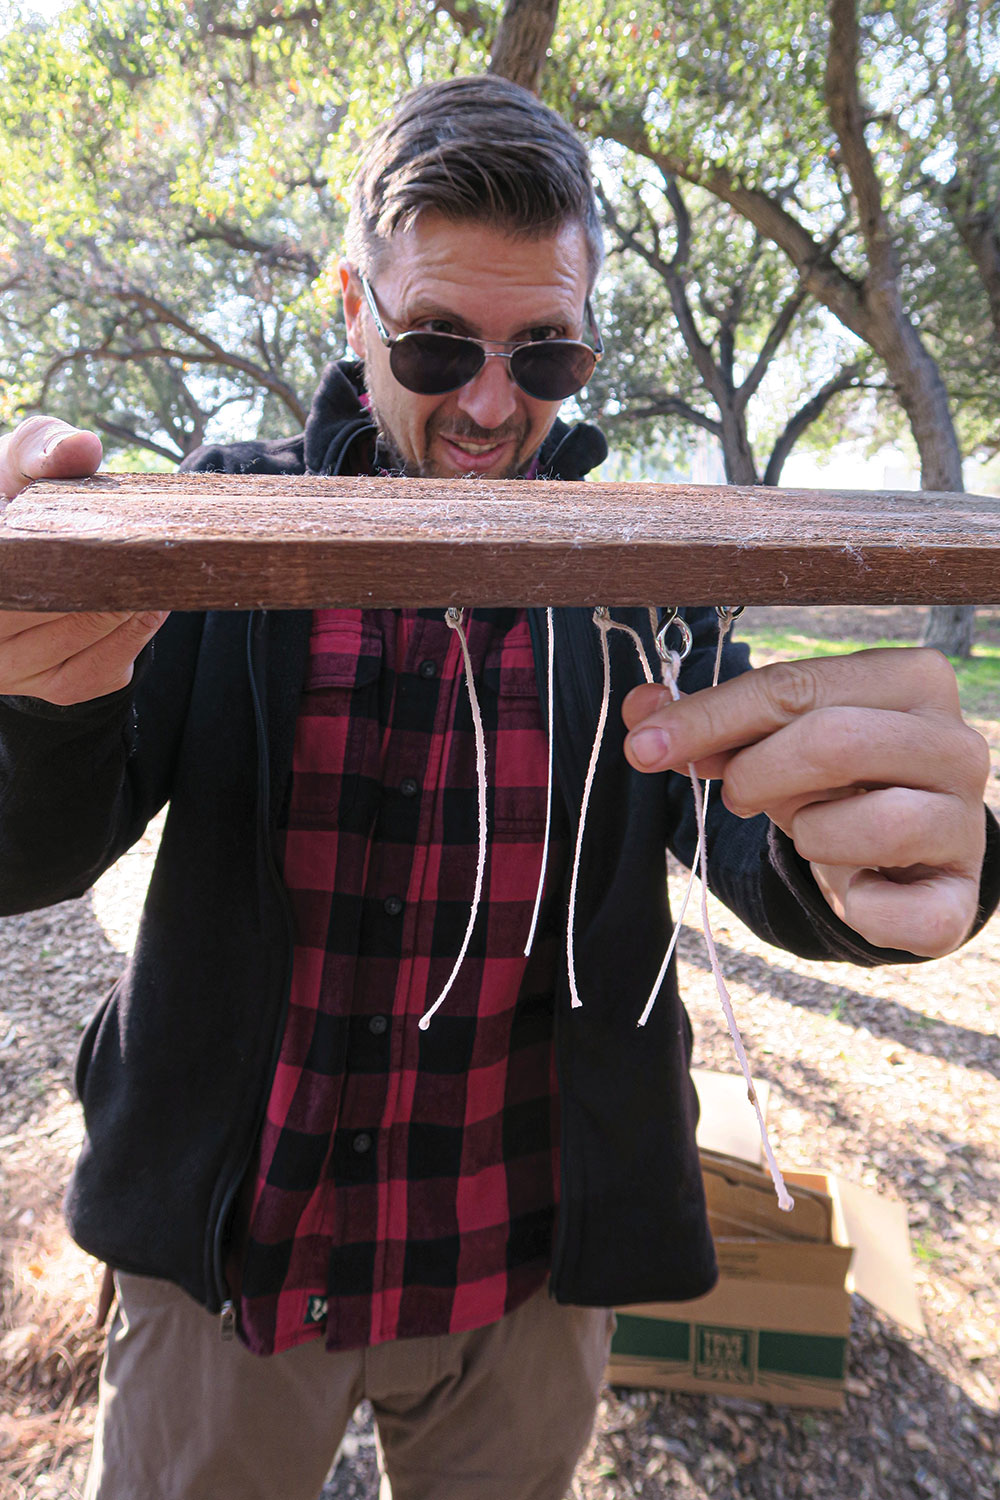
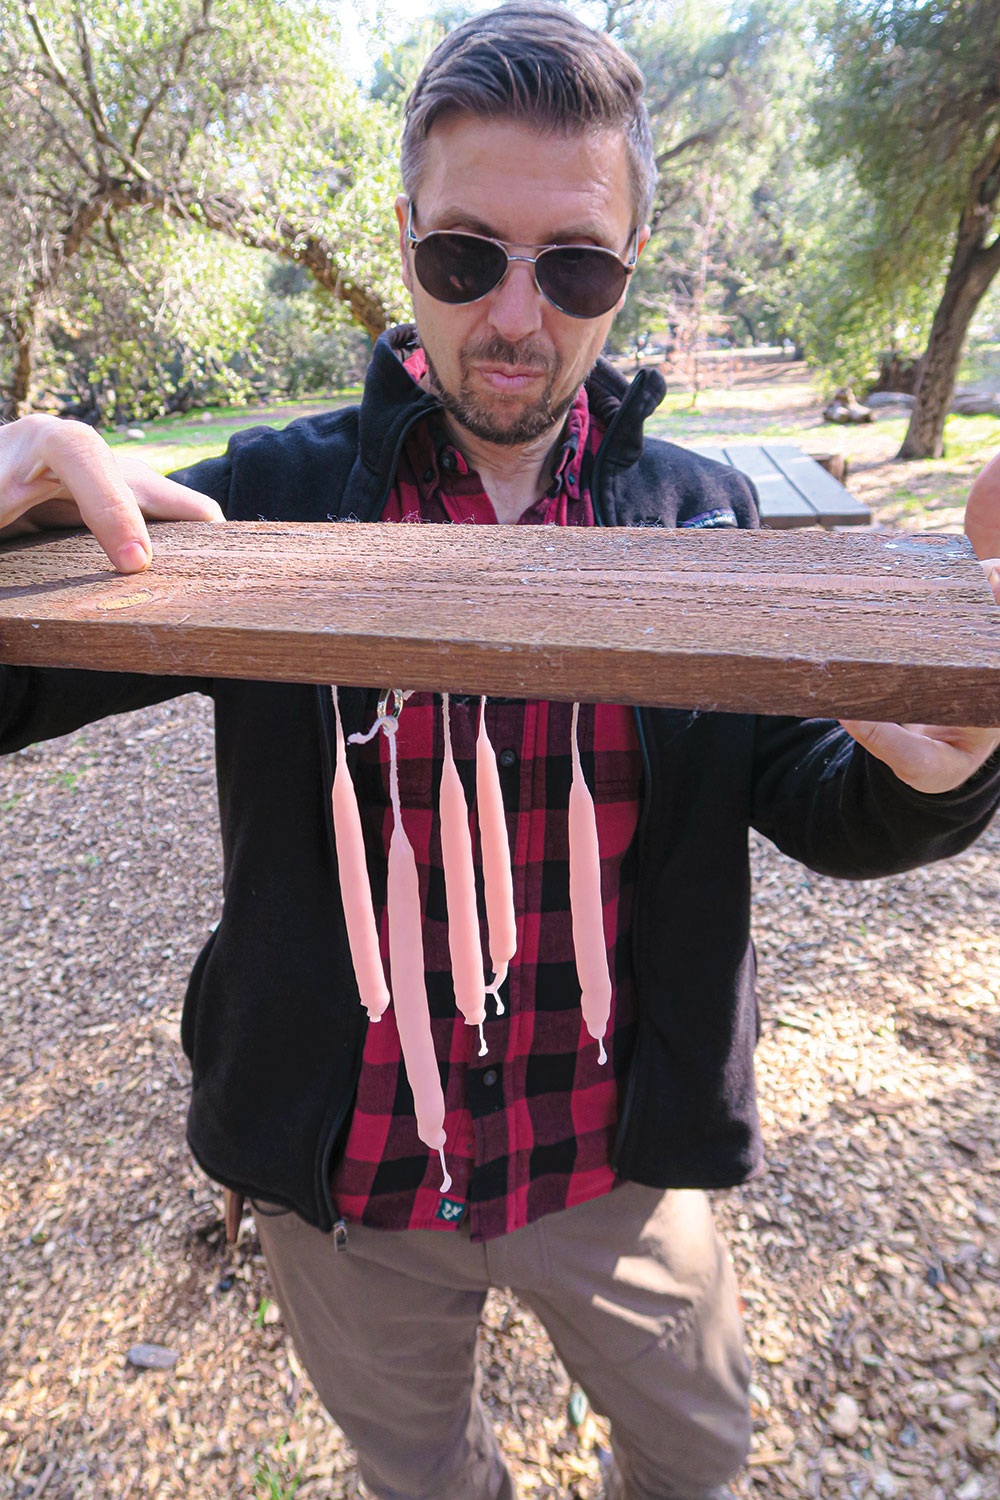
Dip your chosen wick into the hot wax and remove it immediately. A little wax will cling to the wick and harden after a minute or more. Dip it again and again. I’ve done this by hand—and quickly realized why various devices were invented to make this easier.

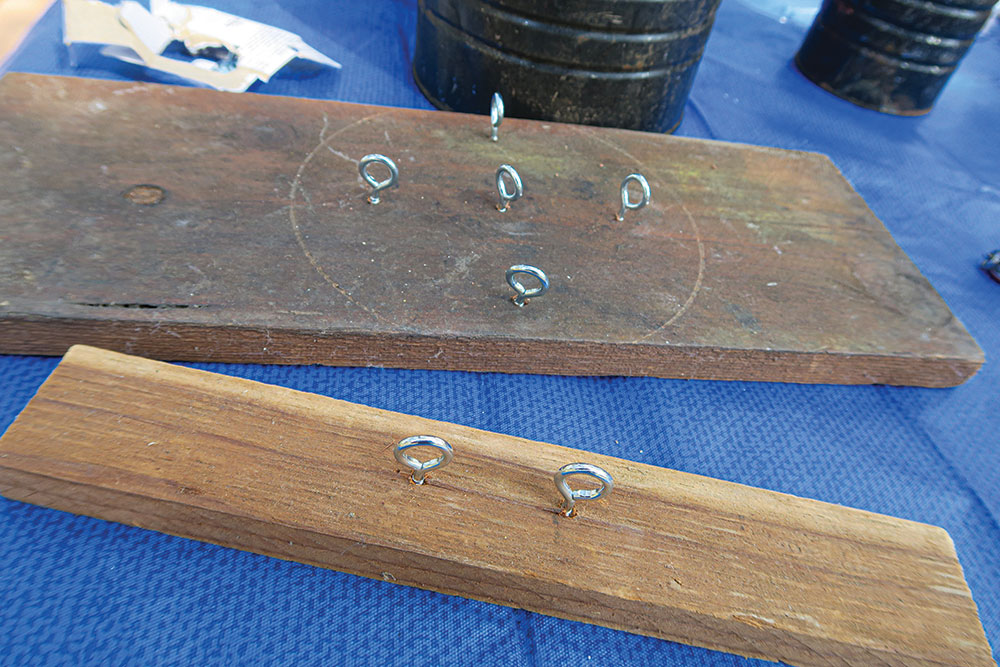
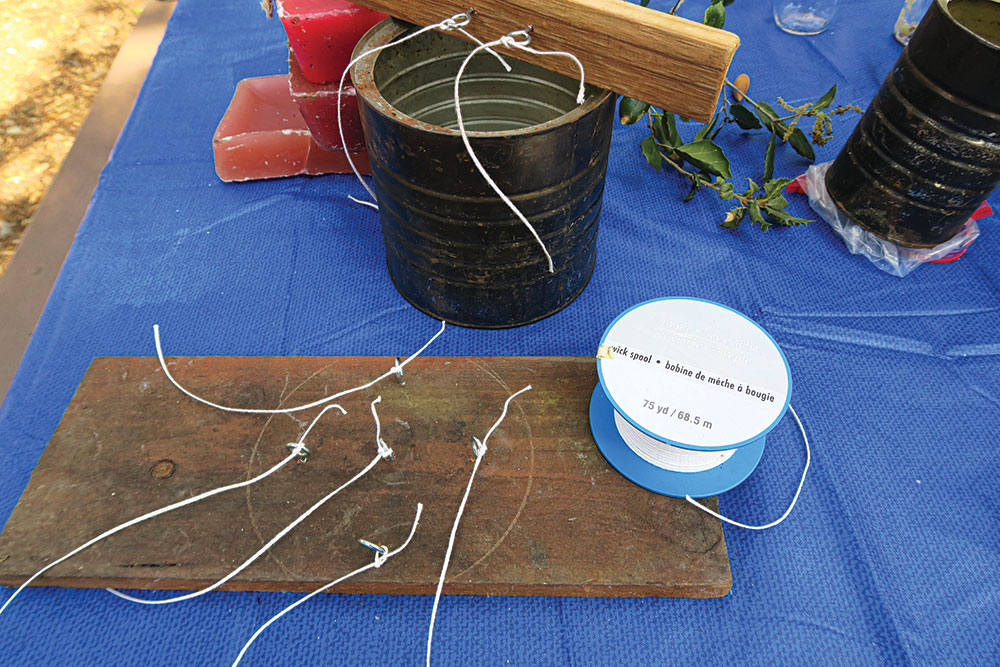
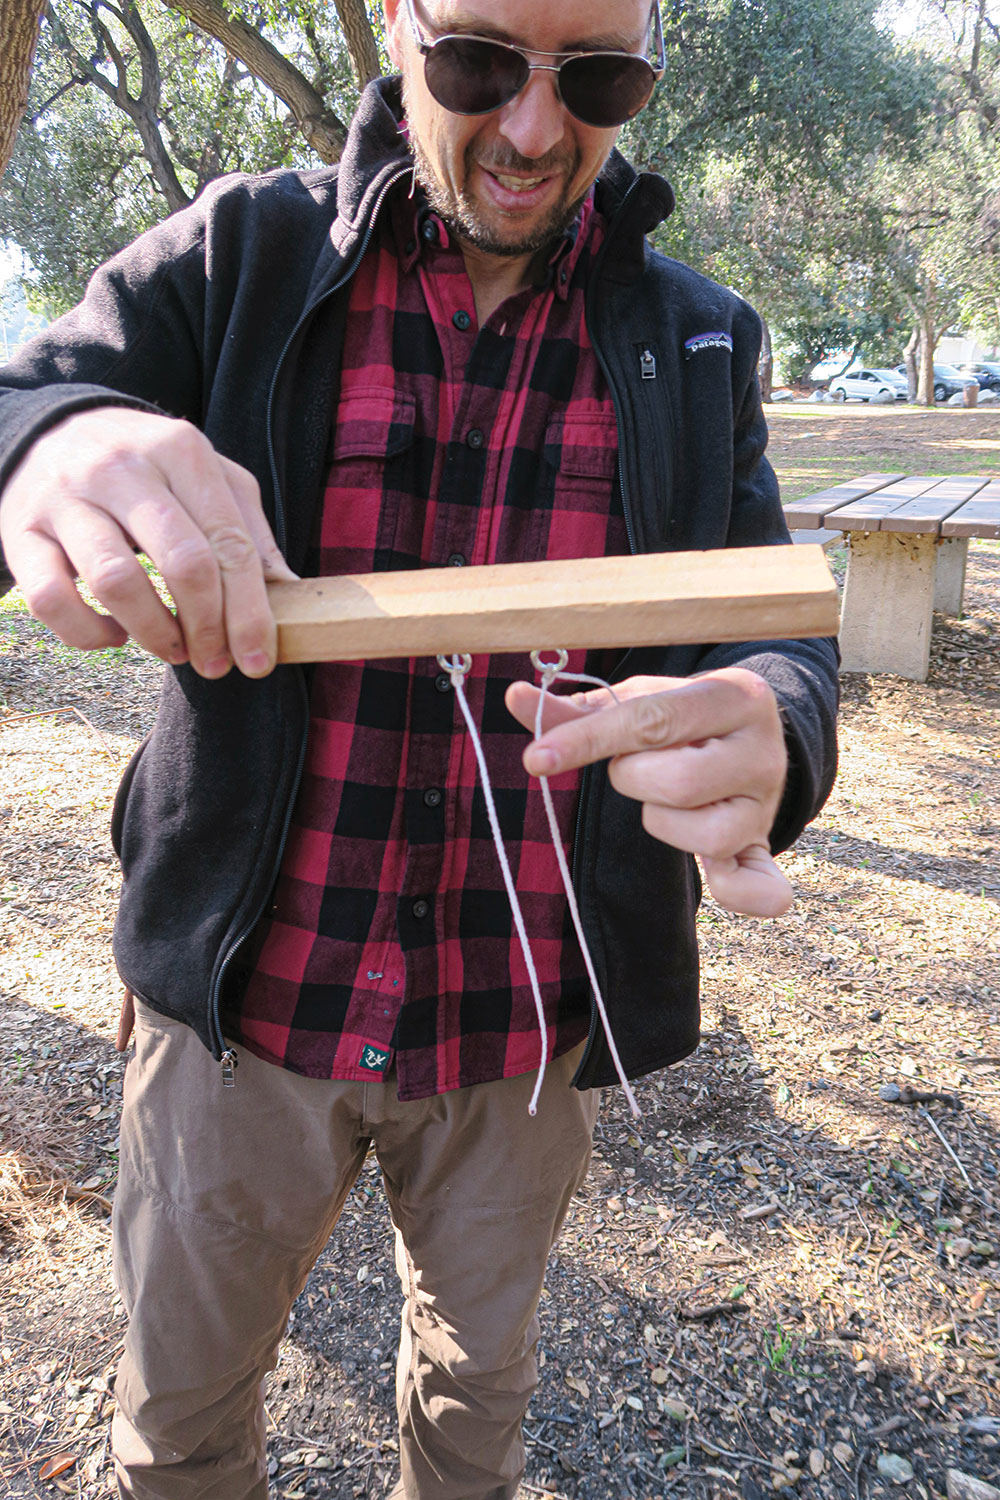
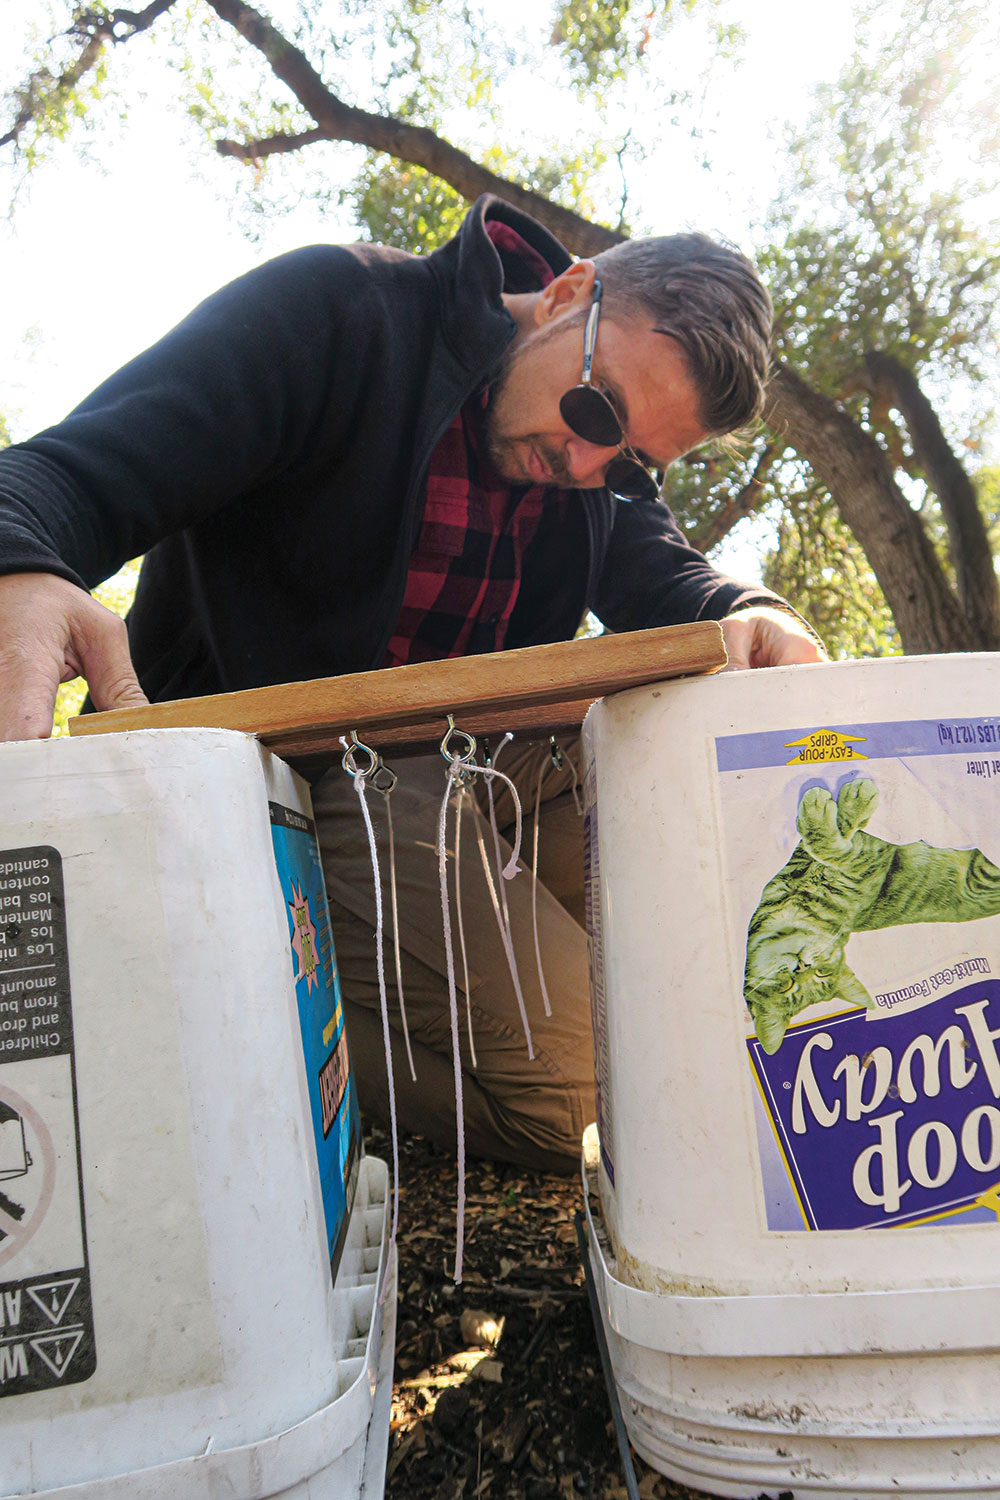
For instance, if you have an X-shaped piece of wood or frame, screw eyelets to the underside, apart from each other, and then tie your wicks to those eyelets. You’ll be able to dip a bunch of candles at one time. You’ll also need some sort of stand so that after each dip, you don’t need to wait around with the candles in your hand. Just dip the candles, put them somewhere to cool, and then repeat the process. Rig multiple frames so you can dip more candles while others are cooling. It’s so easy!
MOLD METHOD
It’s easier to make a lot of candles at once, rather than doing one at a time. But that’s up to you. In the beginning, just make one.
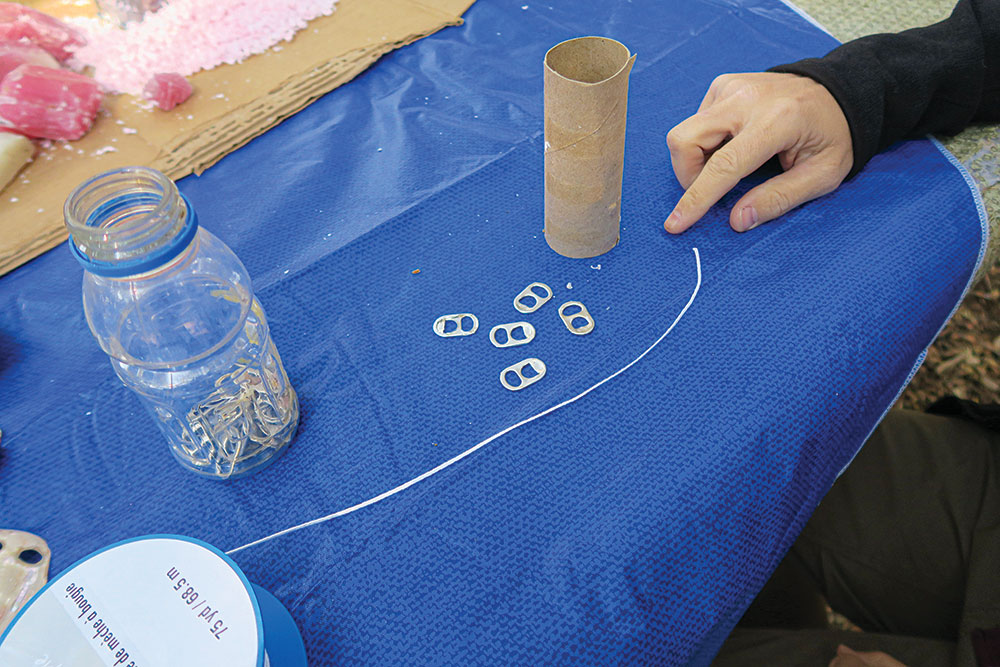
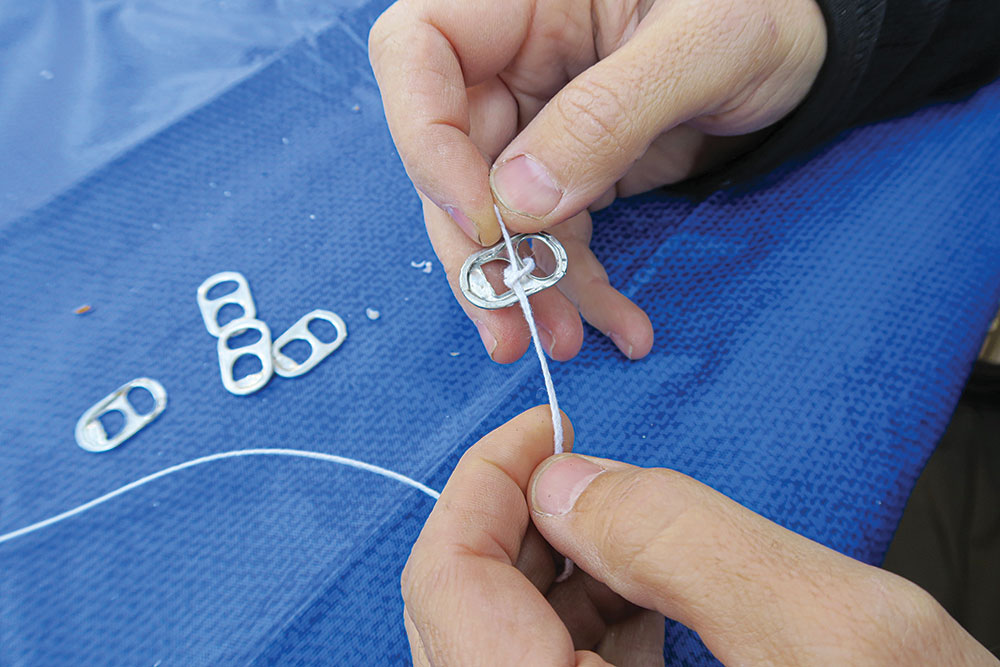
Begin by dipping your wick in the hot wax. Let it harden up a bit. I sometimes add a little weight to the bottom of the wick to keep it in place in the middle of the mold. I’ve used the little flip tops from aluminum cans for this (it’s also a great way to recycle a common item).
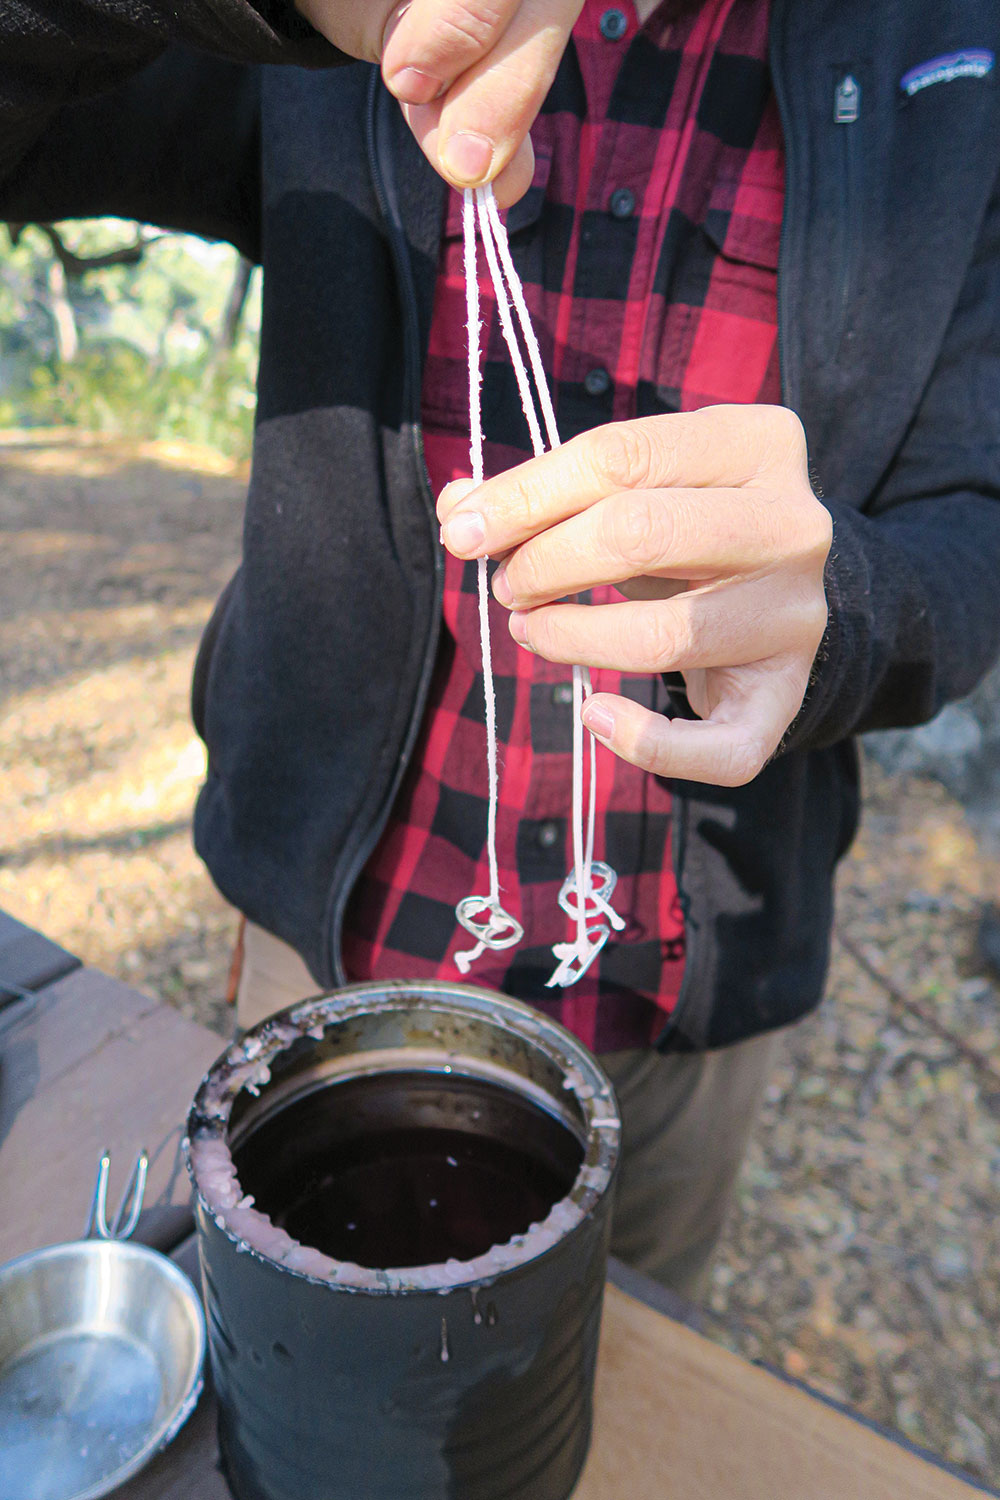
Center your wick in the mold and pour in just a little wax. Let it harden up so your wick will now be secure at the bottom of the mold. Before you add the rest of the wax, lay a popsicle stick across the top of the mold, so you can rest the wick on it and help keep the wick centered. Then, fill up your mold.
I usually do a few layers of hot wax, depending on how large a candle I’m making. If you pour all the wax for a large candle at once, you might have some hollow spots as the wax cools and settles.
When the candle is thoroughly cooled, break off the glass mold. If you used a toilet paper roll, peel off the cardboard. Clean up the candle with a knife, and you’re done.
ROLLING METHOD
Rolling your own candles is easy. There’s almost no skill involved.
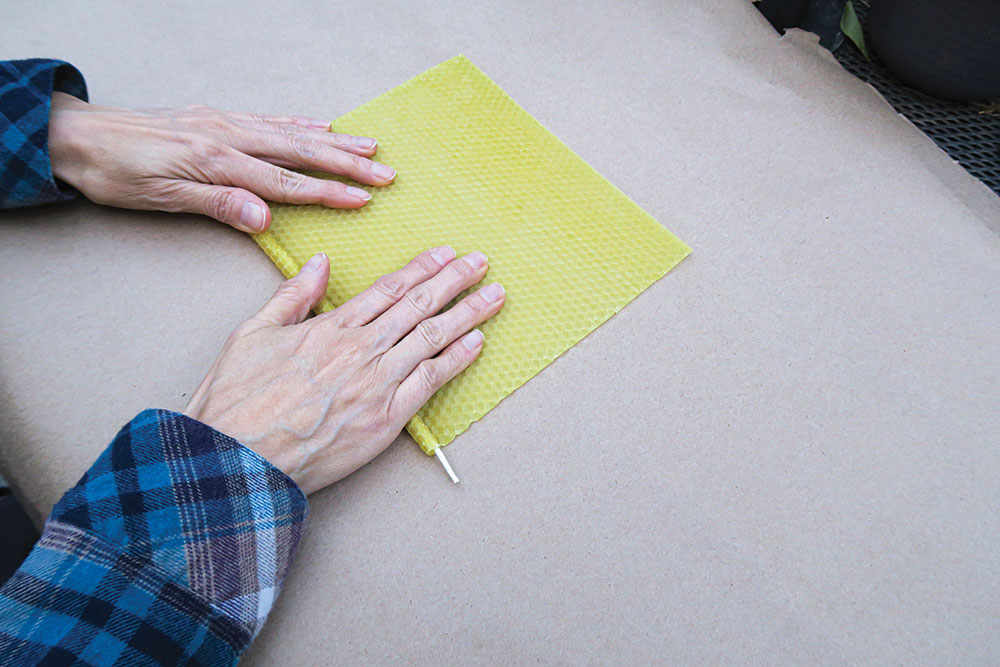
Buy some wax sheets from a candle supply store or a bee supplier.

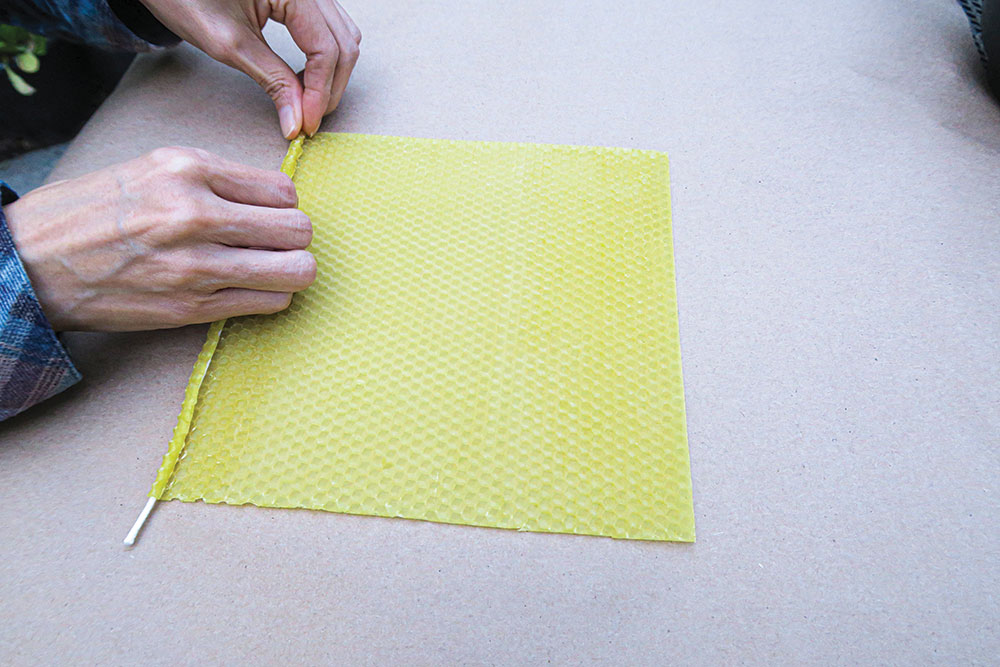
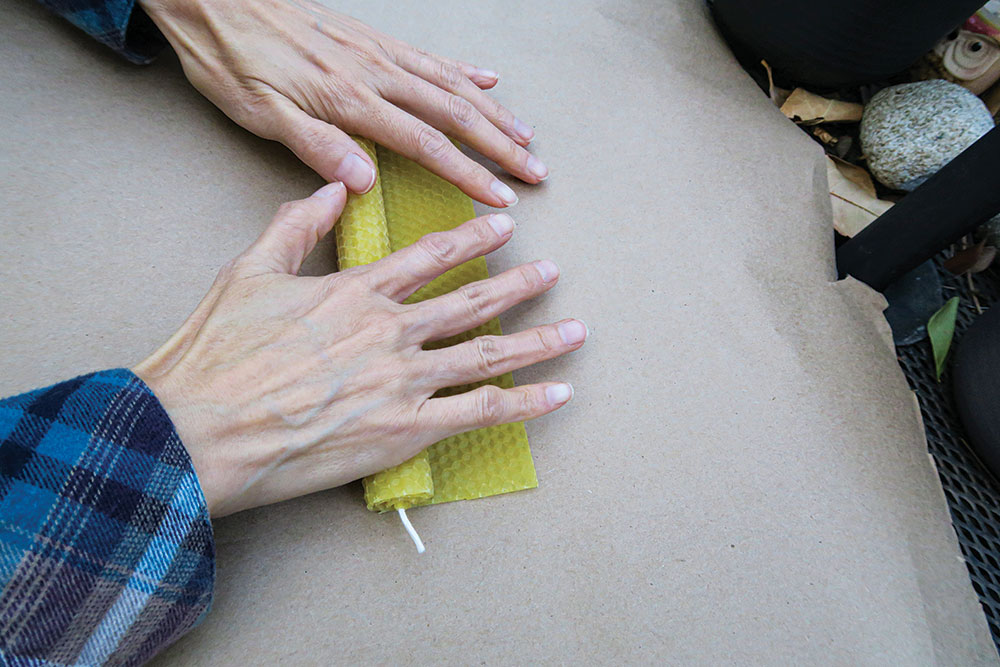
Cut the wax sheet to the height of the candle you want. Lay it on a clean, flat, hard surface. Place the wick along one end. Slowly begin rolling the sheet over the wick, little by little, keeping it lined up and preventing any gaps between the layers of the sheet as you roll it. You’ll have a candle in about a minute!

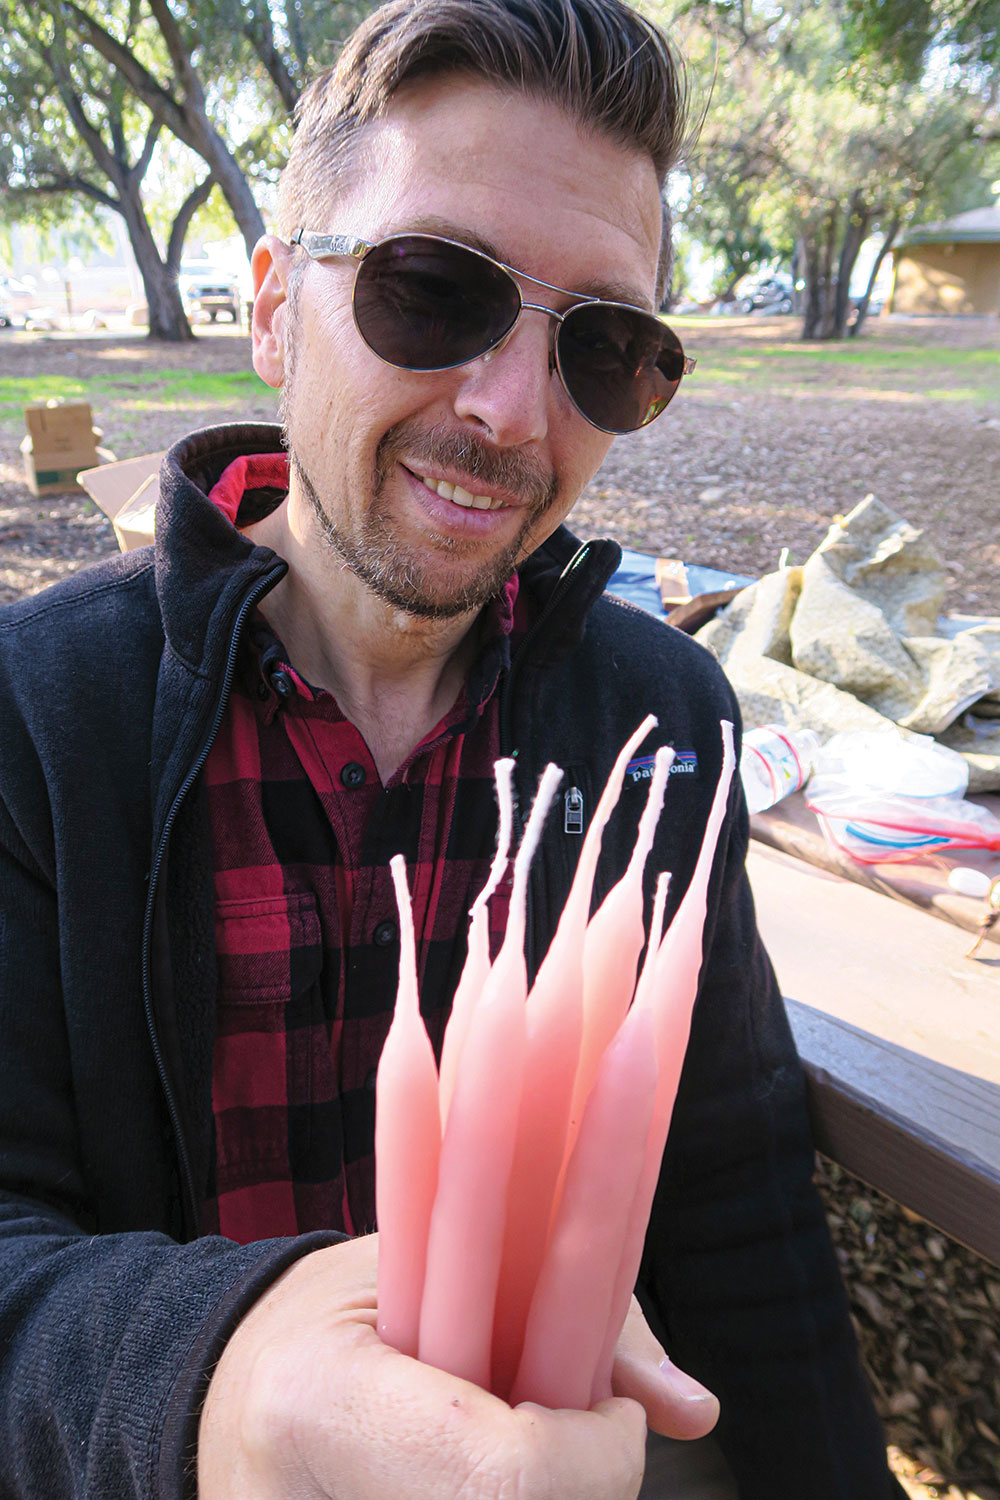
Making your own low-tech, yet effective and inexpensive, light sources is easy and can be a fun project.
And, as an added bonus, if you acquire some skill and efficiency, your candles can also be barter items or even a secondary source of income: Sell them at craft fairs, farmer’s markets and local gift shops.
A version of this article first appeared in the August 2021 print issue of American Outdoor Guide.