

A STEP-BY-STEP GUIDE TO MAKING YOUR OWN RAISED BED AND COVER
Get all the advantages of a raised bed plus greenhouse-like protection year-round—and do it all yourself! A raised bed helps you maximize your space, reduces weeds and helps deter pests. It’s easier on your back, and you don’t have to till the soil, which you can tailor specifically to your crop’s needs.
Adding a cover will help protect your seedlings from the unpredictable elements of spring, such as wind, hail, snow and late frost and should keep your plants a little warmer than the air around them. Come summertime, the cover will take the edge off the heat, and come the cooler temperatures of late fall, the cover can insulate your plants from the cold and lengthen your growing season.
You can even add an automated watering system, so all that’s left for you to do is monitor, prune and harvest as little as once a week!
HERE’S HOW YOU CAN BUILD YOUR OWN:
Assemble a raised-bed frame with 2x12s (or stacked 2x6s to keep costs down) and staple wire mesh to the underside to protect from burrowing pests. You can get fancy and use pocket holes to hide the screws, or just a simple butt joint does the trick.
Create your cover frame using 2x2s with 2x4s for corner bracing. The frame should be the same size as your raised garden.
Bend 10-foot PVC pipe to create the arches and attach them to the cover frame with pipe clamps. (Tip: Drive a screw directly through the pipe into the frame to keep it from slipping out of the clamp.)

Tie a wire mesh to the PVC arches using wire or zip ties. This adds a nice layer of structural support.
Staple a medium or heavy weight garden fabric over the frame. I used “Garden Quilt” from Gardener’s Supply online. (Tip: In my first attempt, I used clear plastic, which brought the temperatures in my greenhouse to over 100 degrees (F). Plastic is not recommended.)

Add two hinges on one end and about 3 feet of chain to each side to keep the top from resting on the ground while you’re working. Make sure you orient the hinged end so that you have easy access to all of your plants.
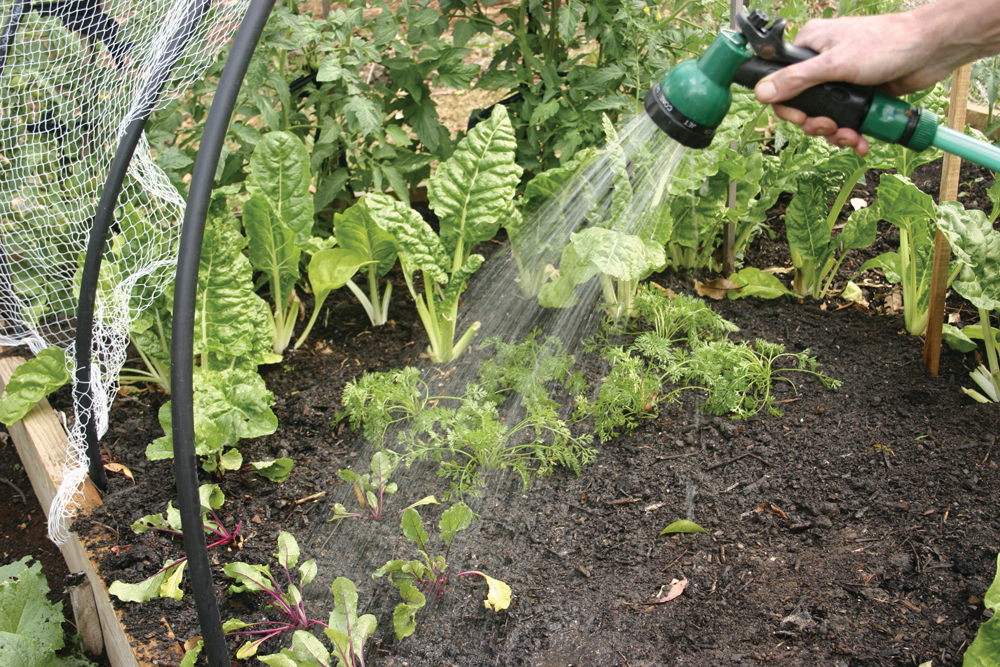
Fill the bed with your favorite soil mix and lay down a soaker hose or drip system. Connect this to an automatic timer hooked up to your hose and you’re ready to plant!

MATERIALS:
Everything here can be found at your local hardware store unless otherwise noted. I spent about $250 for everything, but you can save about $100 if you use 2×6 boards instead of 2×12.
- 2x6s redwood (or 2x12s, which are significantly more expensive) cut to desired lengths
- 2x2s for cover frame
- 2x4s for bracing
- Wood screws
- 10’x1/2” PVC pipe
- Garden fencing
- Zip ties
- Pipe clamps
- Garden cloth (I used “Garden Quilt” from Gardener’s Supply Company, available at gardeners.com)
- Staple gun and staples
- Hinges
- Eye hooks
- Chain
Optional:
- Automatic watering timer
- Soaker hose or drip system
PROS AND CONS:
PROS
- Plus 10-15 degree temperature increase.
- Protection from critters (birds, squirrels, etc).
- Bugs are kept at bay.
- Protection from heavy winds.
- Plants seem to thrive overall.
- Ability to grow certain heat-loving plants that you normally wouldn’t.
CONS
- If conditions are foggy/overcast, the cover reduces sunlight even more.
- Less flavorful crops.
- Leaves are more mold/mildew prone since moisture is locked in.
- Fruit/veggies tend to rot fast after ripening.
- Height restriction for certain plants (tomatoes had four-foot vertical growing space).
Stephanie does projects, has dogs and shares way too many photos of both. For more step-by-step tutorials, in-depth reviews related to the trials of home-ownership, visit swingncocoa.blogspot.com.