


In the U.S. Army, the term “field expedient” has a special meaning. It refers to all the tricks and fixes one learns on the job. They are unofficial and outside of what is in the manual. They are the fixes one uses if one finds themselves in the field without the properly issued tools or parts and just needs something to work. The methods that are handed down from old hand to new guy, or that come in a moment of inspiration and/or desperation, are field-expedient methods.
They usually involve a multi-tool, 100 mile-an-hour tape, and camo wire but can include gum, pencil erasers, a plastic spoon, or even urine. Yes, I said “urine.” I am looking at you, mortar men. Don’t act like you don’t know what I am talking about.

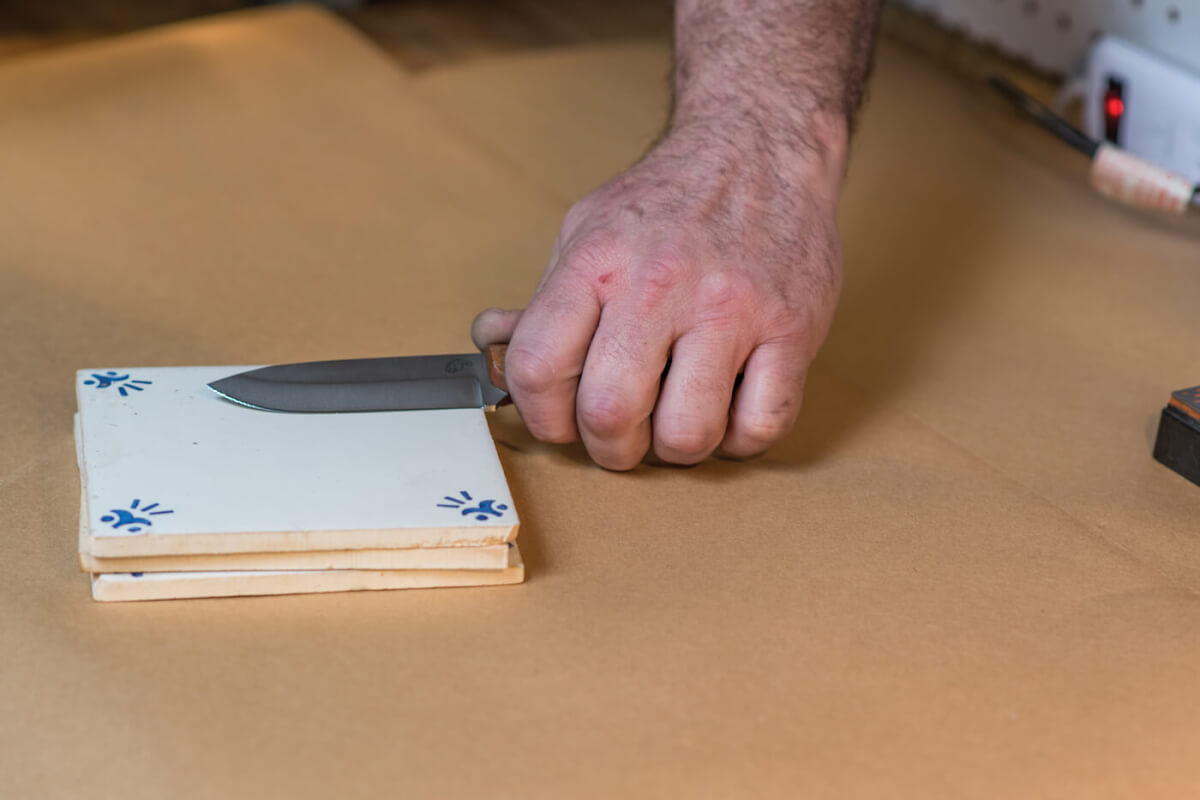
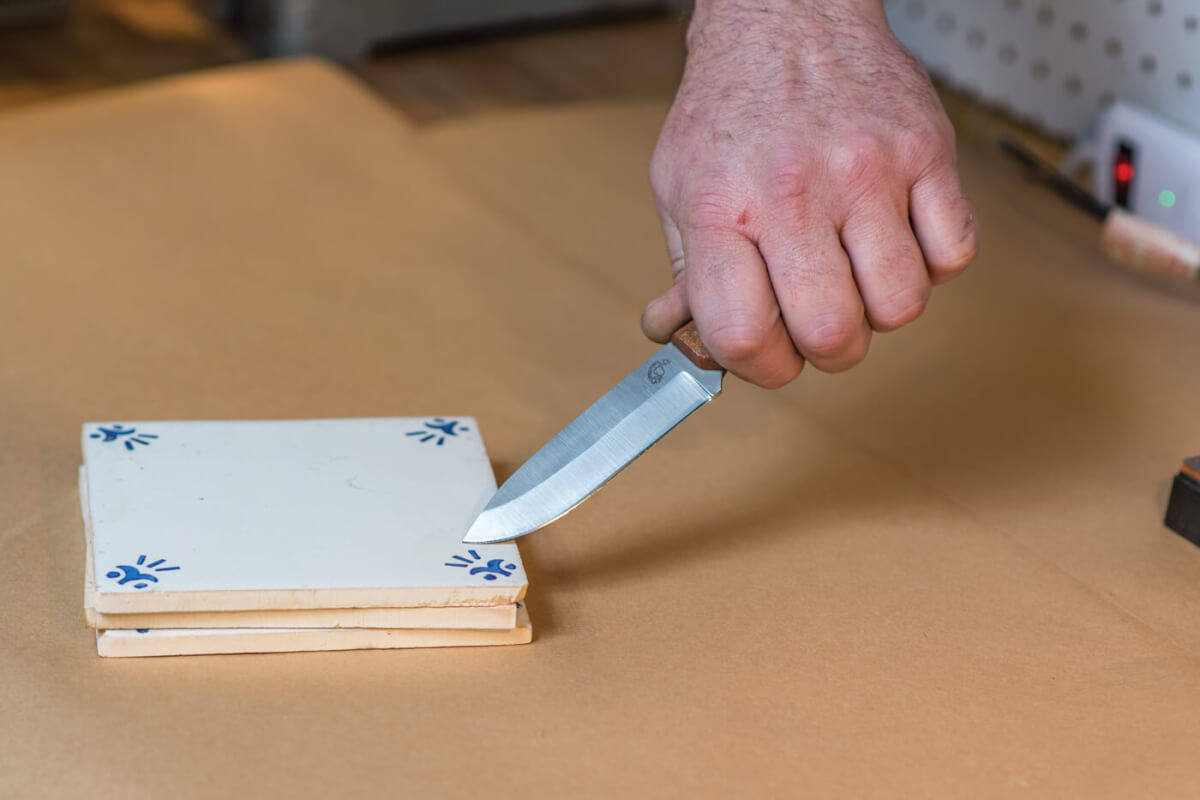
The first thing to know about field-expedient sharpening is that to sharpen a blade, one needs something harder than the tool they are trying to sharpen. In the case of knife blades, some good candidates for improvised sharpeners are car windows, coffee cups, ceramic tiles, quartz rocks, some granite or concrete, or the carbide edge on a heavy-cutting blade. There are plenty of other sources, but these are the one that come to mind. We’ll now delve into more specifics.
THE THEORY
Once a sharpener has been secured it is time to focus on technique. The most important part of freehand sharpening is consistency, consistency. I said it twice. That means it is important — you may want to remember that: consistency.
If you hold the blade at the same angle every time you draw the blade across the sharpener, then you will get two flat planes that meet at a keen edge and it will cut. The angle may not be perfectly efficient angle, but if you don’t have a sharpening stone then you shouldn’t worry about whether your blade is only cutting at 95% efficiency. If you don’t hold the blade at the same angle every time you move it across the sharpener, you’ll get a rounded dull mess. Depending on the size of the sharpener you’re working with, you may be able to hold it steady and draw the knife across it, but if the sharpener is too small or oddly shaped, then you may need to hold the knife steady and draw the sharpener across the knife. Either way works equally well, as long as the blade and the sharpener are held at the same angle every time.
THE LEARNING
It may take tens or hundreds of hours to build the muscle memory to be able to freehand sharpen, but once you can do it, you can do it forever. I first learned to free hand on an old whetstone at the kitchen table when I was about 5 or 6 years old. My Dad sat me down with an inexpensive folding knife from the hardware store. He showed me what to do and then walked away. Some of the advantages of learning on a stone were it was flat and stable, so it was easier to work with, the inexpensive knife was helpful because If I did too bad a job I had not ruined a good knife, and inexpensive knives tend to be softer so I got more immediate feedback and could adjust my technique.

THE METHOD
I like to start with the ricasso against the edge of the stone. It is a great anchor point and allows me to have a lot of the edge in contact with the stone so I can feel where the bevel is and get my angle correct, I then push the knife forward. This is a personal choice — some people pull it. There are all kinds of arguments as to why and how, but do you want to argue or sharpen a knife? In the end, I think it is like so many other things one does alone. Do whatever feels comfortable to you. Some people even start at the tip of the knife. As I get to the upsweep of the blade, I raise the butt of the handle up at the same rate as the upward curve. With a fillet knife, this may be a long, slow motion. With a traditional Scandinavian (Scandi) Puukko-style blade, it would be an abrupt, quick motion. This motion maintains a constant shape and thickness along the edge.
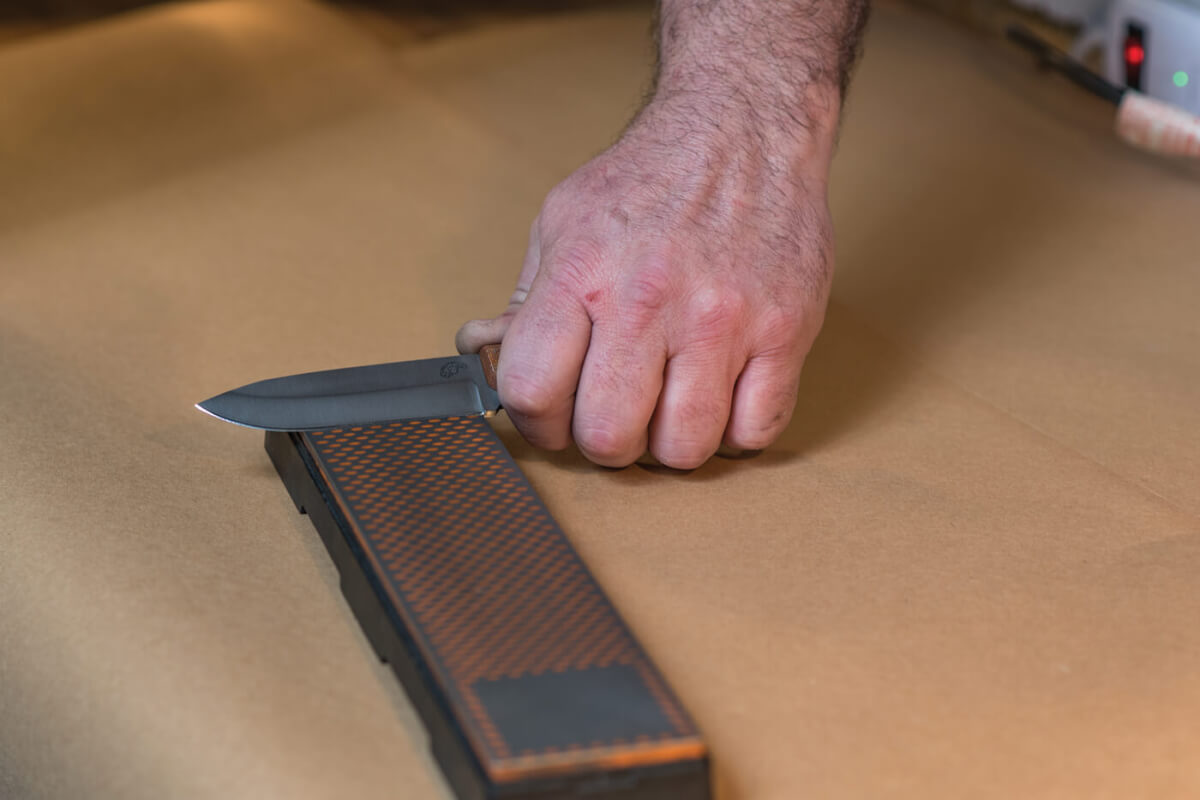
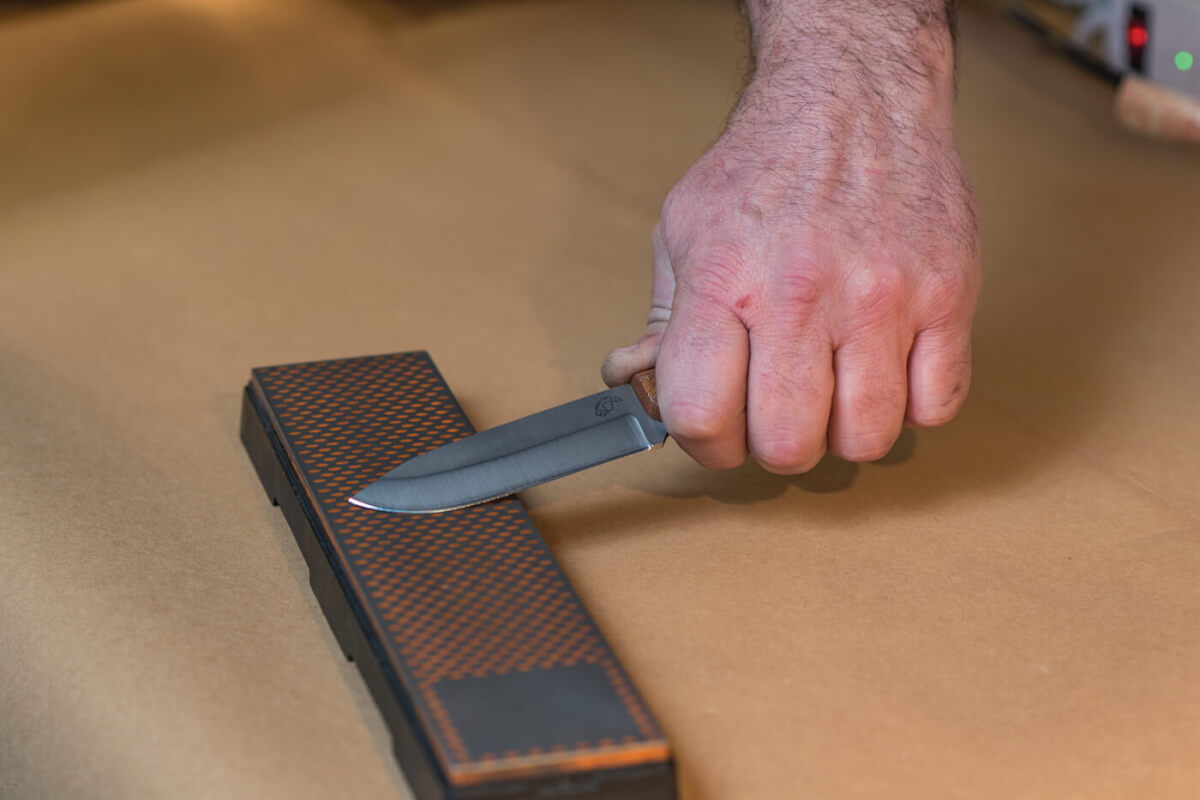
Start at the ricasso with the blade flat on the stone using even pressure. As you get to the upsweep of the bell, gently raise the butt of the knife. The motion should end with the tip still in contact with the stone and the butt of the knife raised.
THE GRIND
The easiest grinds to sharpen using this method are full-flat grinds or grinds with a flat micro-bevel. The most common full-flat grind is a Scandi. A lot of people like these grinds because the bevel works as an angle guide. When it comes to field-expedient sharpening, the full-flat grinds have some drawbacks for the novice sharpener. The first is that you have to remove steel from the entire face of the bevel, and can create a lot of extra work. The other problem is, depending on the size and shape of your improvised sharpener, it may be hard to find a big enough flat spot on which to lay the bevel. I like a micro-bevel because you don’t have to remove as much steel, which makes it less work to sharpen. The smaller bevel of a micro-bevel requires a smaller flat spot, making it easier to find improvised sharpeners. I also like that the micro-bevel can take advantage of the geometry of high grinds but is a little more robust than a full-flat grind.
Regardless of the material you are using as a sharpener, the motion is the same. Start with the blade flat on the stone using even pressure. The motion should end with the tip still in contact with the stone and the butt of the knife raised.
THE PRESSURE
Slow, constant, and even pressure is the name of the game when freehanding. If you let the blade rock side-to-side on the sharpener, the blade can get blemished or gouged, putting nicks in the blade or rounding over the edge. Remember: fast is bad, slow is smooth, and smooth is good. A little lubrication will help keep things moving smoothly and slow, smooth motions are key here.
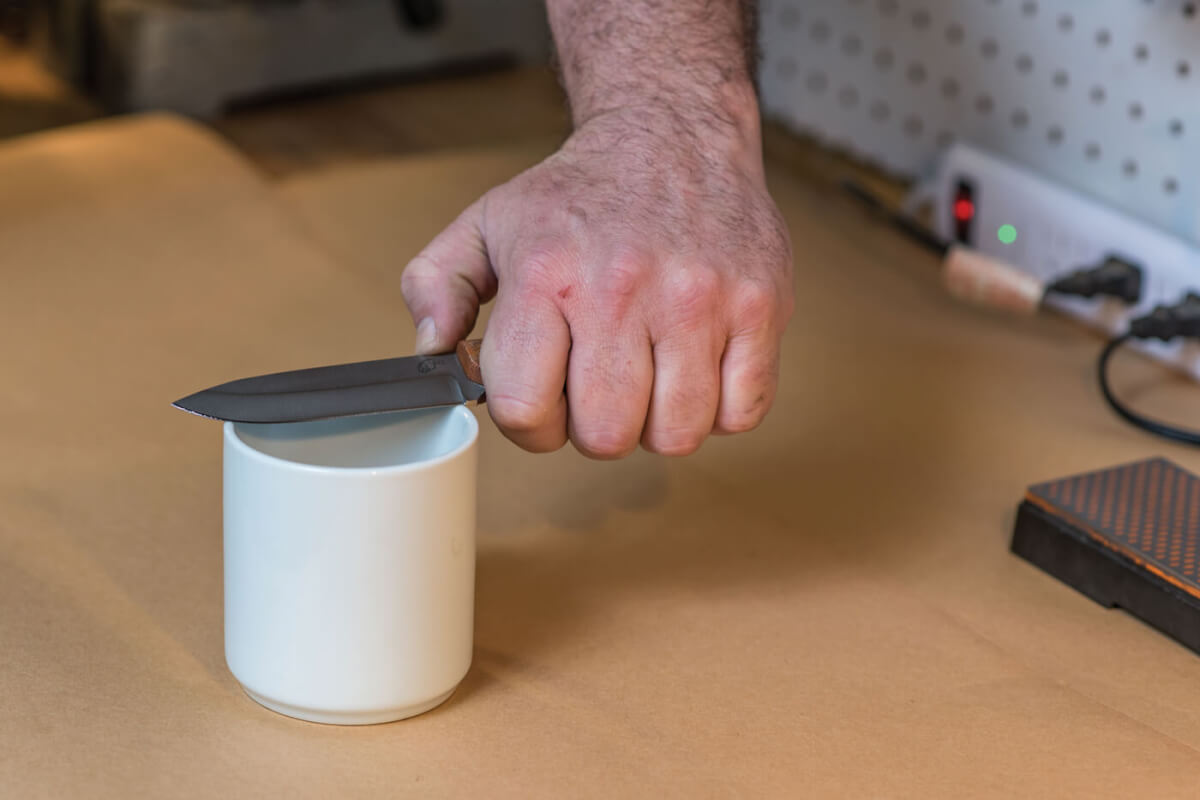
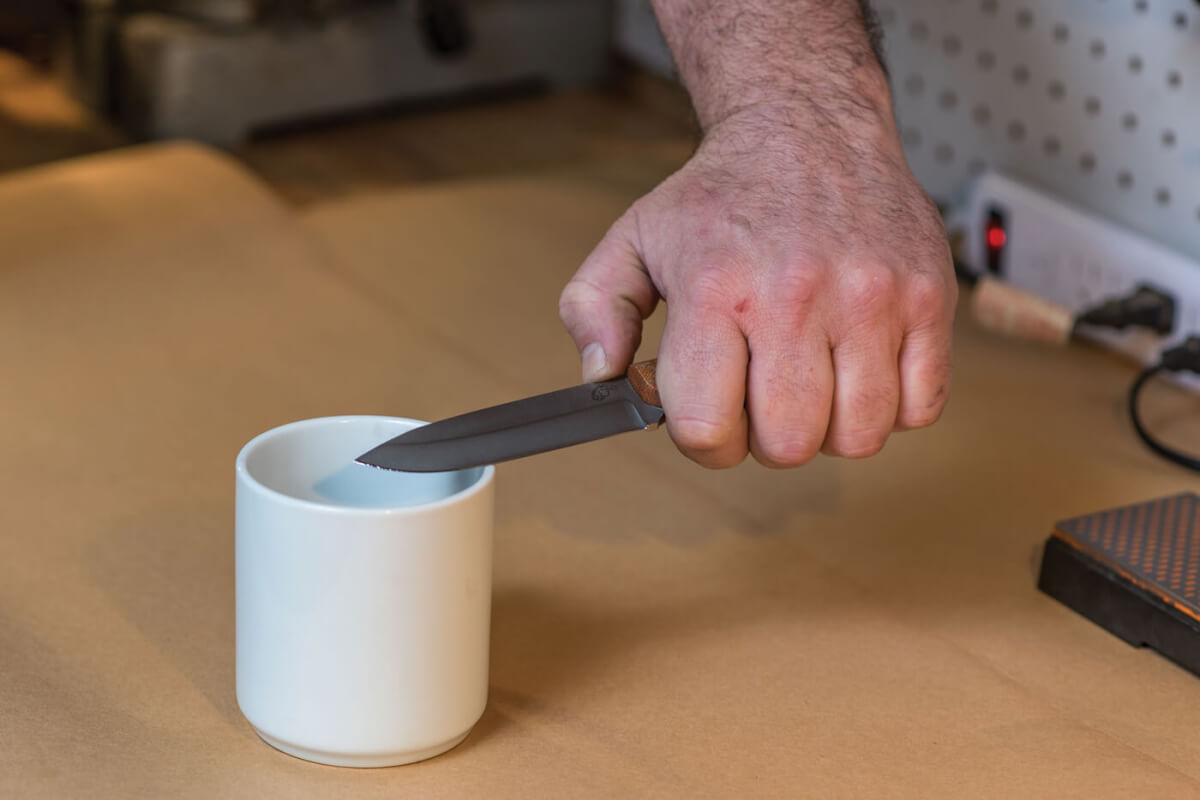
Even with something as oddly shaped as a coffee cup, the sharpening motion is the same. It can take some practice to keep even pressure using the thin lip. It takes some care to keep the tip from slipping off the lip of a coffee cup.
THE POLISH
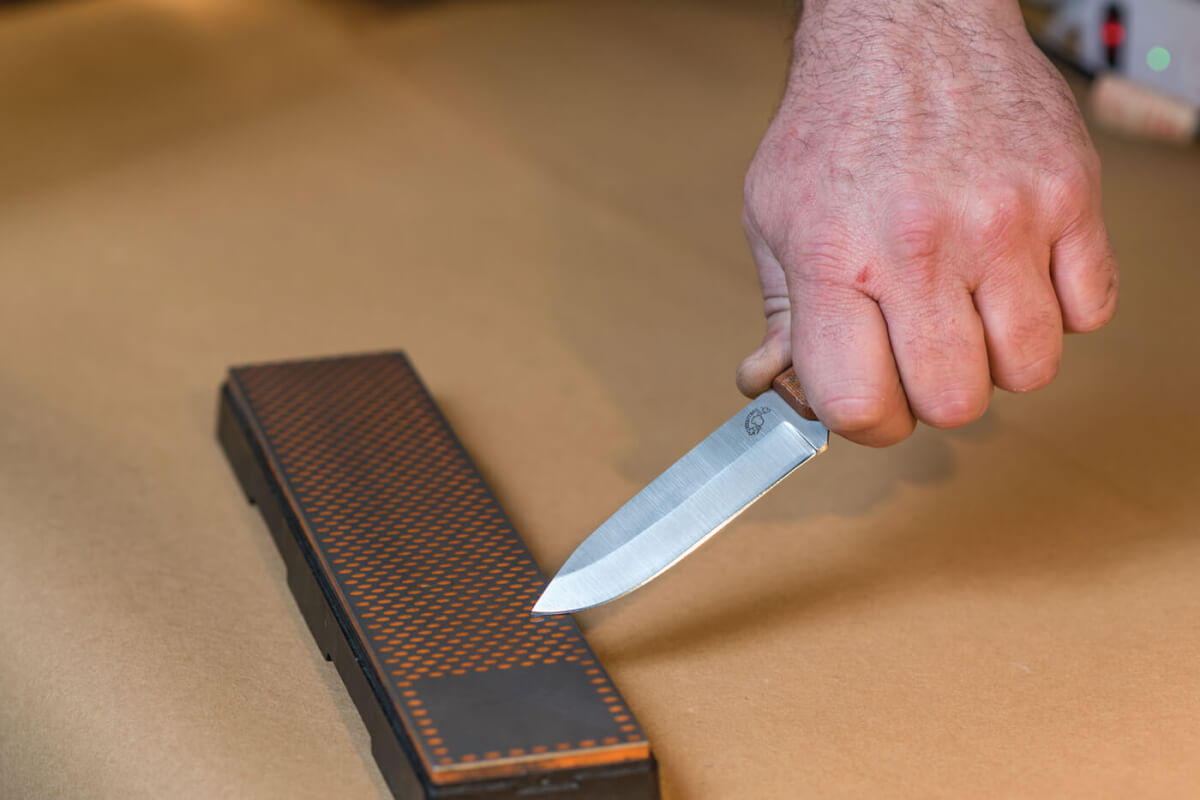
Once you’ve used slow, constant motions to form two flat planes that meet at a keen edge, you may want to polish that edge into a razor-like cutting tool. Just as there are plenty of improvised sharpeners there are plenty of improvised strops. One needs something that is pliable or soft with some tiny abrasive bits in it, some of my favorite materials are cardboard, a leather belt or dirty denim.
THE FINAL PRODUCT
While in the Amazon a guide showed me a way to sharpen machetes on a log. He found some river clay and spread it on the log then sprinkled coarse sand on the clay and drew the blade across it. He would find the finer sand and put it in clay in another part of the log. The guide was able to go from chipped blade the polished edge with nothing but clay and sand. Once you learn to freehand sharpen, you will find that you are rarely beyond arm’s-reach of a knife sharpener.
Be aware of the blade and your flesh. After all, it is a sharp knife and getting cut hurts.
- Use even pressure. It will keep the edge flat and smooth.
- Apply lubrication. Some will tell you do not need it, but it makes everything easier.
- Use a sharpener that’s harder than your blade and relatively flat. The more abrasive the material, the faster it will remove steel.
- Remember, slow is smooth, smooth is quick, and quick is good. Slow down and use long, smooth motions.
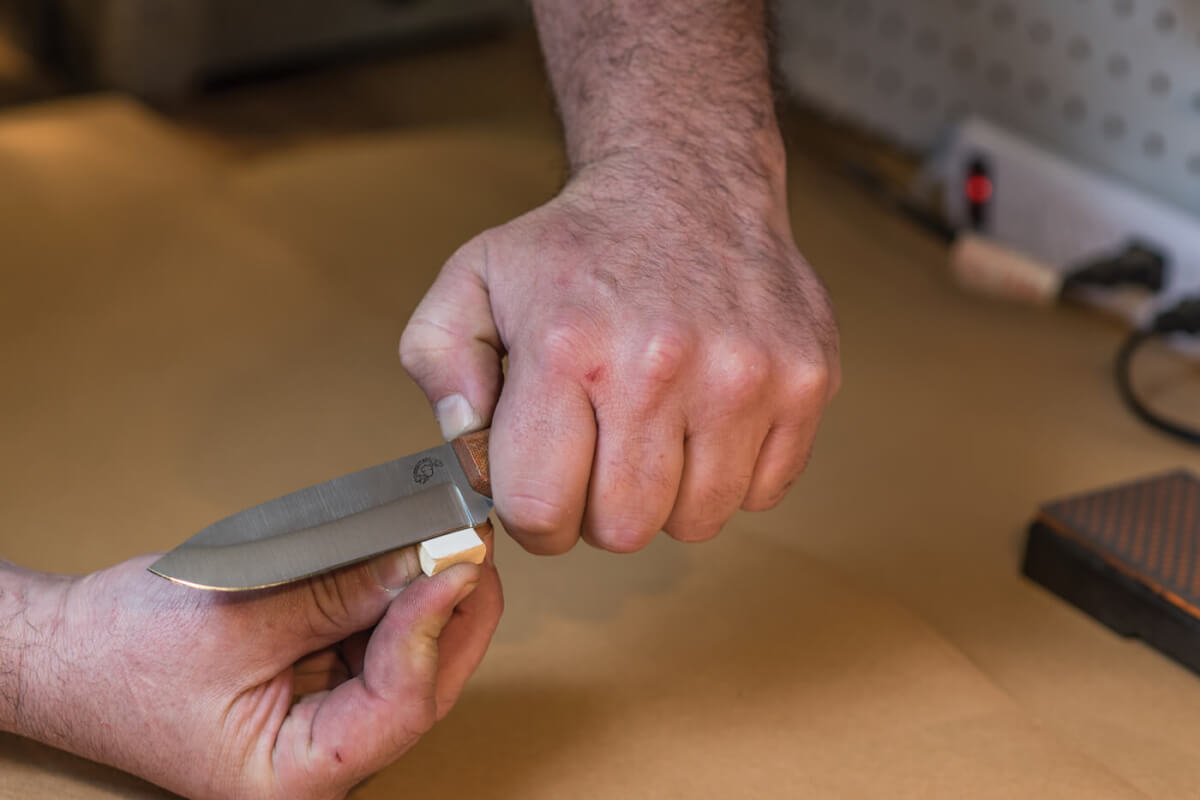
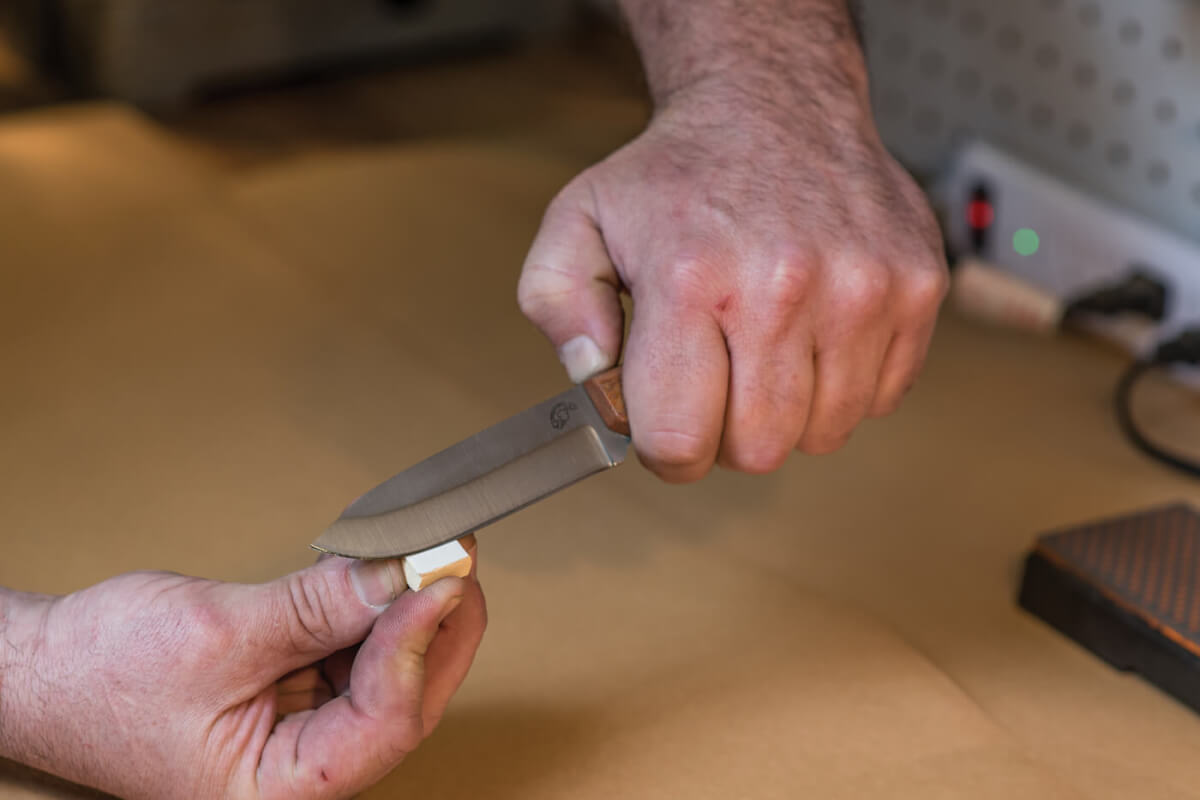
When using smaller sharpeners, the principles are the same but the motion is changed slightly. I still start at the ricasso, keeping even pressure on the blade. In this case, I am using a thumbnail size shard of tile. Rather than pushing the blade forward, it is drawn back. As you get to the upsweep, you still need to raise the butt of the knife. The motion still ends with the tip in contact of with the sharpener. In this case a broken piece of tile.
- Be consistent. The knife and the stone must always be at the same angle each time the blade moves across the sharpener.
- Be willing to move down in grit. Taking out some lower grit scratches is easier than trying to polish away steel.
- Keep your sharpener stable. The less it moves, the easier it is to keep a constant angle.
- Make a few touch-ups during the day as it is faster than resharpening at night.
- Hold the blade at the same angle to the stone while sharpening. Yes, I said it twice — it is that important.
Editor’s note: A version of this article first appeared in the How To special issue of American Survival Guide.