Accidents happen. No matter how prepared you are. Rock climbers tie in with ropes and hunters practice field safety with weapons, but later, relaxed and away from the apparent dangers, they can let their guard down and take a fall around camp or slip while using a knife.
These kinds of injuries are the most common things you need to anticipate in the back country, and they can occur anytime. Even after major disasters, the majority of wounds are usually simple soft tissue injuries and burns that you can treat on your own—if you know how.
CLEANING THE WOUND
If you suffer an injury that creates a wound to your skin, the most important thing to do is clean it, ideally by irrigating it with a continuous forced stream of clean, drinkable water. Irrigation removes debris more effectively and with less risk of additional contamination or tissue damage than the next best option, which is washing or swabbing with soap and water.

If you want to be as well-equipped as a wilderness paramedic, carry an irrigation syringe and a few inches of catheter tubing in your first aid kit, because this is the best method of wound cleaning, says wilderness medicine instructor and paramedic Chris Davis. Attach the tubing to the nozzle of the syringe to spray a constant stream of pressurized water onto the wound.
If, however, you must make do with improvised supplies, a plastic bag that has a small hole poked in it and filled with water will work as well. You can squirt the stream of clean water through the hole and directly onto your wound. Avoid the temptation to clean with antiseptics like alcohol or iodine because, along with germs, these solutions kill healthy cells that would otherwise be utilized in the healing process.
DRESSING THE WOUND
After irrigating and cleansing your wound, you should treat it with a good triple antibiotic ointment (which should be a staple in your first aid kit) and cover it with a dressing. The main purpose of the dressing is to keep the wound clean and free from additional damage.
Use an adhesive bandage for small wounds and gauze pads held in place with adhesive tape for larger ones. If you have trouble getting the bandages to stick due to heavy activity or wet conditions, a great item to keep in your kit is tincture of Benzoin—a small amount on the skin will really make the adhesive stick. Change the dressings at least once daily.

Some deep cuts will benefit from lightly closing the wound with butterfly strips, but don’t get carried away; it’s only in the movies where the hero stitches the wound in the field with makeshift sutures. You’re far more likely to cause an infection that way.
The same goes for blood loss … very few wounds on the extremities need anything more to control bleeding than direct pressure with an absorbent pad, even though you may need to wait as much as 30 minutes for severe bleeding to stop.
THREE KEY FACTS
- Irrigation removes debris with less risk of additional contamination or tissue damage.
- Washing or swabbing with soap and water is the second-best option.
- Avoid antiseptics like alcohol or iodine. Along with germs, these solutions kill healthy cells that would otherwise be utilized in the healing process.
HOW TO TREAT BURN WOUNDS
Wounds caused by burns are best treated by first cooling the area as quickly as possible to stop additional damage. First-degree (red and painful) and second-degree (blistered) burns can be treated like wounds described above: wash and cover them.
In the case of second-degree burns, try to leave blisters intact, but if they break, you’ll simply treat them as wounds. And despite what your grandmother told you, butter and oil are not good burn remedies, and can actually be harmful, so just stick with the antibiotic ointment and a bandage.
Third-degree burns (charred skin) require medical intervention. Keep them clean and moist and keep the victim well hydrated until you can get appropriate treatment.
 Third-degree burns should be treated as soon as possible by medical professionals, but you should keep them clean and moist, and keep the victim hydrated, until you can get professional assistance.
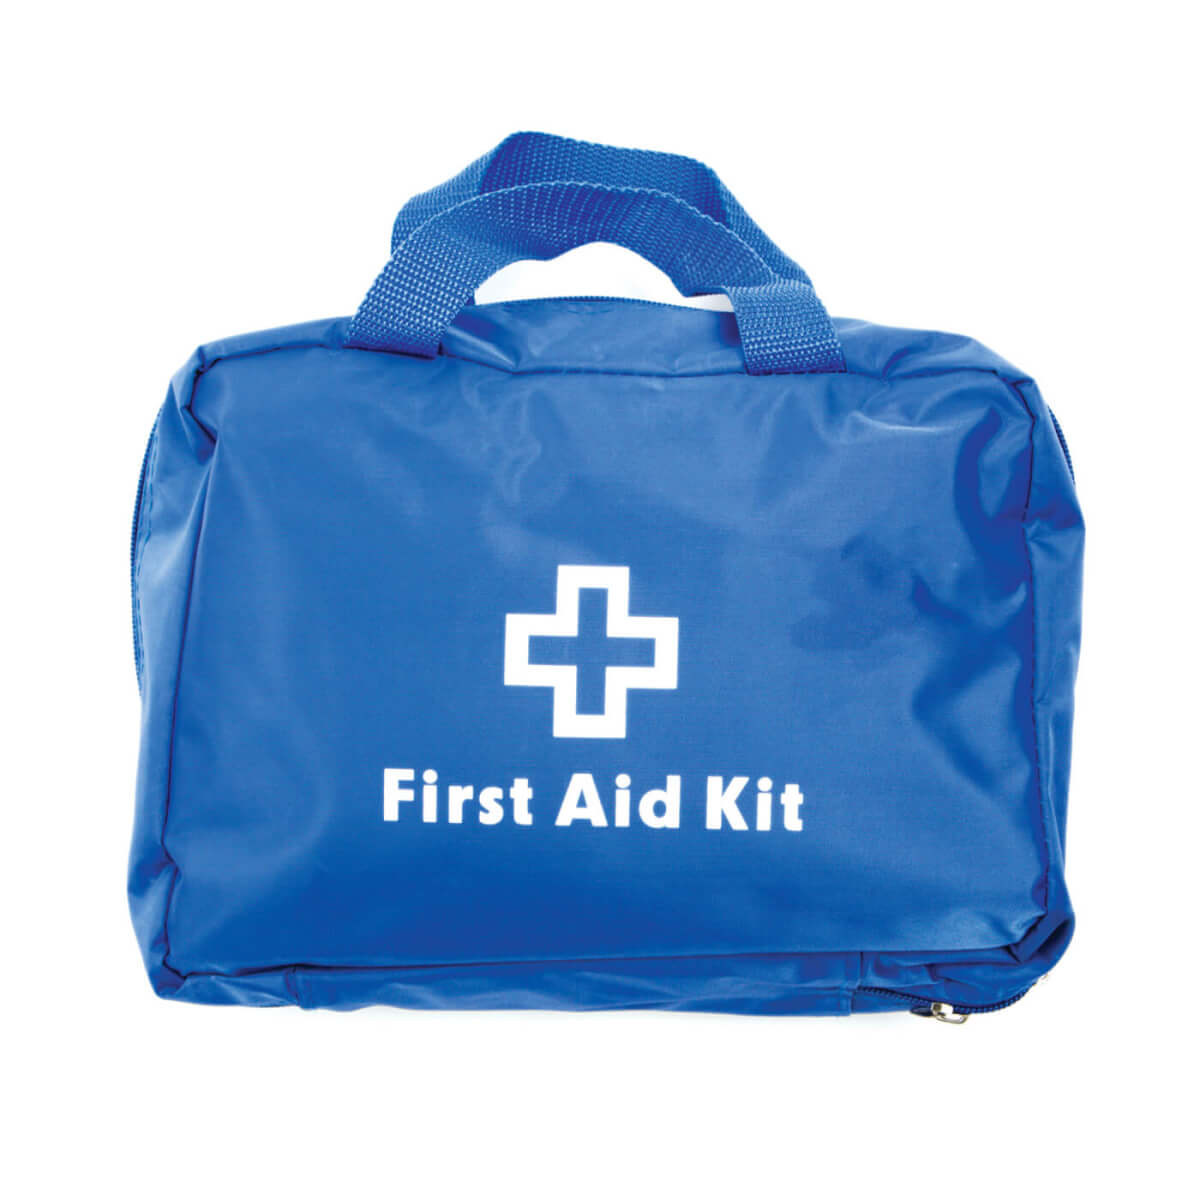
Before heading into the back country, you’ll want to pack a well-equipped first aid kit. At a minimum it should contain the following wound care supplies:
- Sterile gloves
- Triangular bandage and safety pins
- 4×4 gauze pads]
- Medical tape
- 5×9 absorbent abdominal pads or maxi pads
- Telfa pads: nonadherent dressing
- Triple antibiotic ointment
- Irrigation syringe and tubing
- Benzoin tincture
- Gauze roll
- Adhesive bandages in multiples sizes
- Steri strips/butterfly bandages
- Ace bandage
- Scissors and tweezers
- Pain medicine
Editor’s note: A version of this article first appeared in the 2013 print issue of American Survival Guide.


