

Whether you’re camping with few supplies, have chosen to live off-grid, or in a post-apocalyptic situation that forces you to live in a less civilized fashion, that’s no reason to not have a few creature comforts. Even in a SHTF scenario, you don’t have to rely completely on cleaned-out cans of food to keep your foodstuffs or other knick-knacks organized. You also don’t have to rely 100% on your survival knife as a “do-all be-all” utensil when it comes to cooking or eating.
In this article, we’ll show you how you can craft a few useful containers and utensils, so you can enjoy a degree of civility even in the backwoods.
- Wooden Spoon
When it comes to eating utensils, the spoon is a definite must-have. The flat edges can be used to cut food into morsels, while the concave “bowl” is useful for ladling loose foodstuffs like rice or liquids such as soup.
To make a spoon, follow these steps:
Step 1. Procure a piece of wood about 8 inches in length and 2½ in width; try to find the flattest piece you can.
Step 2. Using a pencil, marker or the tip of a knife, sketch out the “bowl” of the spoon on one end.

Step 3. Sketch the rest of the spoon’s body until you reach the other end.
Step 4. With a sharp knife, whittle and carve out the shape of the spoon and form the “bowl”.

Step 5. Don’t rush the whittling process. Once you’ve made a rough shape out of the wood, sand and smoothen the spoon to prevent splinters.
Step 6. When you’re satisfied with its shape, oil the entire spoon with walnut, sesame or similar vegetable oil. Don’t use olive oil as it turns rancid.

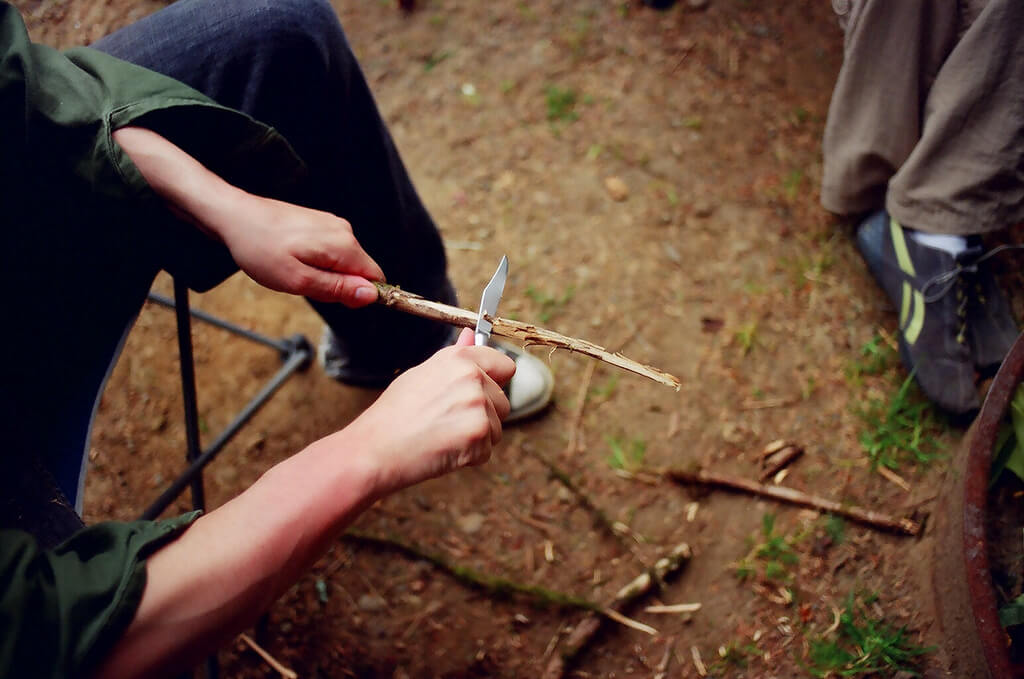
- Whittling tinder sticks
Tinder sticks or “feather” sticks make it easier to light campfires, and make it possible to light fires in wet or snowy conditions. Make sure that you use softer woods with straight grain, such as poplar, birch or pine.
Here are the steps for making tinder sticks:
Step 1. Find a few sticks at least 6 inches long, and 1½ inches in diameter.
Step 2. Remove the bark from half of the length of the stick.
Step 3. Carefully whittle thin “shavings” or “ribbons” starting at the debarked end; cut into one corner of the stick at an angle and stopping just shy of causing the shavings to come off.
Step 4. Repeat on each side of the stick until you have a good collection of “feathers”.
Step 5. Repeat on other sticks.

- Campfire Tongs
Tongs are useful for handling hot rocks, logs, pot covers or charcoal briquettes, moving food around while cooking with a Dutch oven (insert ASG link), or serving hot food.
Make tongs by following these steps:
Step 1. Get a robust branch at least 4 inches thick and a foot long.
Step 2. With a sharp knife or ax, halve the branch lengthwise by cutting into one end then working the blade all the way through to the other end.

Step 3. Get two sturdy rubber bands or a bungee cord, and lash the two halves at the bottom with one of the bands.

Step 4. Make a fulcrum for the tongs by carving a peg from a ½-inch diameter stick that’s longer than the diameter of the tongs; tie the peg between the halves of the tongs about 2 inches from the rubber band or bungee.

- Variable Height Pot Hook
Make this useful and simple device to cook food or boil water at varying temperatures and speeds. The idea behind this tool is that it allows you to control your pot’s distance from the fire, enabling you to adjust the temperature of your cooking container.
Here is how to make the hook:
Step 1. Cut a strong and healthy piece of a branch from a tree just below where it separates into two smaller branches.
Step 2. Trim the branches such that it forms a large J-shaped “hook”.
Step 3. Strip off any bark.
Step 4. Cut three or four notches spaced evenly apart on the longer arm of the hook.

Step 5. Tie some paracord, wire or spruce roots to one of the notches, then tie the other end securely to a long, robust stick or pole that can support your cooking pot’s weight when hanging from the tripod over your fire.

Step 6. Hang your pot on the finished pot hook, taking into account the distance of the hook from the fire and the length of the pot handle; use the notches lower on the branch to cook or boil at a higher temperature and vice-versa.
5. Birch Bark Containers
Birch bark is an amazingly versatile material to work with that’s easy to get in the wild. It happens to be waterproof, so it can burn even when wet.
For bark that’s suited to making into containers, strip off bark from fallen trees, preferably during the summer months. You can also take bark from live standing trees, since carefully and properly removing the outer bark doesn’t kill the tree. The quality of the bark may vary, so take the time to source bark that’s “clean” and free of damage, rotted areas, and not covered in fungus or lichen.
Follow these steps to make a container from birch bark:
Step 1. Once you’ve found the right bark, remove any loose material on its outer surface by simply running your thumbs over it.

Step 2. Cut out a rectangular piece about 8 inches by 10 inches.

Step 3. Using a bradawl with a tapered square tip, and still using the ruler as your guide, score the folding lines onto the bark, following the diagram below.

Step 4. Follow the scored lines, and fold them up. Ensure that the outer layer faces outwards.

Step 5. On each of the sides where the folds meet, score two slot-shaped holes for the securing sticks.

Step 6. Cut two sticks of birch to the width of the container, shaving them thin; these will be used to secure the folds.

Step 7. Carefully insert a stick into each of the slots to complete the container, and retain its shape.


Final notes
With a sharp knife, the right raw materials and a dash of creativity, you’ll be amazed at what you can come up with in a SHTF situation and when the need for making life more convenient arises.
The projects detailed above aren’t all durable for the long term, but when living off-grid and without access to more permanent or durable items, it’s not that big a problem as these items are easily replicated and replaced. By making and using items like these, living and surviving off-grid can be a bit more civilized.