

Outdoor Photography is More Akin to Hunting
Text and photos by Dana Benner
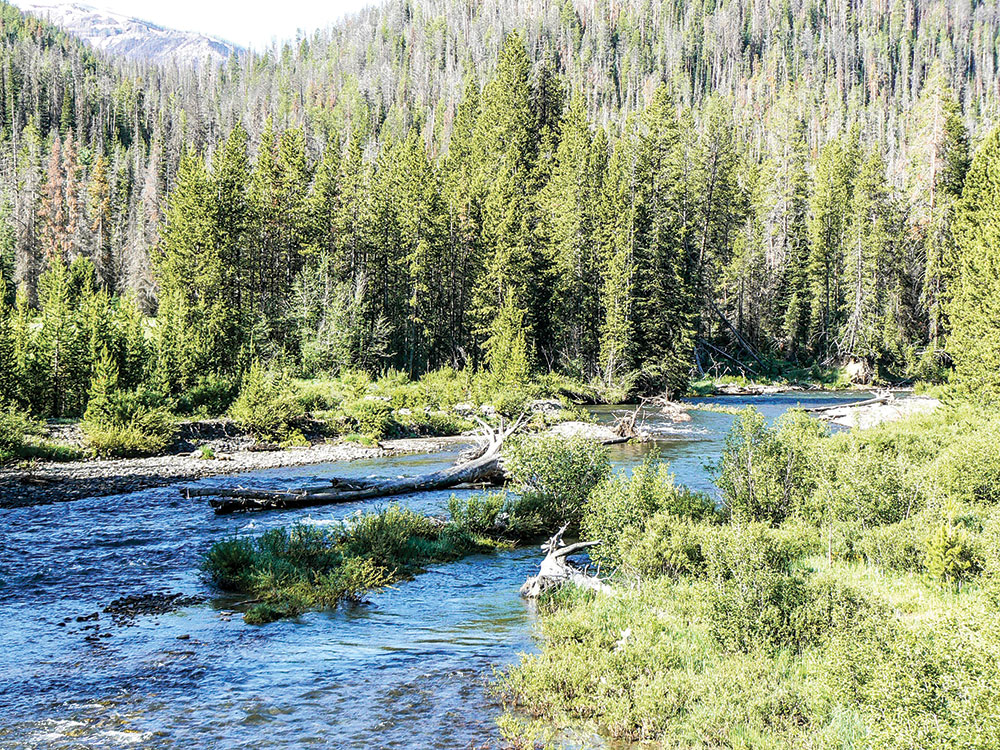
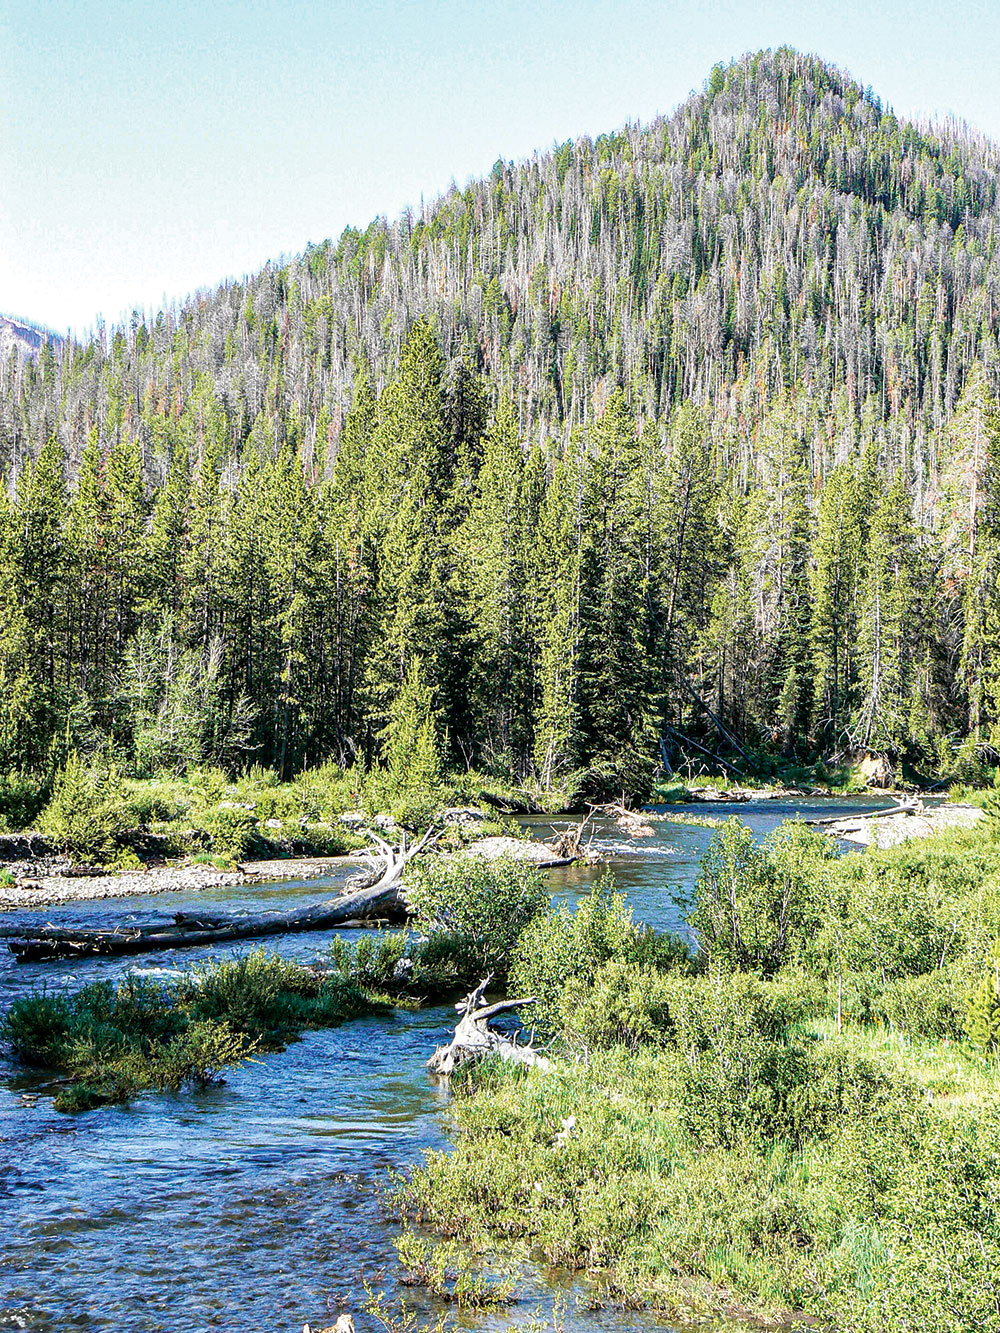
Before I became a hunter, and long before I started writing, I was a photographer—an outdoor photographer in particular. I couldn’t stand, and still can’t, to photograph static stuff. I could have made a great deal more money photographing people (weddings, family portraits and the like), but money, while nice, wasn’t my driving factor. My intent was focused on documenting the “wild” world around me. My goal was to tell the story with images.
This article is intended to give you some insight into how you can capture special moments in the outdoors and continue to appreciate and share them for years to come.
“A good photo is easier to take than ever before.”
Hunting With a Camera
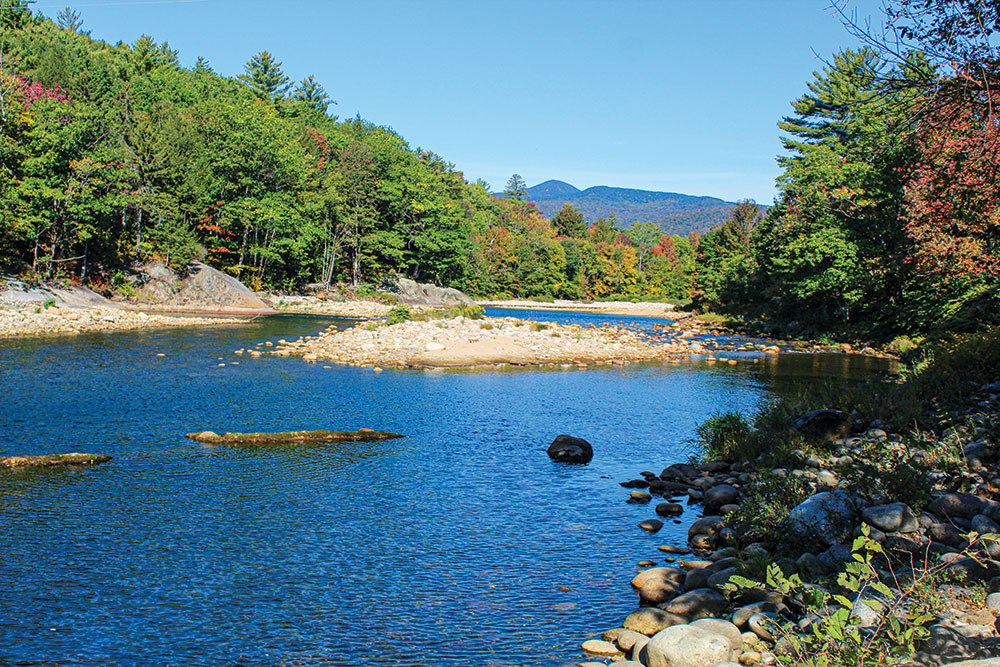
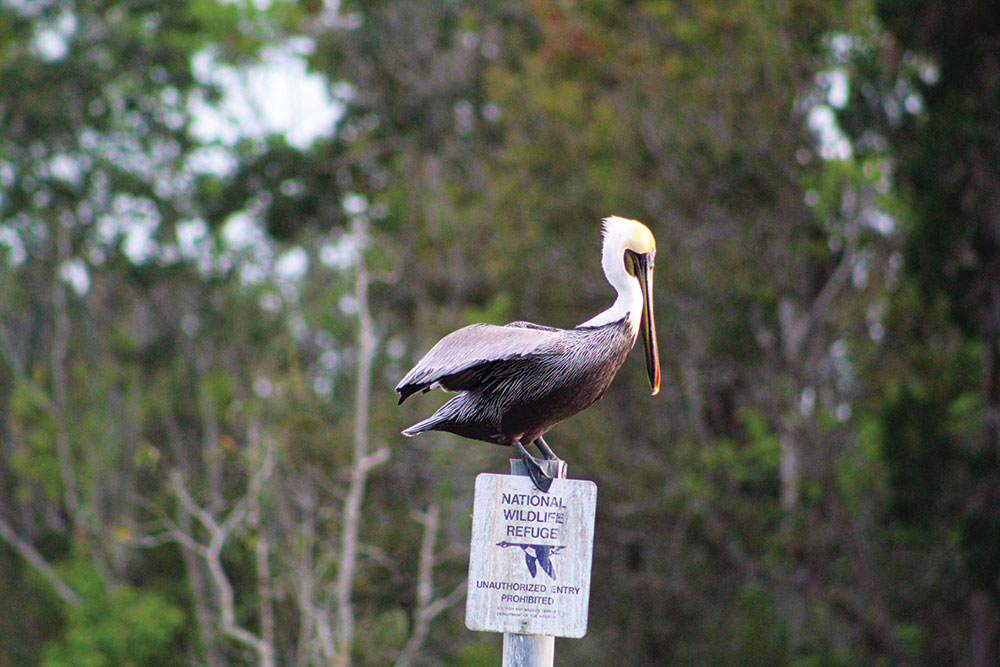
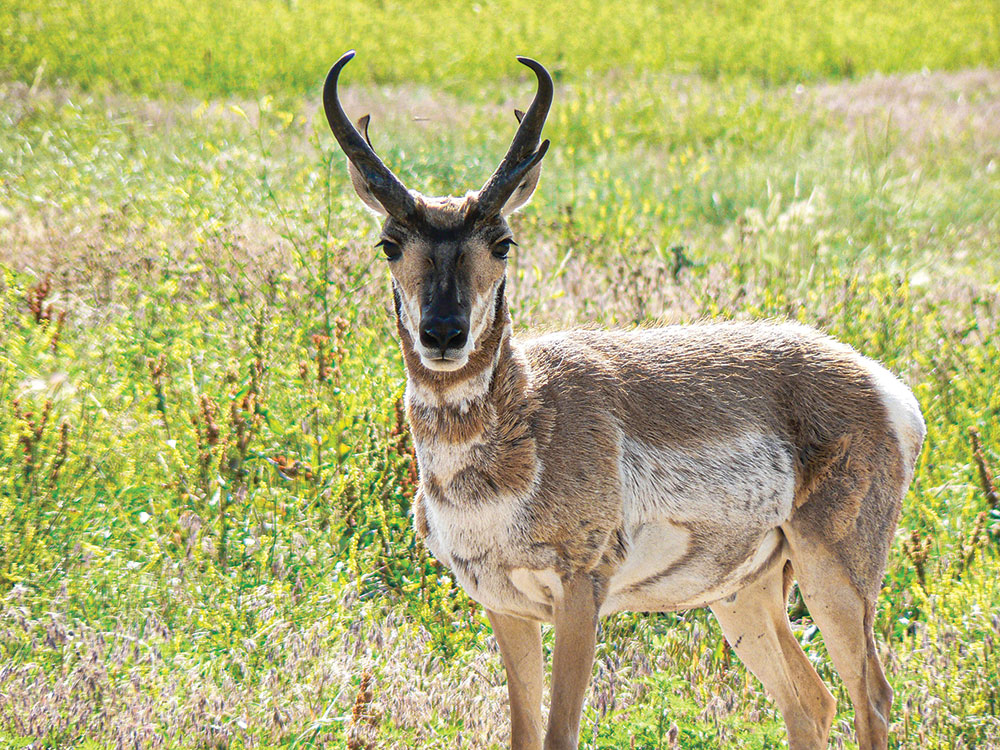
Outdoor photography has very little in common with product or people photography. In fact, I think the only thing in common is the camera; and even then, there are many different types of cameras. With outdoor photography, you have no control over your subjects, the lighting, the weather … or anything else, for that matter. You can’t pose the subject for the “perfect” photo. You have to be flexible and work with what Mother Nature gives you.
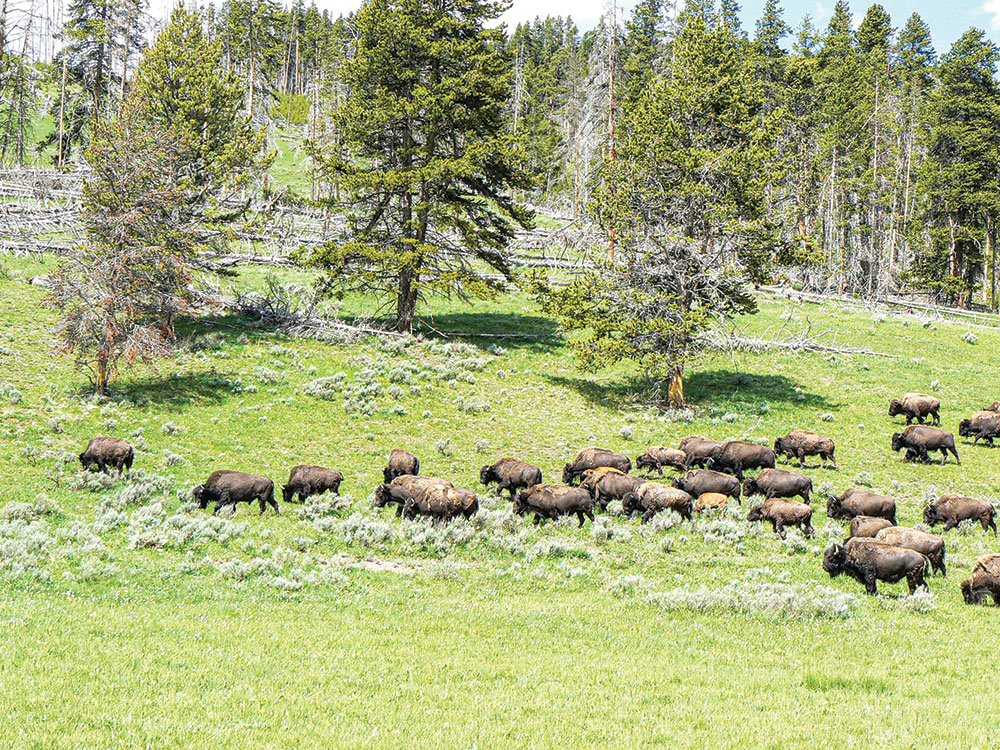
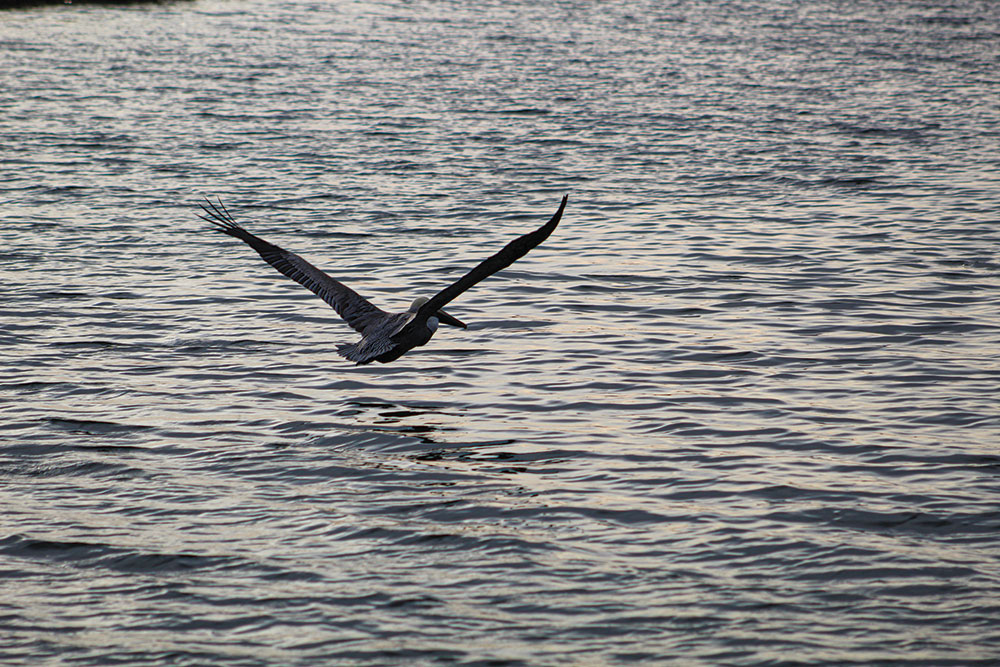
“Photographing moving wildlife is another story. Just as with shooting upland birds or waterfowl with a shotgun, the photographer must keep the camera moving. You must swing through every shot.”

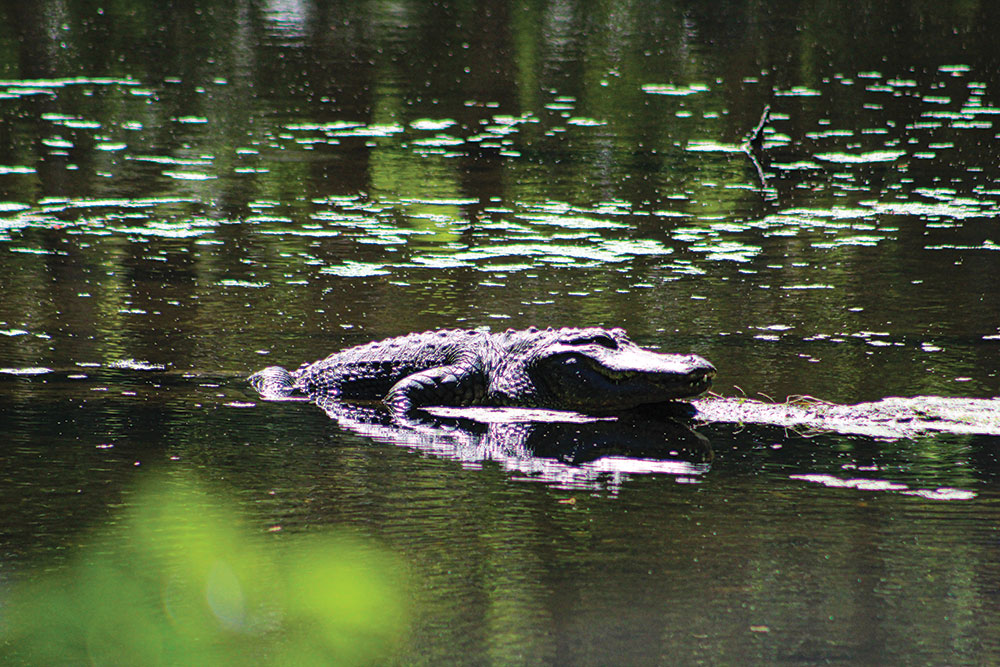
Outdoor photography is more akin to hunting, particularly bow hunting, than it is to anything else. Like a bow hunter, the outdoor photographer needs to stay hidden and get close for that “killer” shot, even with a long lens. Also like a hunter, the photographer needs to have a complete understanding of the equipment they’re using and the subject they’re pursuing.
How Cameras Have Changed
Cameras have changed a great deal since I first started some 50 years ago. Back then, everything was done on film. Digital wasn’t even an option when I began.
With film, you never knew if you’d actually captured the image until you got the film developed. Out of 50 photos taken, you might actually have only 10 that were usable. Even the best photographers in the business took many photos and hoped there would be a payoff. And, when you headed to the field, you needed to carry tons of rolls of film—which amounted to a great cost—with the hope of having something to show for it.
Like most people of the 1960s and ’70s, I started with a Kodak 126 Instamatic camera and progressed to a Kodak 110 Instamatic. Those cameras used film cartridges that needed to be taken somewhere to be developed. While none of the photos shot with these cameras were good enough quality to be used in publications, they were the perfect tools for a kid to learn with.
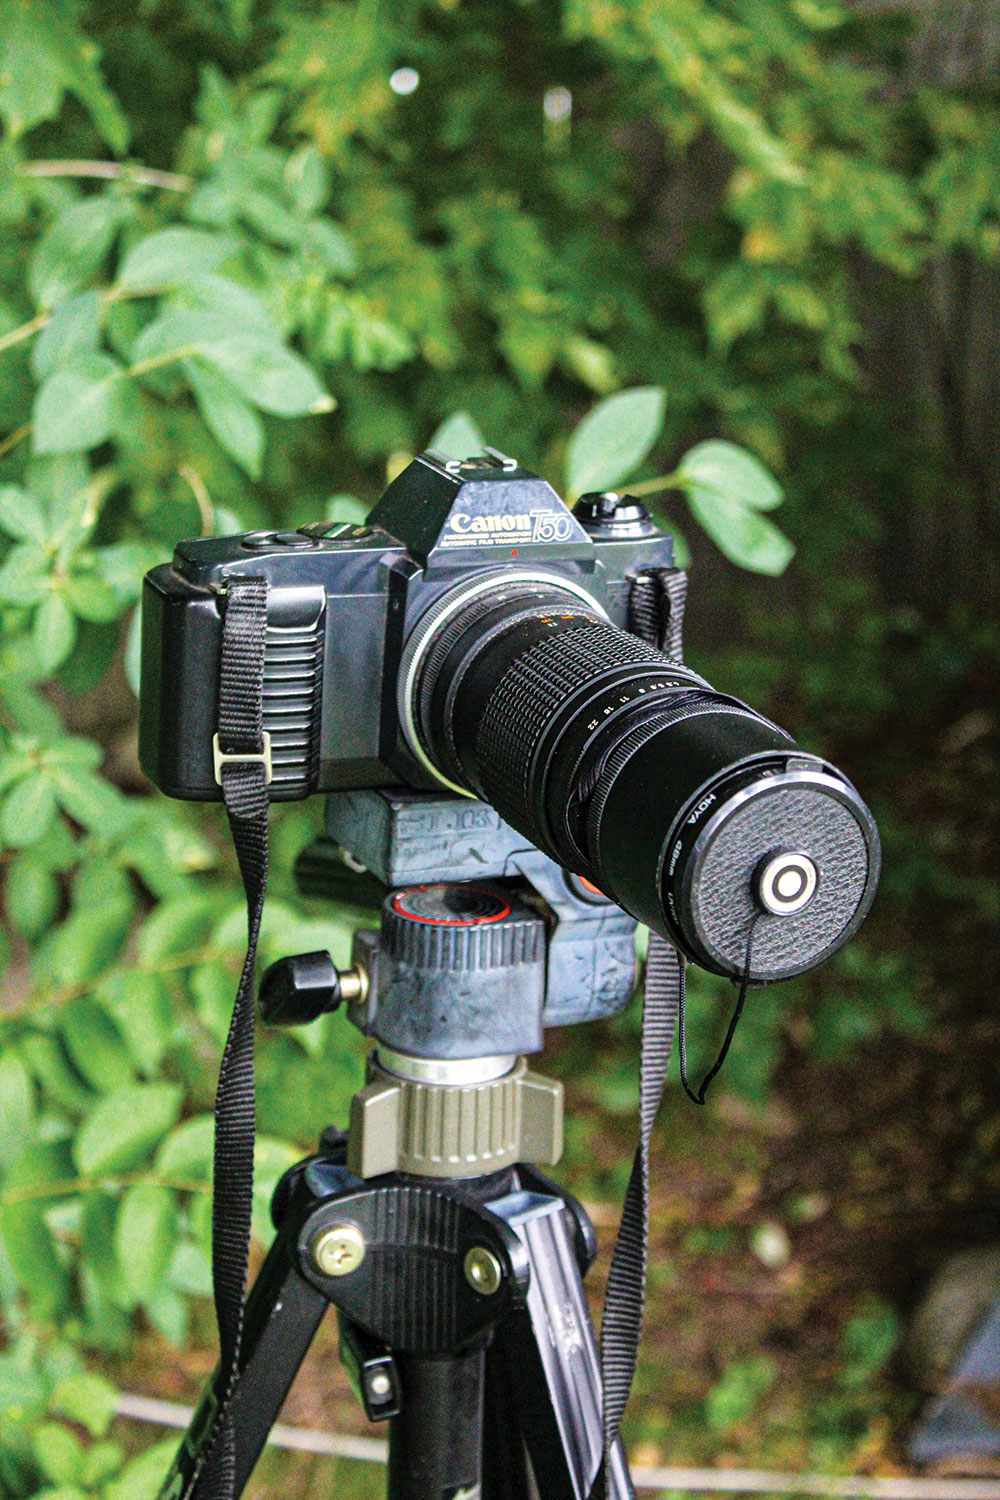
My first 35mm SLR (single-lens reflex) camera came when I was in the military. Good 35mm cameras were expensive, so I bought an old Canon TX. That was one tough camera! It had a solid-metal body and was totally manual. It forced me to hone my skills in depth-of-field and light management through shutter speed. In other words, I had to learn the basics, usually through trial and error. From there, I moved to a Canon T-50 fully automatic 35mm. That proved to be a big mistake on my part, but I made it work.
When digital cameras first came out, I swore I’d never get one. Well, the industry forced my hand.
With digital technology, it wasn’t long before film became obsolete. However, early digital cameras weren’t anything to write home about. Today, it’s a much different story. There are plenty of good- to high-quality digital cameras out there, and even most cell phones produce exceptional photos.
What Are Your Intentions?
Before you run out and purchase a camera, lenses and other equipment, you have to ask yourself what your intent is. Do you want to sell your photos, use them for publication, or are they just for your own enjoyment?
Are your photos going to be used to help protect your property, identify trespassers or document damage done to your tree stands or blinds? Good cameras are expensive, so figuring out your priorities before you buy one could possibly save you hundreds of dollars.
“With outdoor photography, you have no control over your subjects, the lighting, the weather … or anything else, for that matter. You can’t pose the subject for the ‘perfect’ photo. You have to be flexible and work with what Mother Nature gives you.”
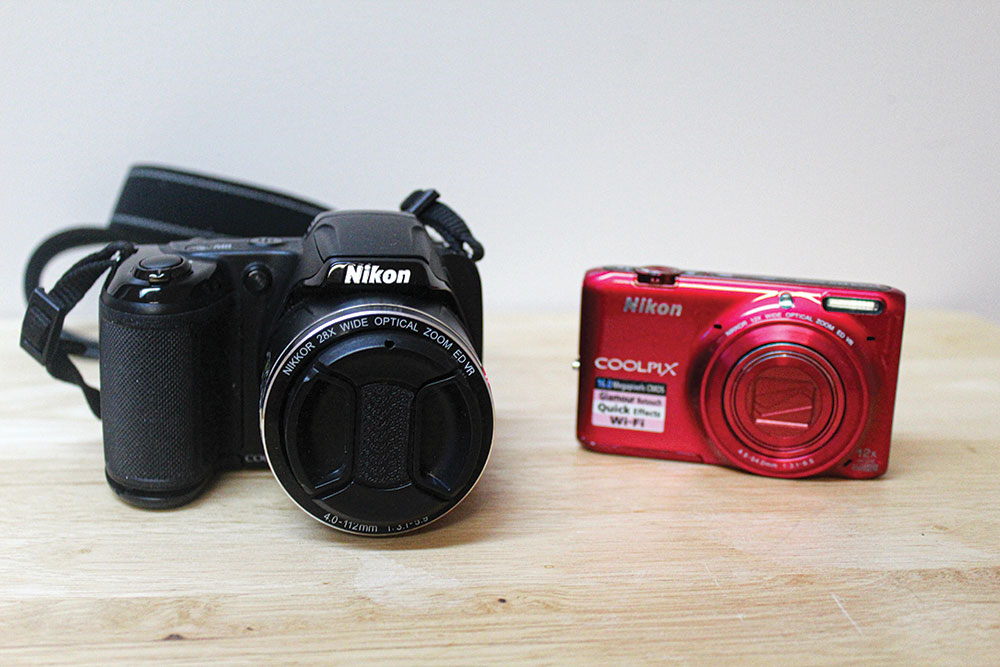
If your photos are intended for your own personal use or to document damage on your property, you probably already have everything you need on your phone. If you want to use a camera, there are plenty of inexpensive point-and-shoot models on the market that’ll do the job. These cameras can be slipped into your pocket and are great for family outings. In fact, I actually carry one in the field as a backup.
For those looking to sell their photos, either as art or for publication, or those wanting to take action shots (running deer, downhill skiers and other activities), you’ll want a more advanced camera—one with removable lenses and multiple settings. The great thing about digital cameras, no matter which one you choose, is that you can instantly see whether you got the shot.
Choose How You Want to Shoot
Some people love those sharp, crisp animal photos; some want those action shots; and others want those softer touches. All can be accomplished with practice and through manipulation of the camera.
“When hunting season ends and your rifle has been put up, keep your outdoor skills sharp, grab your camera and have a good time. Who knows? Someday, your photos could be featured in a magazine!”
With the old 35mm SLR, that meant careful photo composition, proper use of F-stops (depth-of-field), shutter speed (the amount of time the shutter stayed open, thus controlling the amount of light reaching the film), film ISO (film speed) … and a lot of luck.
Today’s digital cameras figure out most of the variables for you. With that being said, there might be times you’ll want to use the manual settings.
This is taking a step back to “old school” photography, but when it’s done correctly, it’ll give you great results. I’ll often do this when I want to get a certain look with a scenic shot. If I’m photographing wildlife, I’ll choose the right setting on the camera and then let the camera do the work.
How to Shoot
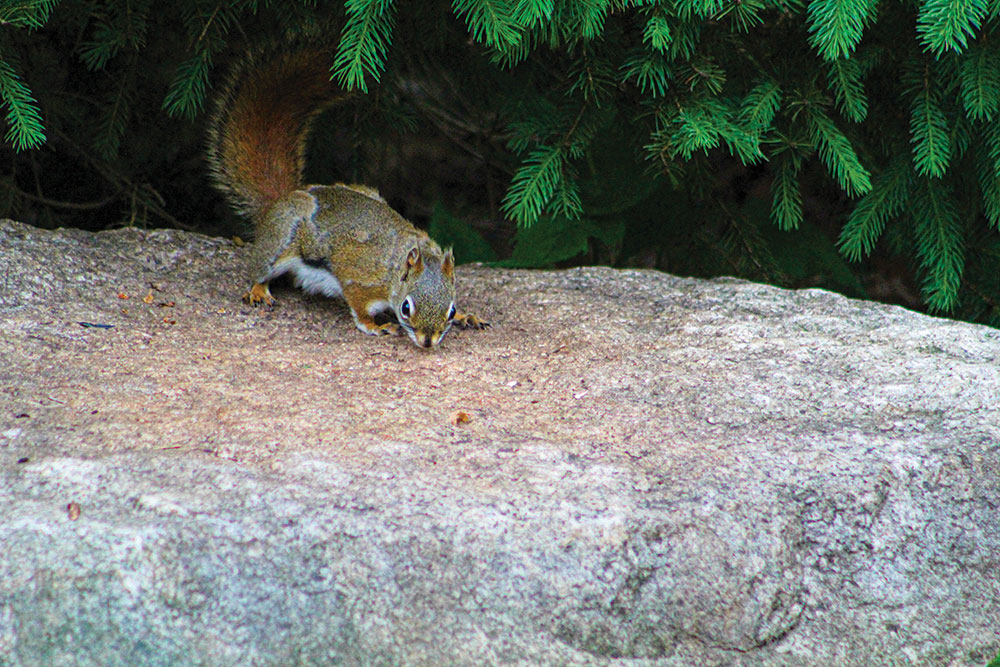
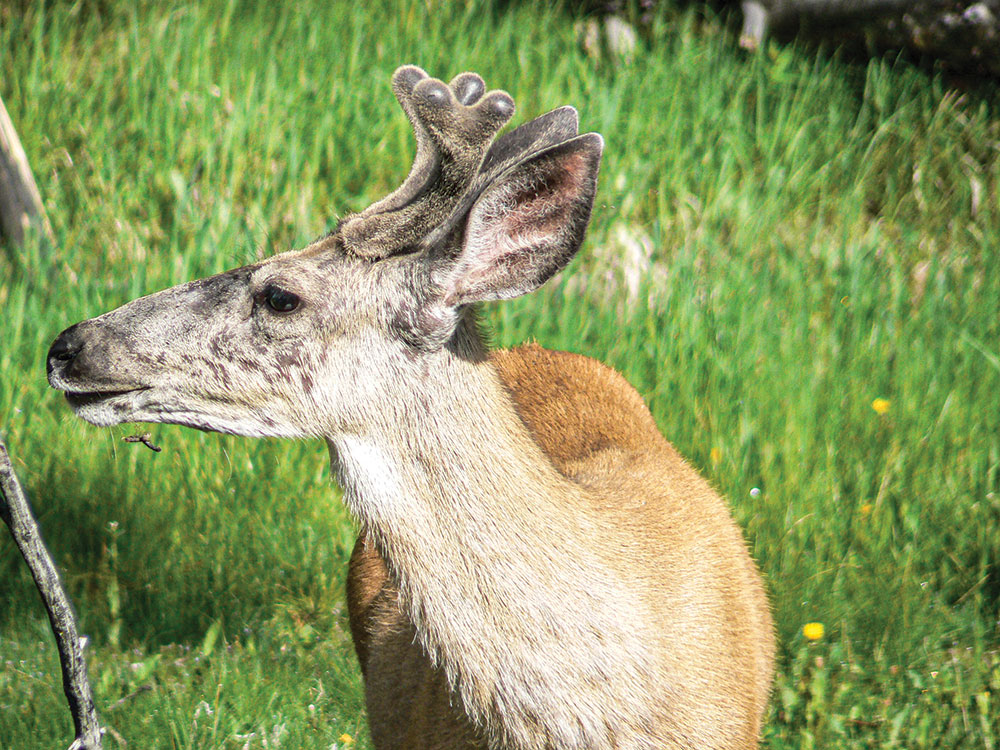
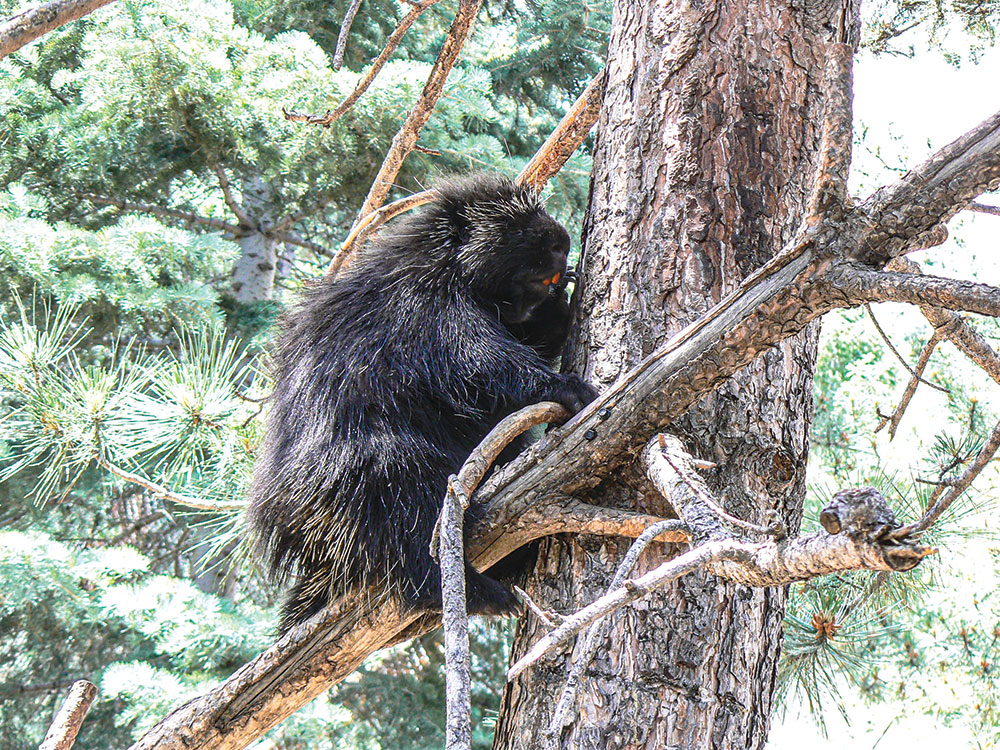
Shooting settled wildlife is pretty straightforward: Judge the distance, stay concealed, and make the shot.
Photographing moving wildlife is another story. Just as with shooting upland birds or waterfowl with a shotgun, the photographer must keep the camera moving. You must swing through every shot. You don’t stop your shotgun after the trigger’s been squeezed, and you don’t stop your camera after the shutter’s been released. Doing so will mean a missed photo.
Tools of the Trade
While digital cameras tend to be more forgiving to “camera shake” than the old 35mm film models, stability is still key to sharp photos, especially as you try to photograph objects that are distant from your position. Thankfully, most modern digital cameras come with an anti-shake feature.
“Like most people of the 1960s and ‘70s, I started with a Kodak 126 Instamatic camera and progressed to a Kodak 110 Instamatic. Those cameras used film cartridges that needed to be taken somewhere to be developed.”
However, nothing is foolproof. You’ll want to do everything you can to tip the scales in your favor. This can involve everything from bracing yourself against a tree or on a large rock, using a photography bean bag draped across a log or employing tripods and monopods. Note that each of these tools is offered in a wide range of quality, features and cost. Once you decide what your needs are, it’s pretty easy to check prices, reviews and user feedback online.
Tripod
A tripod is the most stable, but it’s also the most cumbersome. Tripods consist of three adjustable legs and a small platform that holds your camera. While tripods do give the most stability, they’re also tough to lug around, especially when photographing wildlife. If I’m photographing scenery, I use a tripod whenever possible.
Monopod
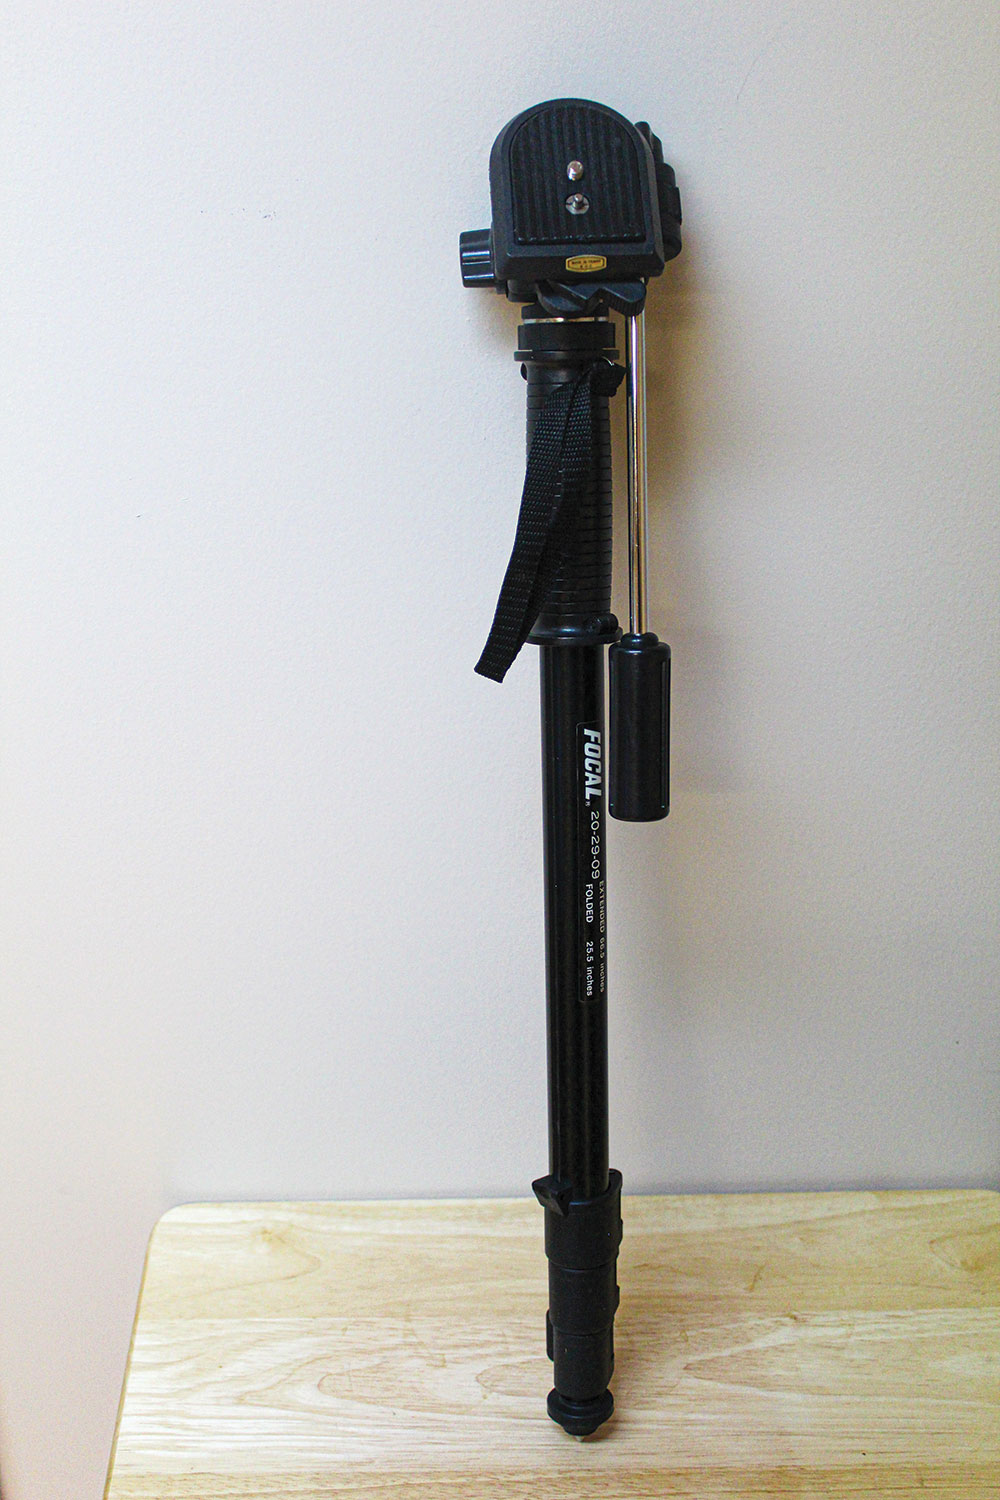
As the name implies, a monopod is just one leg and, like a tripod, it has a camera mount on the end. The premise is that when you’re using a monopod, your two legs will then make it into a tripod. Monopods are light, easy to transport and can double as a walking stick while on the trail (I’ve used my monopod while traversing streams).
Bean Bag
Perhaps the simplest piece of gear you can carry is a bean bag. Long ago, my mother made the bean bag I carry, and I’ve used it to steady my rifle while deer hunting as much as I have for stabilizing my camera. There have been numerous times when I’ve come across photo opportunities while hiking through the woods or driving down the road. Throwing the bean bag across a log or over the window has allowed me to get a shot that I would have missed otherwise.

The Elements
Back in the day of solid-metal bodies and totally manual cameras, weather wasn’t a major issue. This isn’t the case today.
Today’s cameras run on electronics, and they have even more reasons to not like moisture, so you need to protect your gear as much as possible. When I’m in canoes and kayaks, I keep my cameras in dry bags while on the move, only taking them out when I get ready to use them. When I’m in the woods and fields, I like to keep my cameras in clear, 1-gallon plastic bags. They keep my equipment dry and also allow me to shoot right through the plastic, which is helpful on rainy days.
“Cameras have changed a great deal since I first started some 50 years ago. Back then, everything was done on film. Digital wasn’t even an option when I BEGAN. With film, you never knew if you’d actually captured the image until you got the film developed.”
Moisture isn’t the only threat. Modern cameras run on batteries, and batteries go dead—more quickly in extreme heat and cold. To combat this, I keep spare batteries in my shirt pocket, just in case.
To help preserve the battery in the camera, I like to carry it inside my shirt or jacket. In extreme heat, as when I’m in the Arizona desert, this method keeps the camera shaded. While it might not reduce a great deal of the heat, it usually helps enough to extend the battery’s life a bit.
This same tactic can be used in the extreme cold—only this time, your body heat will keep the battery warm. The downside is that the lens might fog up if the temperature differential between the storage space and the outside air is too great (just as eyeglasses do when you leave an air-conditioned store on a muggy summer day).
Outdoor photography is unlike any other type of photography. The photographer doesn’t have control of the light, the weather or the subject. And, like a hunter, every shot taken is one you have to work for. You have to know your subject and have faith in your gear.
More importantly, you need to have faith in your abilities. When hunting season ends and your rifle has been put up, keep your outdoor skills sharp, grab your camera and have a good time. Who knows? Someday, your photos could be featured in a magazine!
Storing Your Photos
Back in the days of film, proper storage meant binders or albums full of archival plastic pages. With today’s digital images, storage is as simple as transferring the images from your camera’s SD card to a memory stick, CD, hard drive or the “cloud.”
Whichever method you use, make sure you organize and label your images so you can find them quickly when you need them. (I have a cabinet full of CDs that hold all sorts of photos to draw upon.)
Photos for Documentation
It’s sad to say, but you need to document everything around your homestead. All items should be photographed, because other people can either take or damage them, and you can use the photos as part of the evidence of your loss.
For example, tree stands are popular targets in many rural areas. Make sure you photograph everything of value from multiple sides—especially brand, model and serial number information, if it’s available. It’ll help identify and place value on the items when loss or damage does occur.
Game cameras are great to catch trespassers. However, as one of my friends found out, game cameras get stolen.
When documenting damage, use your outdoor skills to find evidence (cigarette butts, bullet casings, footprints and other signs) and photograph them where they lay. You need to think like a CSI officer and use your photos to put the story together and substantiate your claim.
A version of this article first appeared in the December 2021 issue of American Outdoor Guide Boundless.