

Add some style and longevity to your shelter in the woods with timber framing
Human shelters have changed completely over the last thousand years. Moving from brush shelters and caves to modern homes and elaborate mansions has resulted because of new technologies and construction methods, shifting priorities and other, less-survival-centric reasons.
That said, some folks still focus on those primitive and survival structures for a variety of reasons.
When looking into the construction of survival shelters, there are many varieties and a plethora of books, videos and classes available to teach people how to build a shelter for a quick respite from the elements. But what about more-long-term solutions for sheltering?
Let’s look at options that’ll last longer and provide more security from the elements and threats to our safety than a pile of sticks and that can also “fade back into nature” when they’re no longer needed.
“Short-term” shelters are built for temporary, “leave-it-as-you-found-it” situations. They fill an immediate need measured in days or weeks, as opposed to establishing a long-term home that’ll last years or generations.
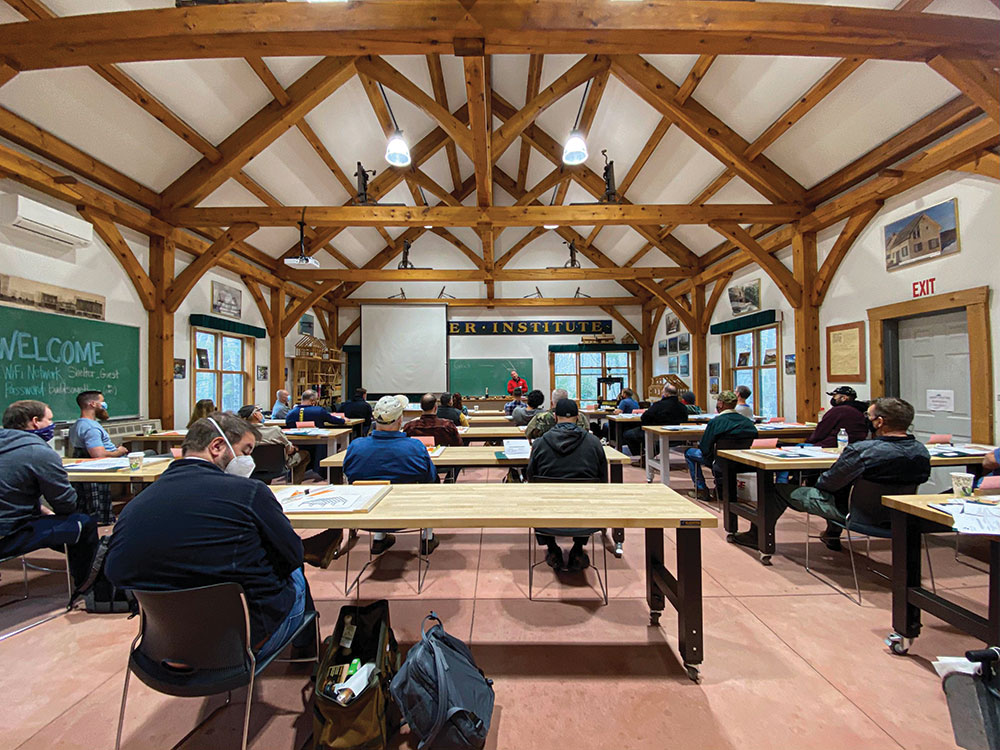
The Shelter Institute
The Shelter Institute, located in Woolrich, Maine, offers comprehensive classes in person and online that cover all facets of timber framing. These classes take the student through a basic overview of what timber framing is and the advantages of the construction style all the way to the completion of a project.
The experience of the instructors and readily available feedback from past students help new students make the most of their instruction to ensure their success.
I recently took one of The Shelter Institute’s classes, and I found that, for those who are new to timber framing, it offers an easy-to-use curriculum that troubleshoots problems preemptively. This allows you to focus more on what you’re learning and less on fixing issues.
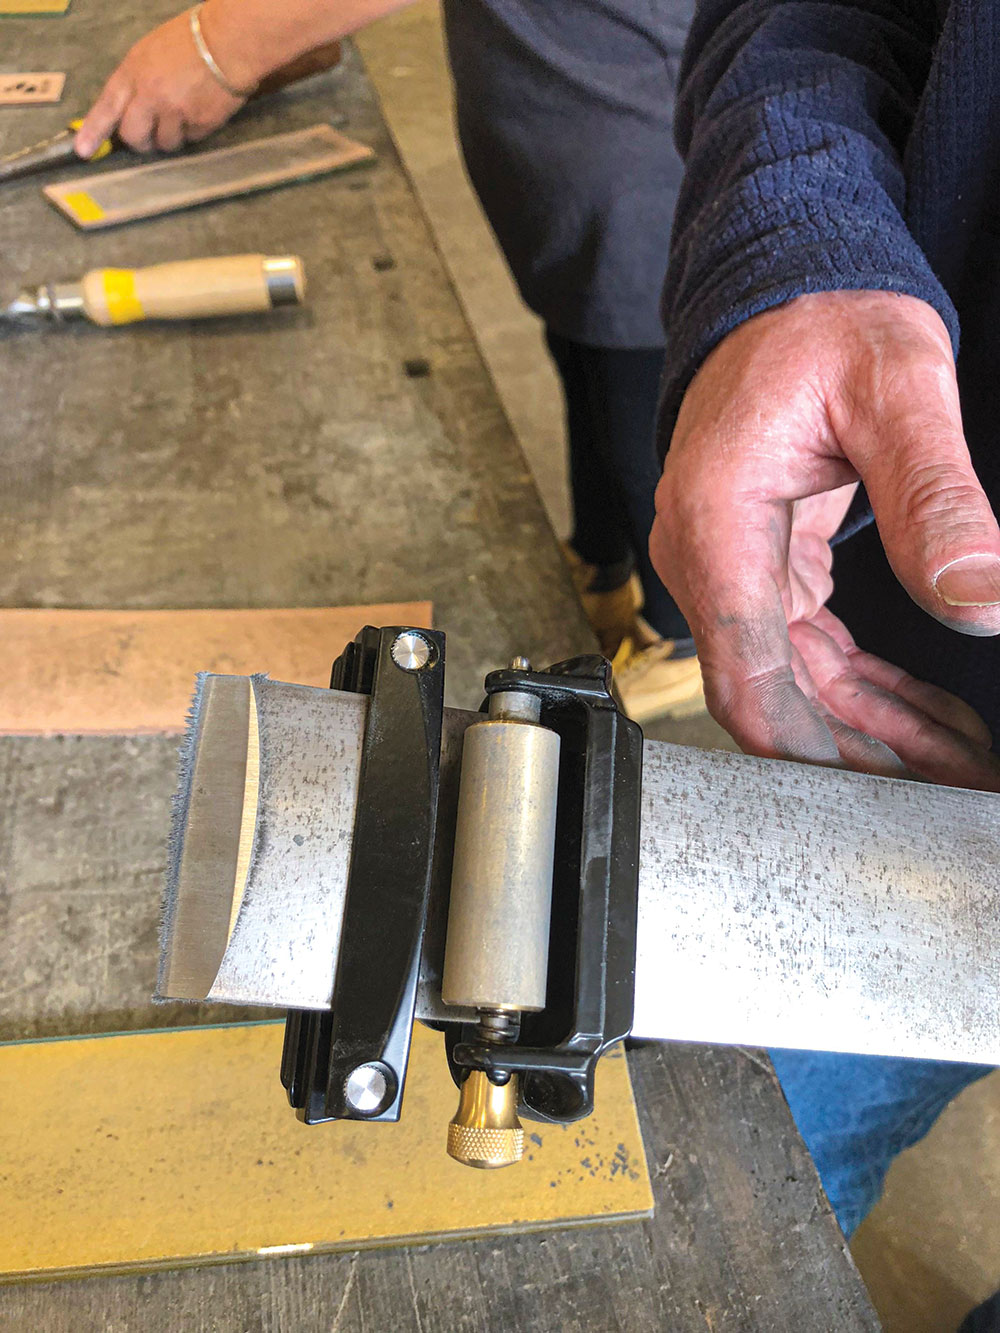
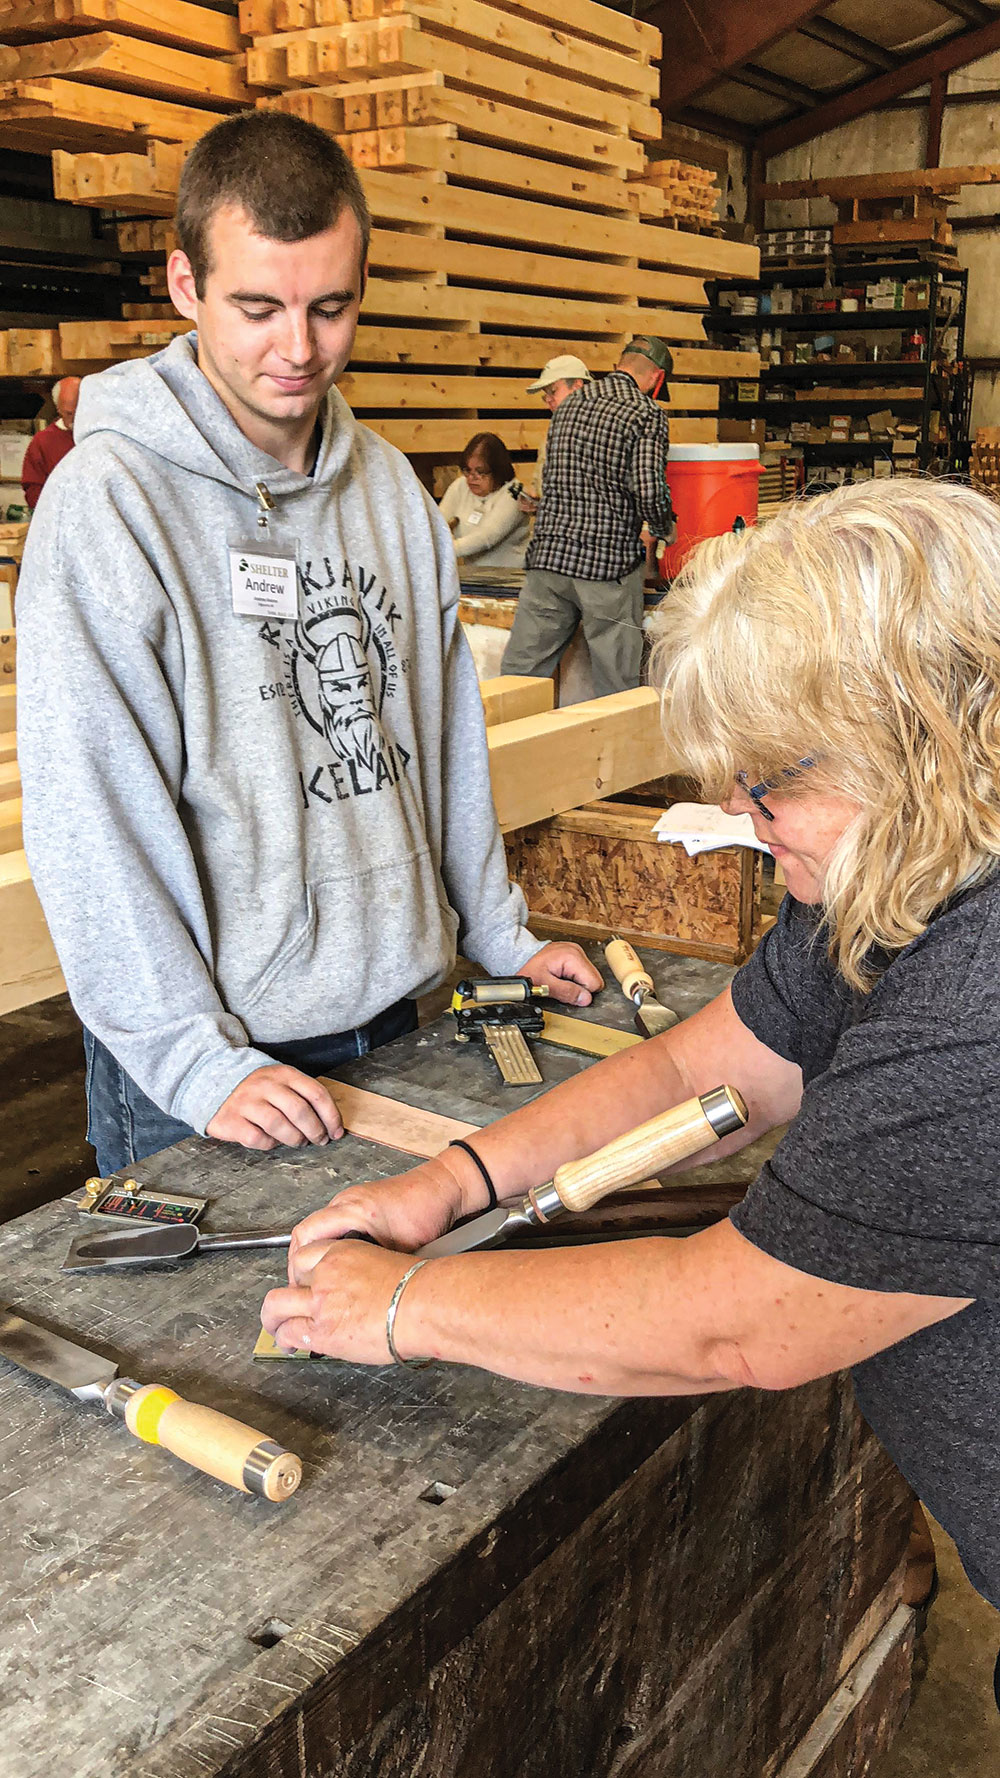
The tool maintenance and sharpening classes stood out as a takeaway section that can be abundantly useful on its own. Gaius Hennin, The Shelter Institute’s president and son of owners Pat and Patsy Hennin, speaks directly to the need of utilizing a sharp tool and walks attendees through the process of keeping tools in tip-top shape. The school used a range of items to assist in that, especially the honing guide. These techniques are only effective for chisel grinds or something that isn’t curved, but they’re still a pivotal tool in construction.
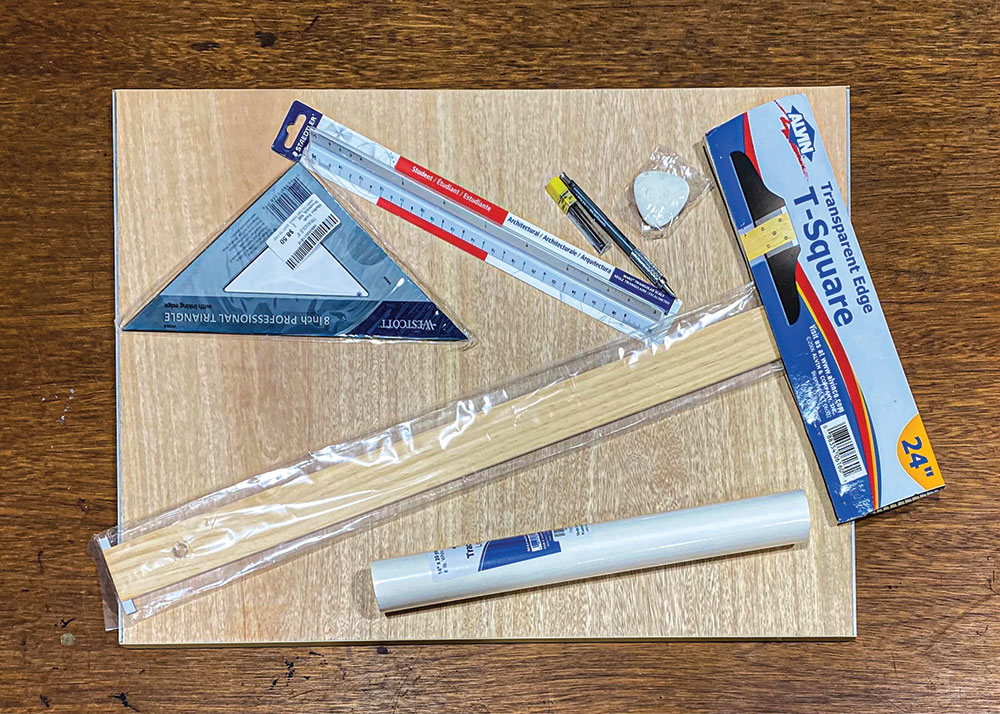
Drafting and design also had some of the best information someone new to the subject and the field could want. Blueberry Beeton, The Shelter Institute’s vice president and daughter of the owners, prioritized the items needed for proper drafting and what the conclusion should be.
While not going heavily into the engineering side of design, her explanations did cover some of the core concepts and rules of what’s acceptable within timber framing and what should be avoided (excessive span length, for example).

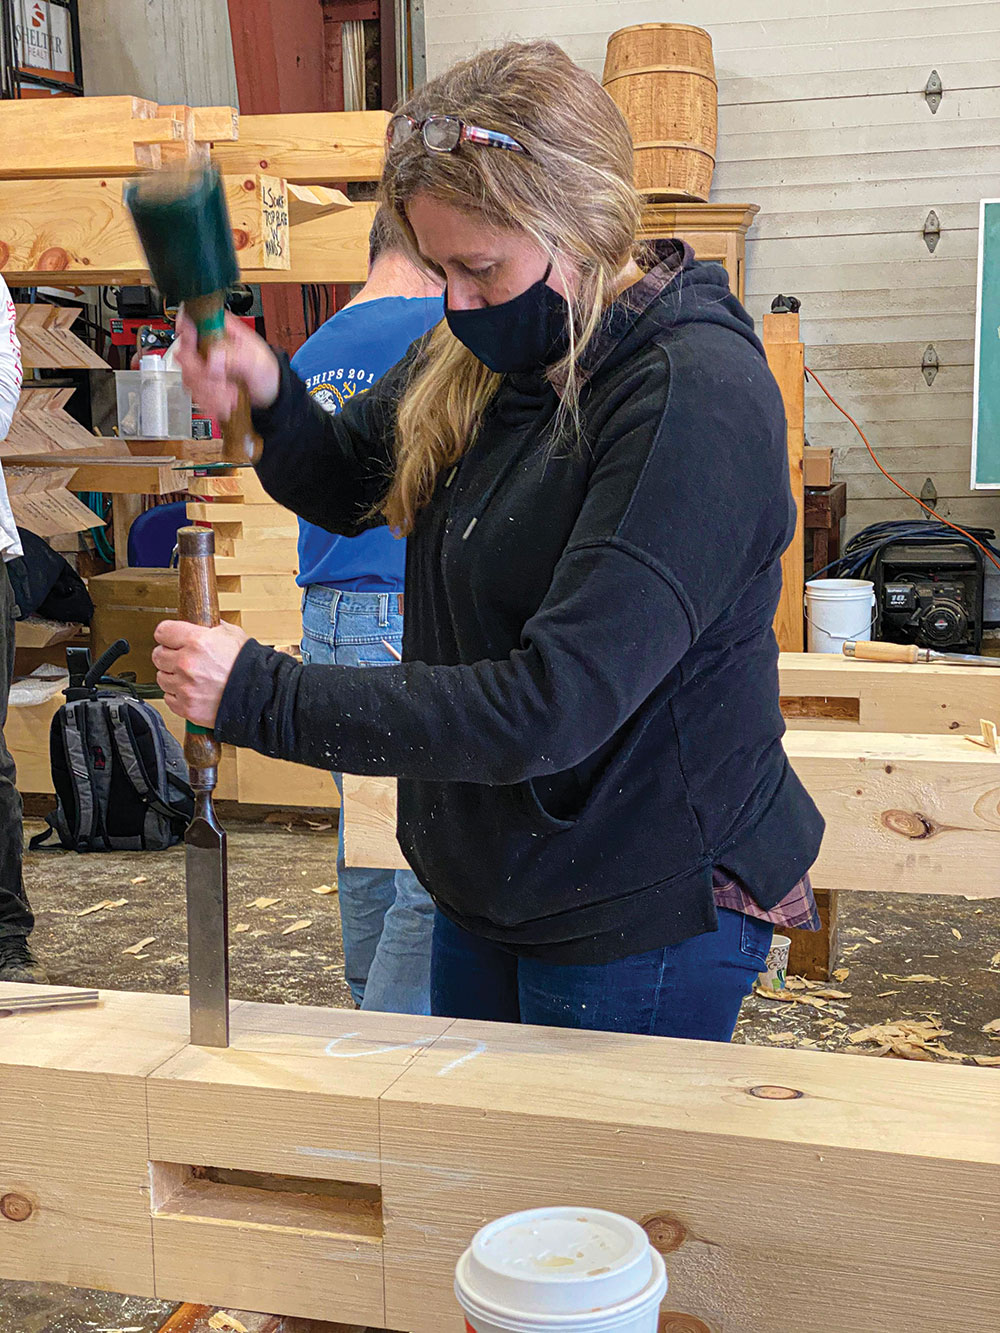
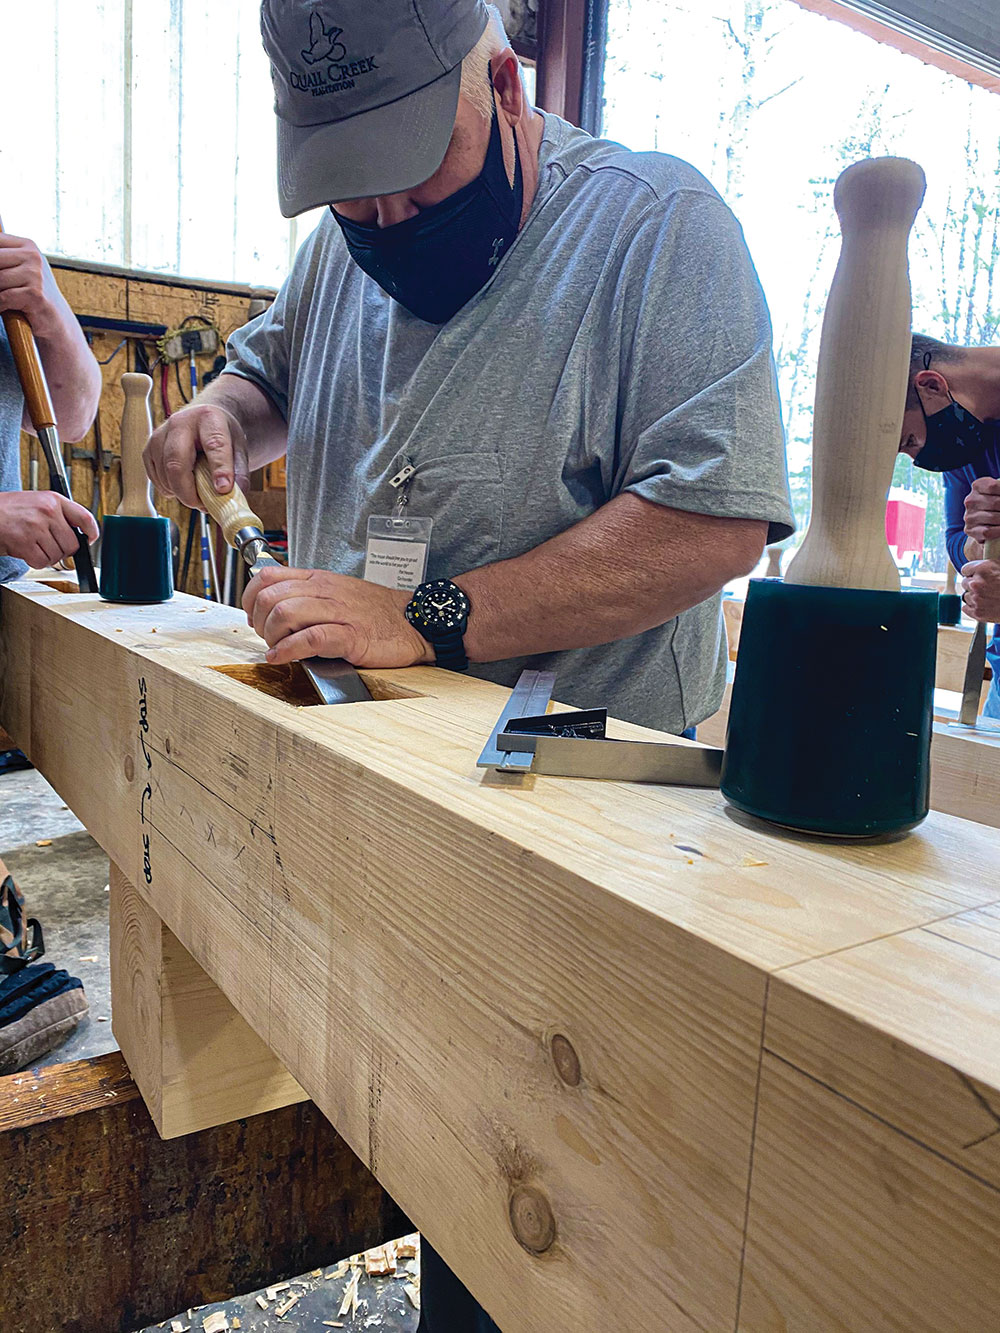
Moving into the actual cutting and chiseling techniques, Gaius (who’s also a civil engineer), Blueberry and Pat share their own experiences. Their opinions are given; and while these are typically good to follow, they aren’t presented as rigid “rules.”
Granted, for those unfamiliar with the techniques, the instructors’ opinions should be considered the proper way to do things. Students with prior woodworking experience might have varied opinions about the proper way to complete the nuances within a task. The curriculum does an excellent job of explaining that there are multiple ways to complete these tasks.
My key positive takeaway came from the actual students from previous in-person classes who were incorporated into the videos. They offered a diverse and varied perspective on potential problems and appropriate solutions that others might encounter. These students struggled and made mistakes—and learned from them.
Their errors were similar to what I’d do, so the solutions given throughout the video helped me gain a better understanding of proper technique … more than any classroom setting could.
Building With Wood
There are plenty of bushcrafters who construct extravagant shelters from eerily straight sticks. This isn’t a reality of sheltering for many people due to their geography or the materials available to them. Others might even prefer sturdier-built structures that are fully enclosed or offer better joinery to keep things solidly in place. There’s nothing worse than being at a campsite and having your shelter collapse on you during brisk winds, let alone as a result of attacks from predators.
“Understanding and practicing joinery and tool maintenance doesn’t mean someone will go out and build their own enclosed home in the woods … but they could. And, their structures would be stronger and more durable than their primitive ‘cousins.’”
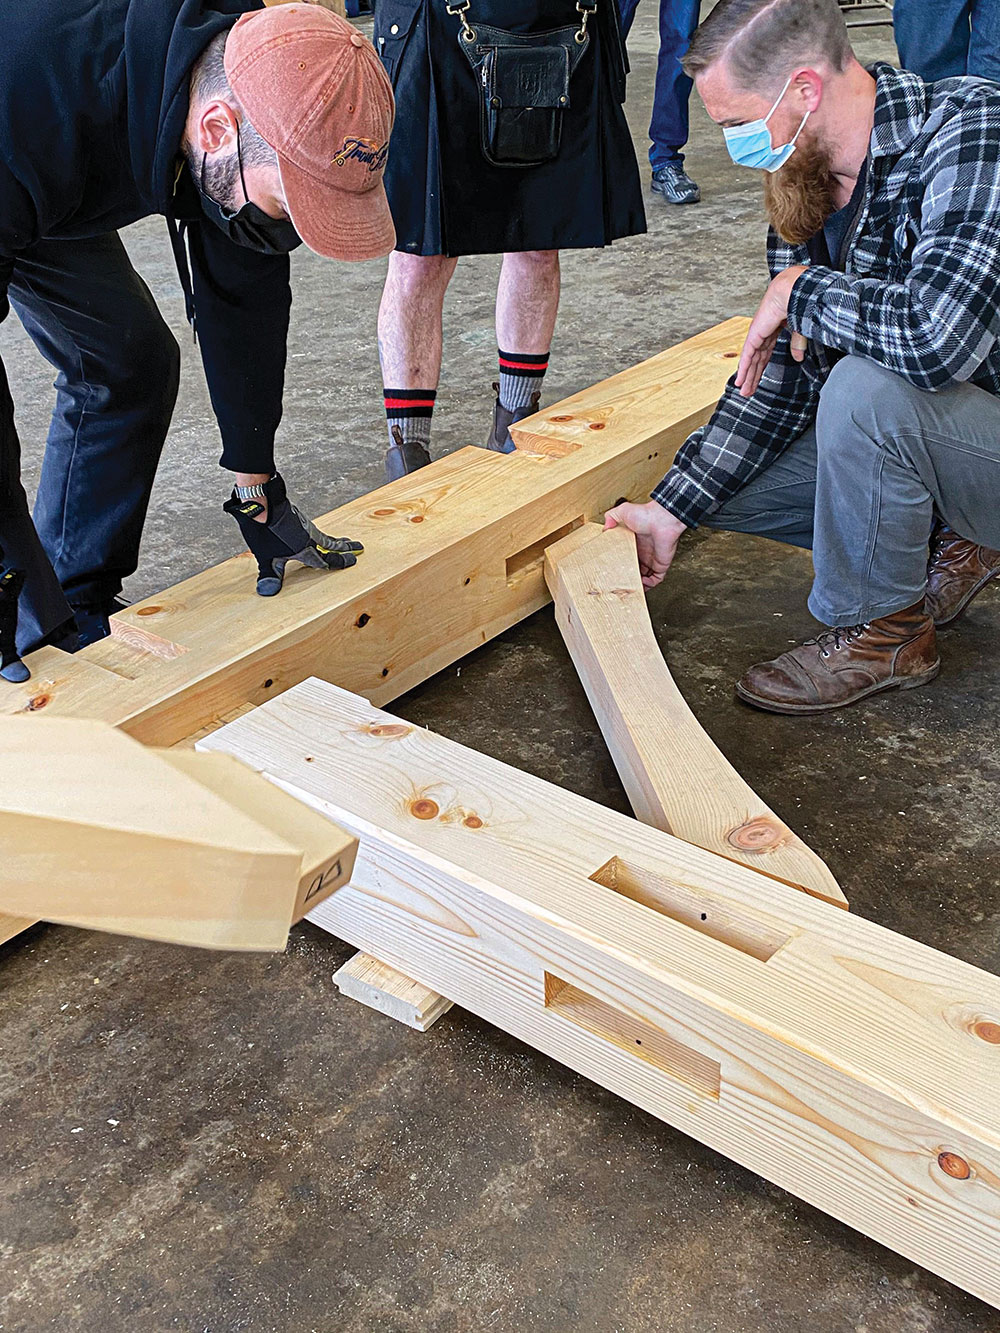
Timber framing—one of the most traditional North American settlers’ building styles—requires very few actual tools and allows a builder to create a structure that can handle heavy loads and fierce winds. The fitment of these pieces is relatively easy and can be done in a short period of time. According to The Shelter Institute, it might take just one or two weeks to cut the joinery for a 24×24-foot structure. The design is such that any pushing, pulling or sheering movements of the frame force the pieces of wood closer together for better overall strength.

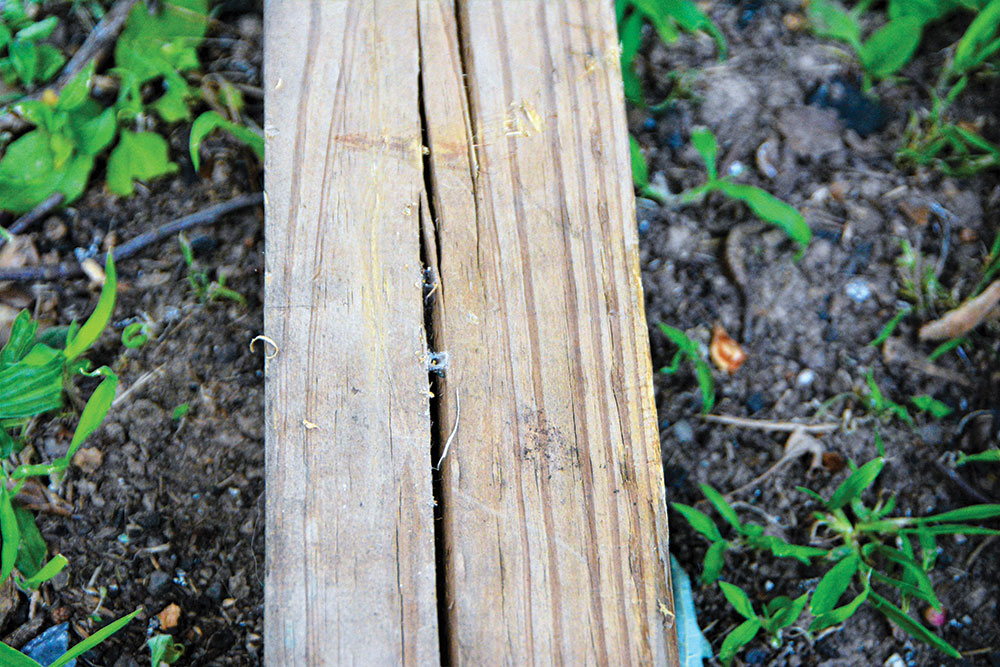
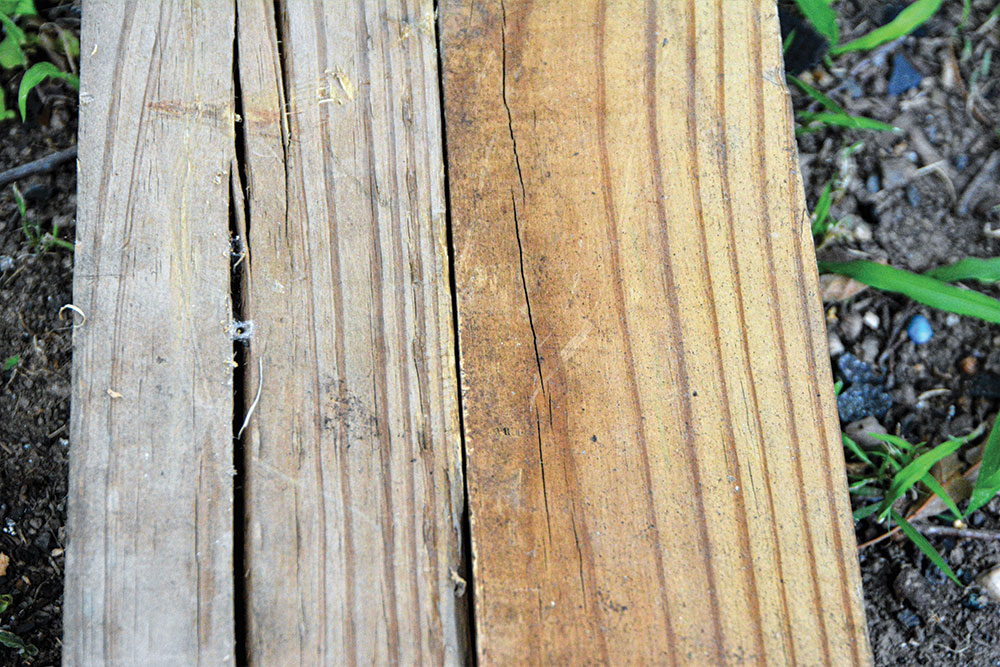
While traditional timber framing requires some recommended tools, it needs far fewer than those needed in general construction. I’d dare say that the tools I recommend would be far fewer than the experts require. But that’s my point: Any shelter with a possibility of “near perfection” has the potential for long-term use, and a temporary shelter could last years longer than average while helping someone learn the process of timber framing. At the same time, it doesn’t have as heavy an impact on the environment, compared to current “stick-built” frame homes. A fallen log can rot away and leave the ground better for it, but a pressure-treated piece of wood can “refuse” to rot away properly.
How Is This Applicable?
These construction techniques were rooted in the designs of primitive structures. When shelters needed to be bigger and were required to provide longer-term use, the joinery, techniques and tools evolved with the demand. That doesn’t mean these techniques aren’t useful in primitive structure-building, long-term survival or homesteading.
Being able to construct an outbuilding without removing and disassembling a current shelter has serious advantages. Continual upgrading and changing of a shelter area allow for additional expansion, improved quality and longer-term use.
“When looking into the construction of survival shelters, there are many varieties and a plethora of books, videos and classes available to teach people how to build a shelter for a quick respite from the elements.”

For those who’re focused on building a little getaway, where they can go to “rough it,” these techniques can help strengthen the structure.
“ … for those who are new to timber framing, it offers an easy-to-use curriculum that troubleshoots problems preemptively. This allows you to focus more on what you’re learning and less on fixing issues.”
One of the most vital parts of any emergency shelter is the ridgepole. There are plenty of bushcrafters who use a ridgepole on their shelters for years with no problems. Others have had similar ridgepoles collapse under the weight of a little bit of snow. Simple joinery can strengthen these structures to be able to hold massive amounts of weight with relative ease. It’s a bit more work than a stick-built tripod support, but it’ll also last significantly longer and will be safer.
Small-Scale Practice
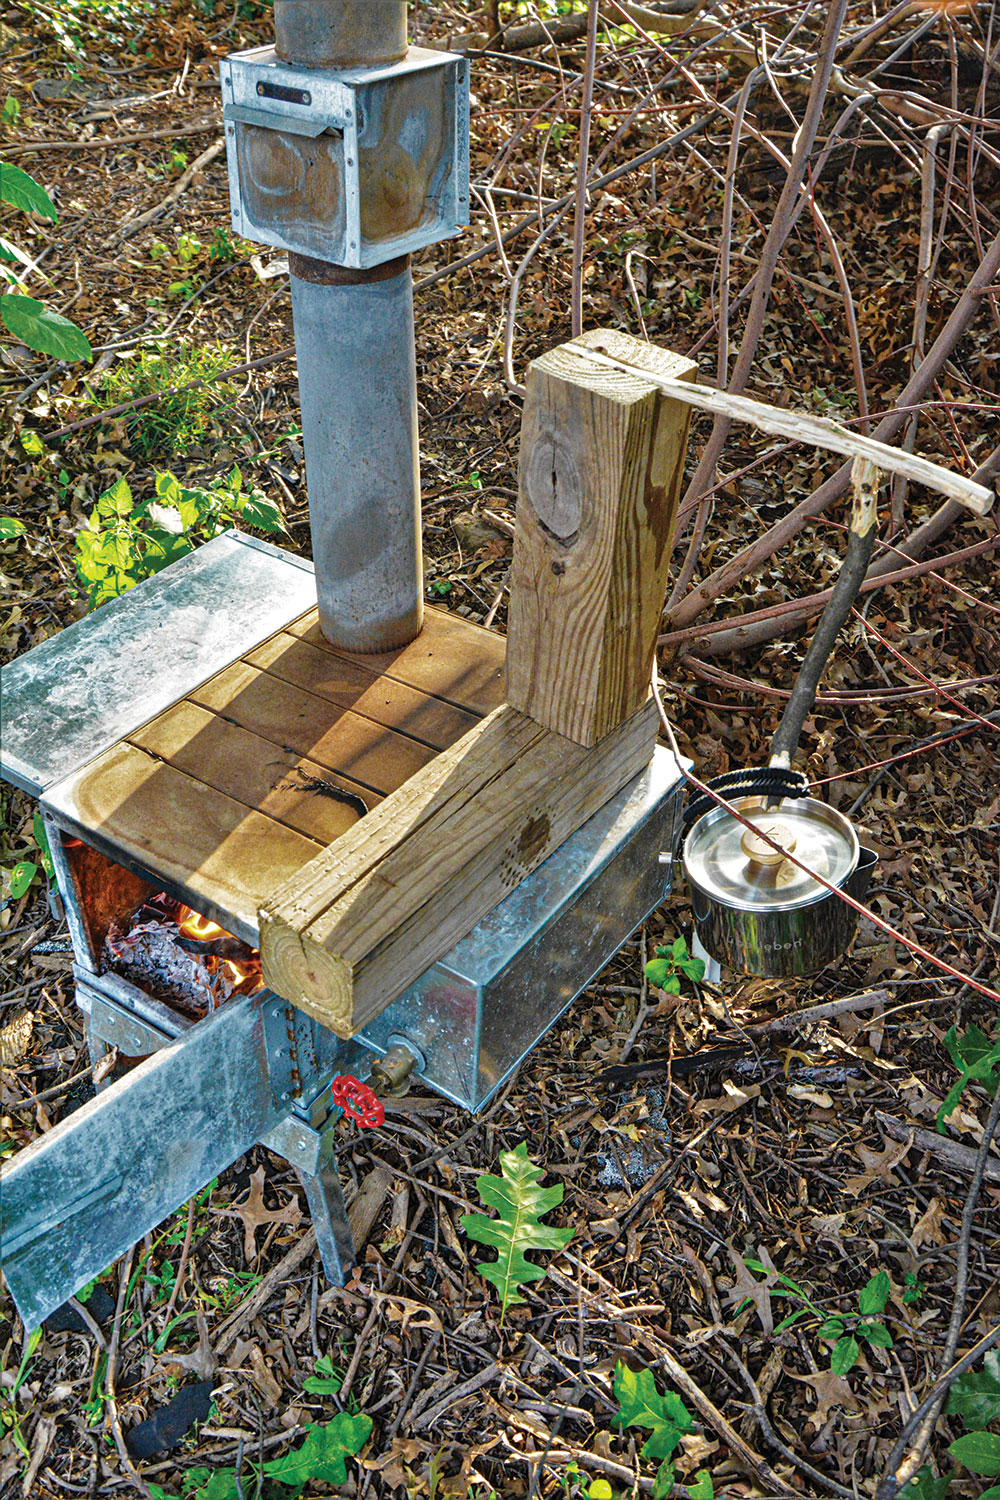
When it comes to building shelters, I’ve always had a unique mix of situations in my part of the country. The first is that man-made materials and treated lumber scraps are fortuitously dumped nearby. Second is that the forest floor often has too much dried underbrush and punk wood and can easily combust. Because of this, I often use a packable stove during the dry seasons to avoid accidental fires. Even hot kettles or pots can cause ignition of some of this undergrowth.
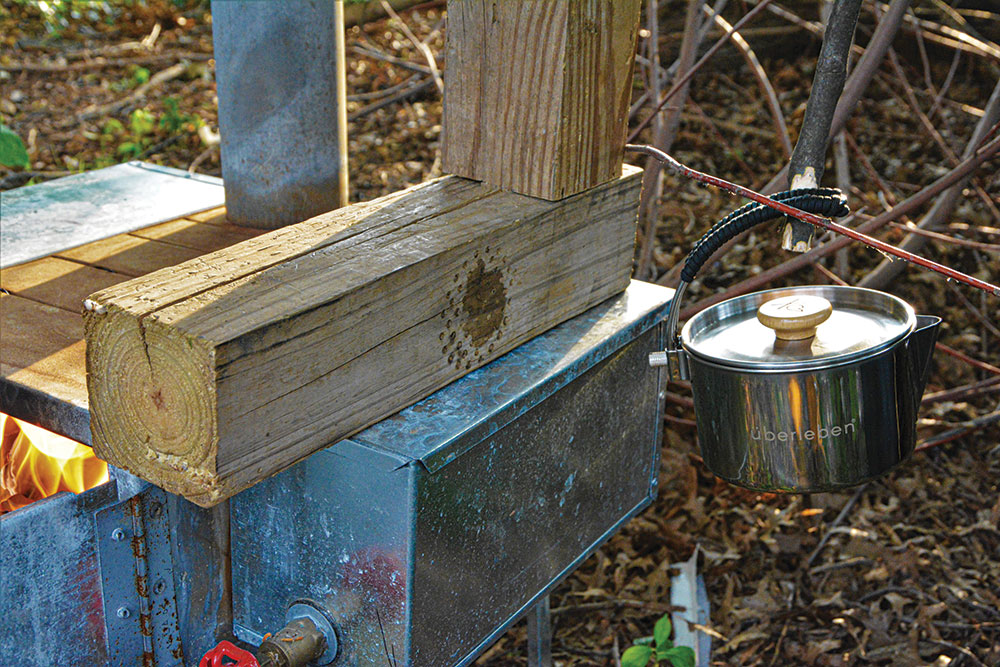
So, I decided that my first project would be a pot holder that would work with the stove.

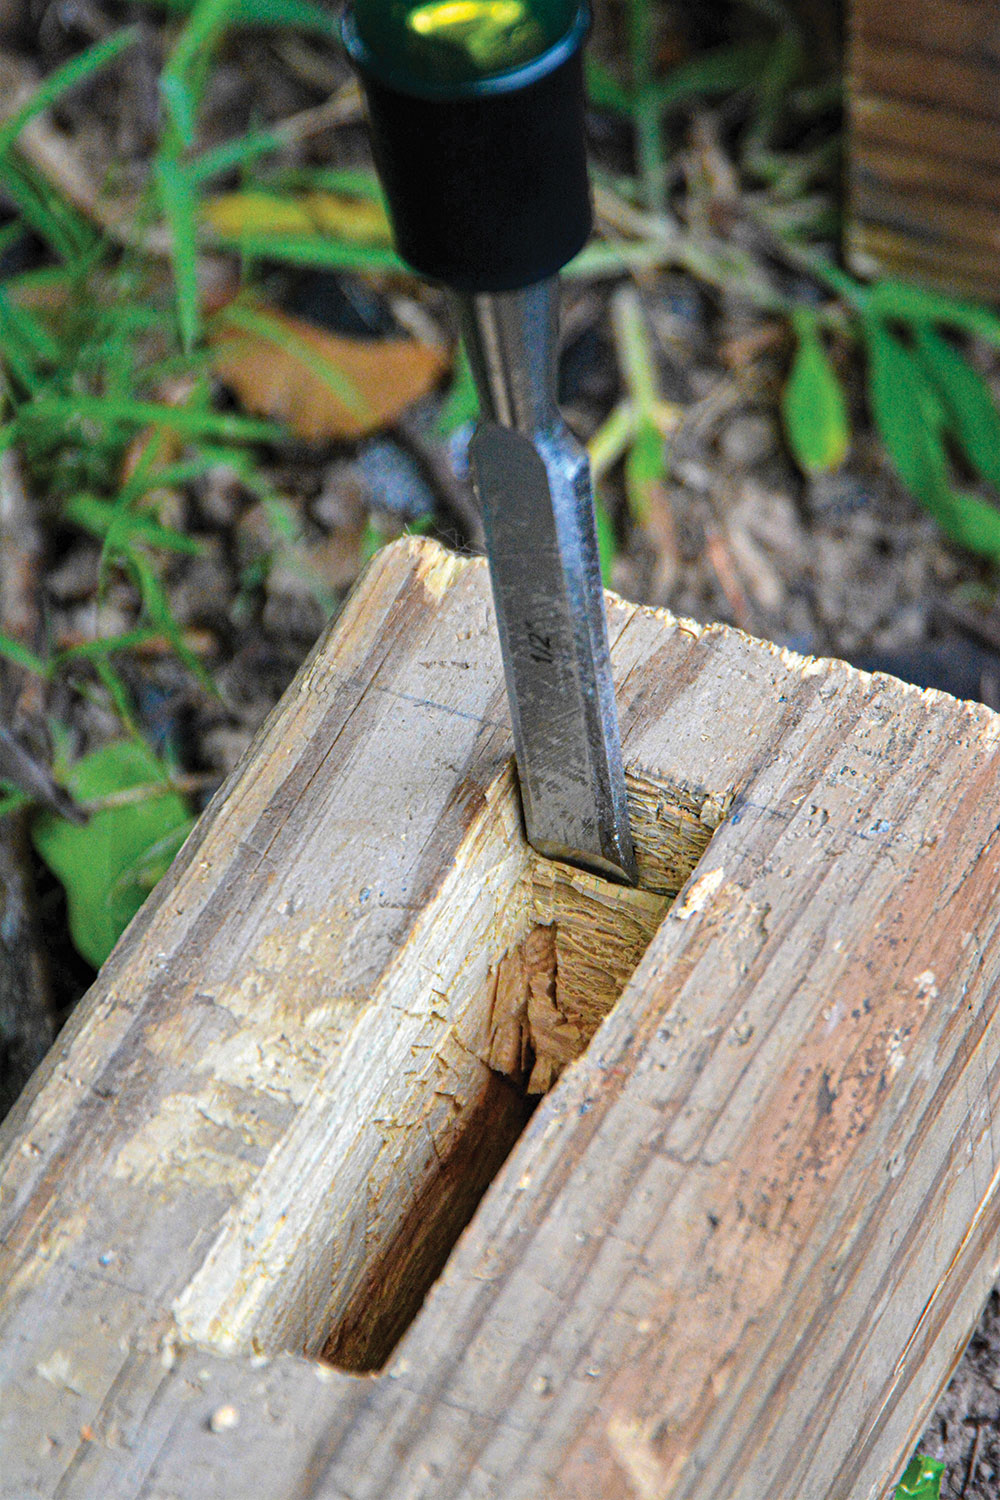
Building a sturdy and long-lasting pot holder using the construction techniques learned from one of The Shelter Institute’s classes was in order. I started with two pieces of pressure-treated 4×4 posts (in reality, they measured closer to 3.4×3.5 inches) about 1.5 to 2 feet long. Considering that these were very dry, I knew it would be a challenge to cut through them. Nevertheless, I chose to create a mortise-and-tenon joint to put the techniques to use.
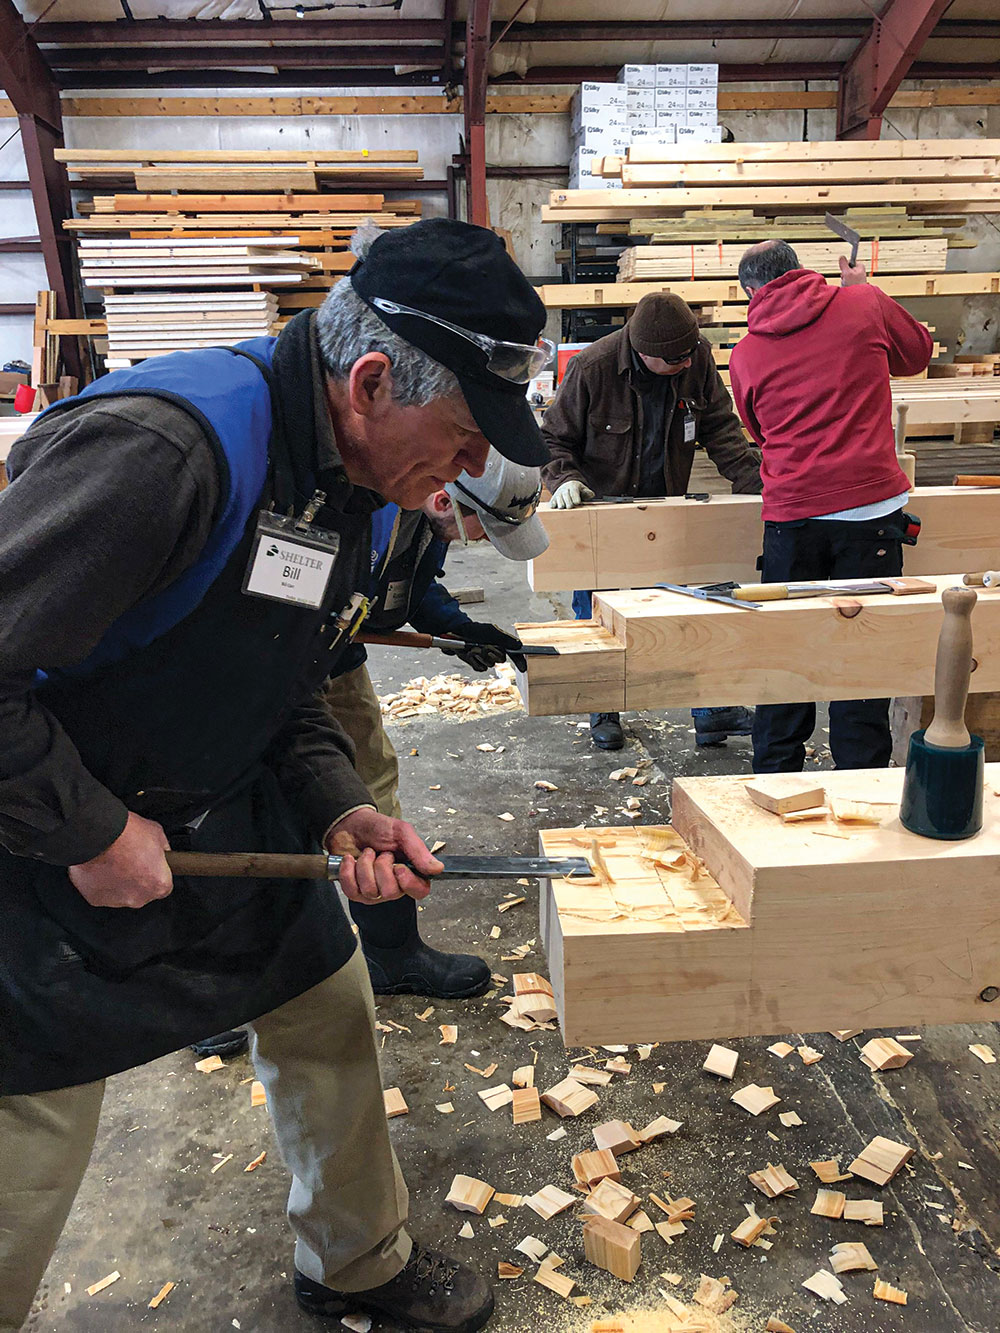
At first, I attempted to use 1.5-inch-wide timber framing chisels, but they were a bit too heavy, so I backed down to standard, ½- and ¾-inch chisels. It took a long time to cut out the mortise, because the wood was so dry. However, during the class, the instructors taught the proper technique for using a chisel, and it saved me a lot of unnecessary frustration from my own trials and errors.
“ … timber framing can augment and leverage those [bushcrafting] skills to develop a more self-sufficient individual and a more comfortable backwoods environment.”
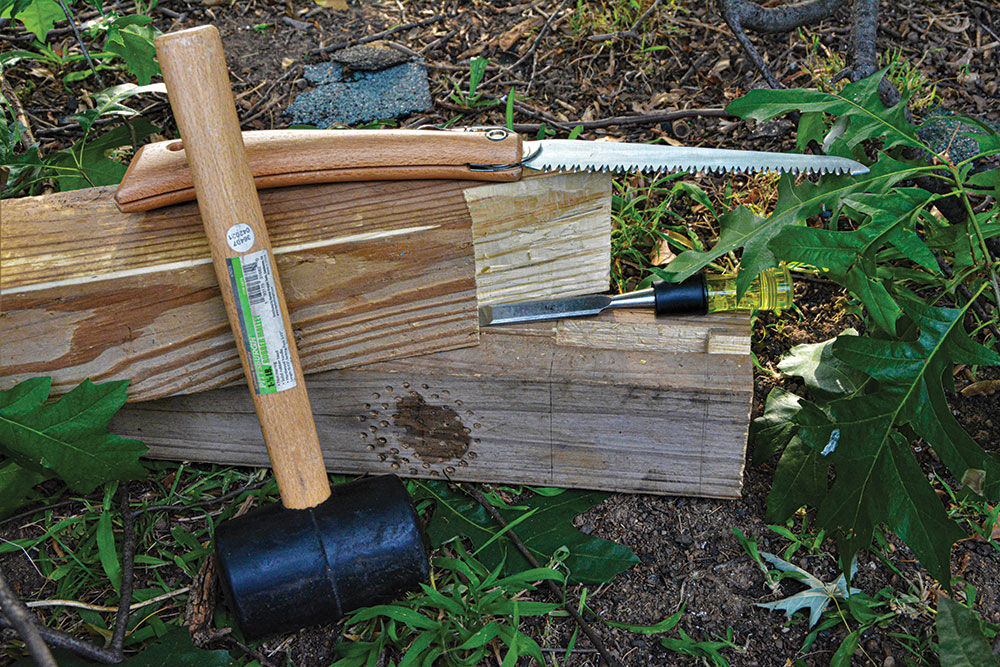
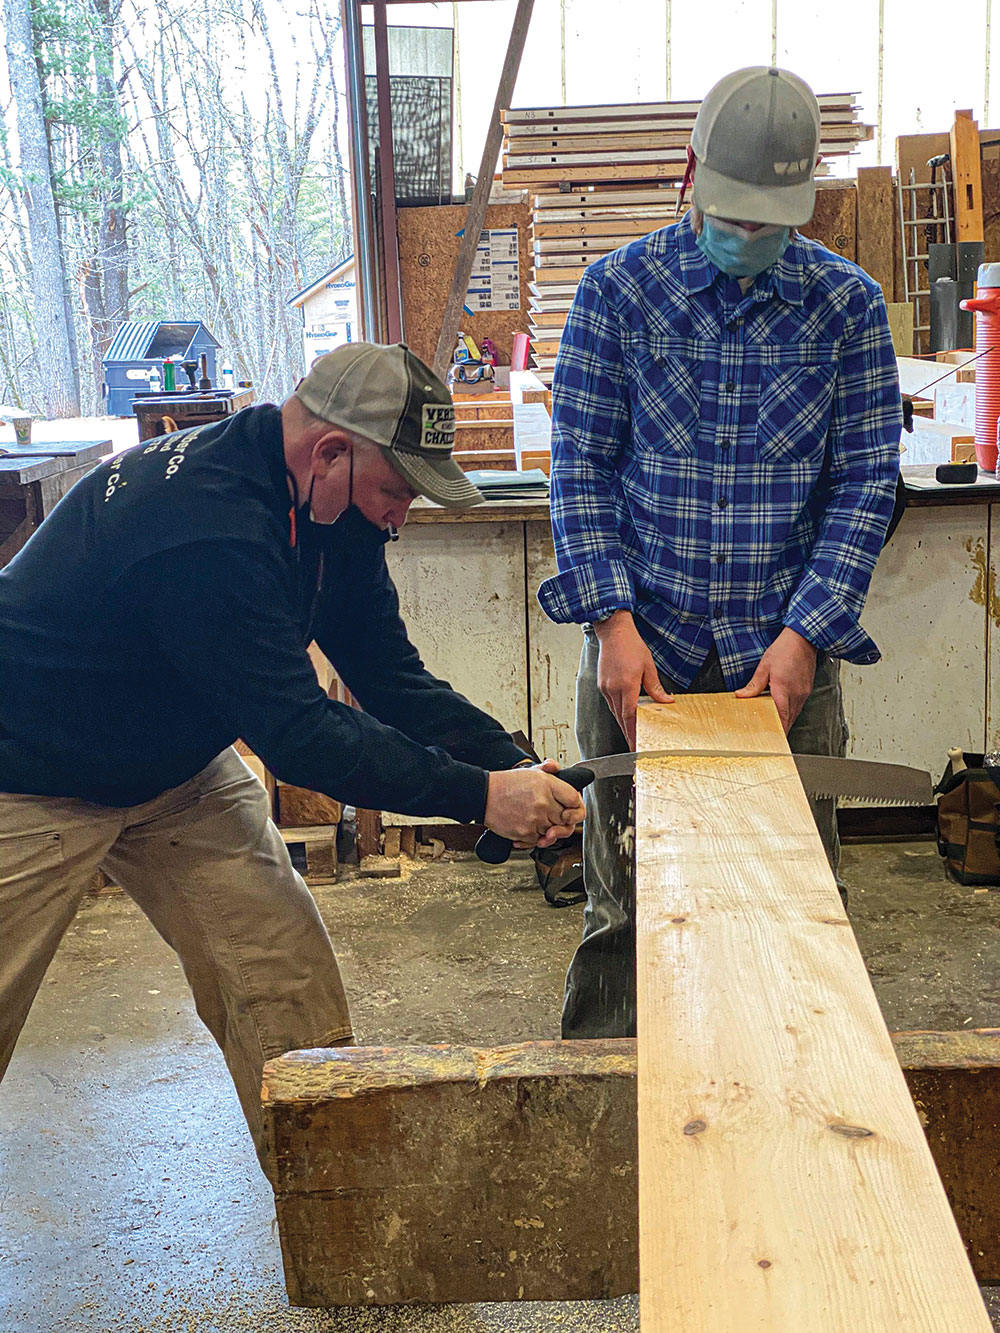
Once the mortise was completed, sawing the tenon was next. Just as I learned in the basic timber framing course, I used a Japanese pull saw after laying out the measurements and cutting a guideline. This was the most time-consuming part, and it had me reaching for several different saws to test out which one was the fastest.
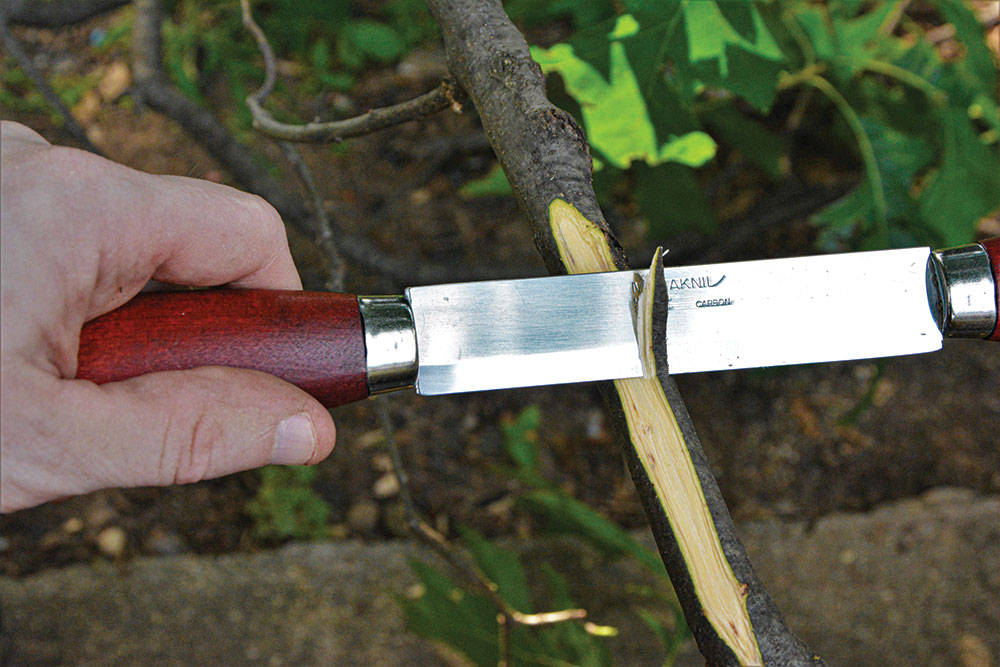
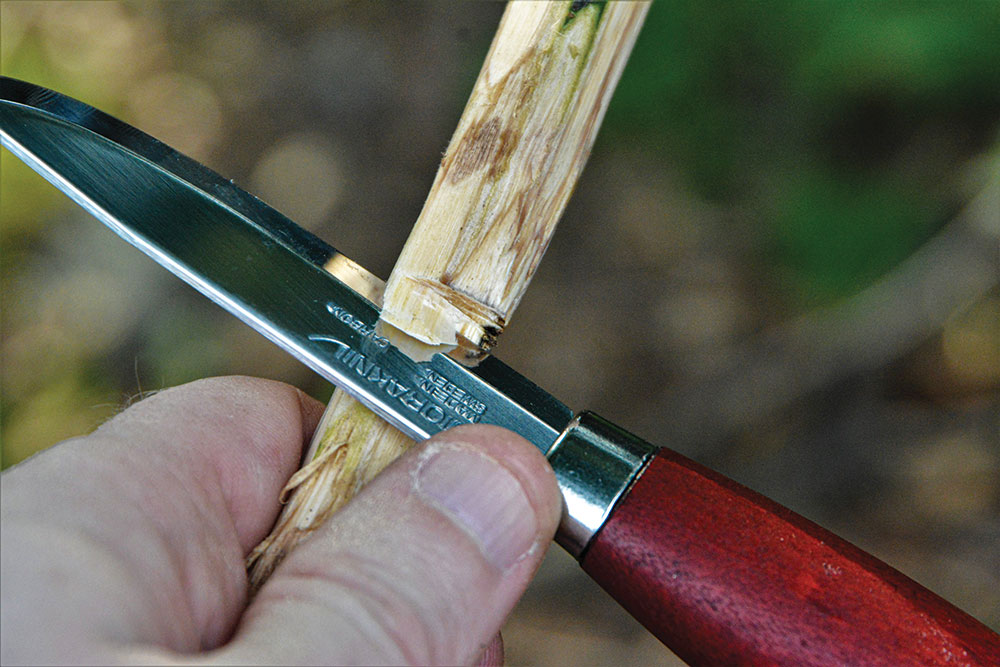
Once cut, the joint was test-fitted, and I decided to forego the dowel. I had to make a dovetail with some greenwood, so I selected a few pieces that I could fit together to make a pot holder. Using a Morakniv Classic, I cut male and female dovetail joints and the pot hook. To attach it to the 4×4 frame, I added a small, rough dovetail joint in the top of the structure and cut the wood stick to match.
When completed, this entire structure fits perfectly on top of the stove. Eventually, the 4×4 base will dry out, crack and break down after extended exposure to the stove’s heat. However, while it’s in service keeping the pot off the ground, a hot pot can’t ignite the dead vegetation or fall over while it’s cooling. This type of construction is perfect for setting a full kettle of boiling, now-potable, water off to the side to cool down. This simple structure is a welcome addition to my camp.
Using techniques and skills acquired from timber framing courses, such as those offered by The Shelter Institute, doesn’t automatically make anyone an expert in timber framing. It can also raise many more questions—with no straightforward solutions—which compel a student to think through and solve the challenges. What this type of program does provide are alternative and historically proven techniques that can give more strength to various shelters, structures and camp enhancements.
“The Shelter Institute, located in Woolrich, Maine, offers comprehensive classes in person and online that cover all facets of timber framing.”
Bushcraft, itself, comprises a skill set that’s acquired through experience and practice. Likewise, timber framing can augment and leverage those skills to develop a more self-sufficient individual and a more comfortable backwoods environment.
Understanding and practicing joinery and tool maintenance doesn’t mean someone will go out and build their own enclosed home in the woods … but they could. And, their structures would be stronger and more durable than their primitive “cousins.” The only thing that could potentially prevent someone from using these skills and building permanent structures is the individual, themself, along with laws or restrictions in the area.
The Shelter Institute offers a unique experience to learn the process of constructing a relatively affordable and incredibly robust structure. The extent to which these techniques and skills are employed is only limited by the desire and capabilities of the newly minted outdoor woodworker.
The Shelter Institute
The Shelter Institute was founded in 1974 by Pat and Patsy Hennin in an effort to make housing affordable. They and their children, Gaius Hennin and Blueberry Beaton, are experienced builders and instructors.
Knowing others would benefit from their background, they put together an online course for their post-and-beam class. It covers everything needed to build a timber structure. While this class is still offered on-site in Maine, the online course offers some great insights for those interested in learning about the process or doing it themselves.
The institute’s comprehensive program also provides insight into tool maintenance and sharpening, design and drafting, timber selection, cutting techniques and various types of joints. Even if someone has had little or no experience, the program will provide the basis for developing the skills and knowledge necessary to build durable structures.
The Shelter Institute
(207) 819-8224
ShelterInstitute.com
Timber Framing
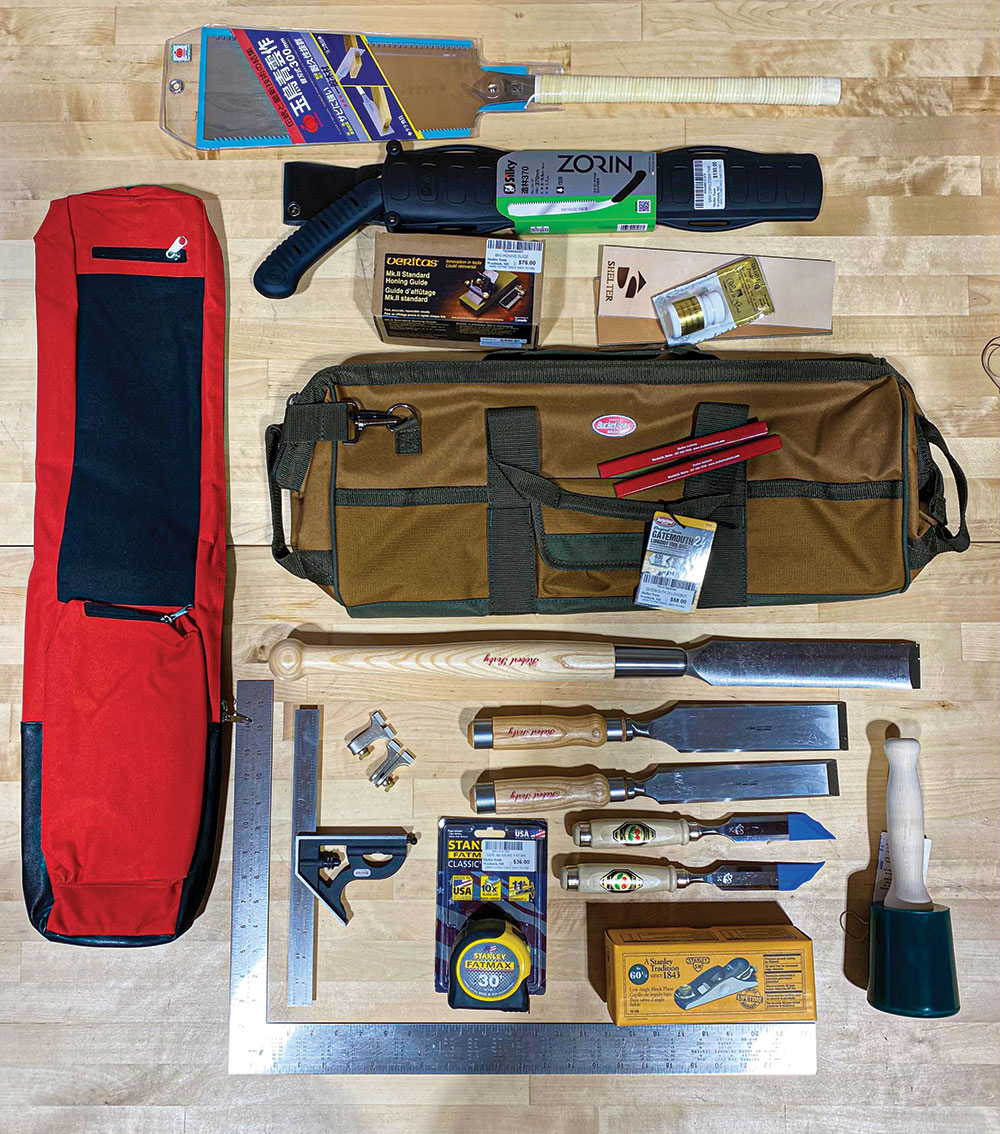
Of all the woodworking skills, timber framing appears to require very few tools to get started. The Shelter Institute does a great job of providing a required tool list and an all-in-one package that fits the needs of beginners and experienced builders alike.
There are some differences with timber-framing tools as compared to general woodworking tools. For starters, they’re considerably longer than their general-use “cousins.” For instance, a framing chisel has an extra-long blade and handle to fit through the large pieces of timber used to frame structures. Additionally, slicks—push-only types of chisels—are used extensively in high-quality framing projects.
Besides these two task-specific pieces, honing kits, squares, mallets and handsaws remain the mainstays of a well-stocked toolkit.
When employing these techniques in the field, smaller versions of the tools can be carried and used. Smaller versions of chisels and saws can be used with a similar level of efficiency. This is good to know, because in some survival or bushcraft applications, 10-inch-diameter logs aren’t easy to come by or work with.
A version of this article first appeared in the December 2021 issue of American Outdoor Guide Boundless.